Posts in Modelling
LNWR Coal Hole

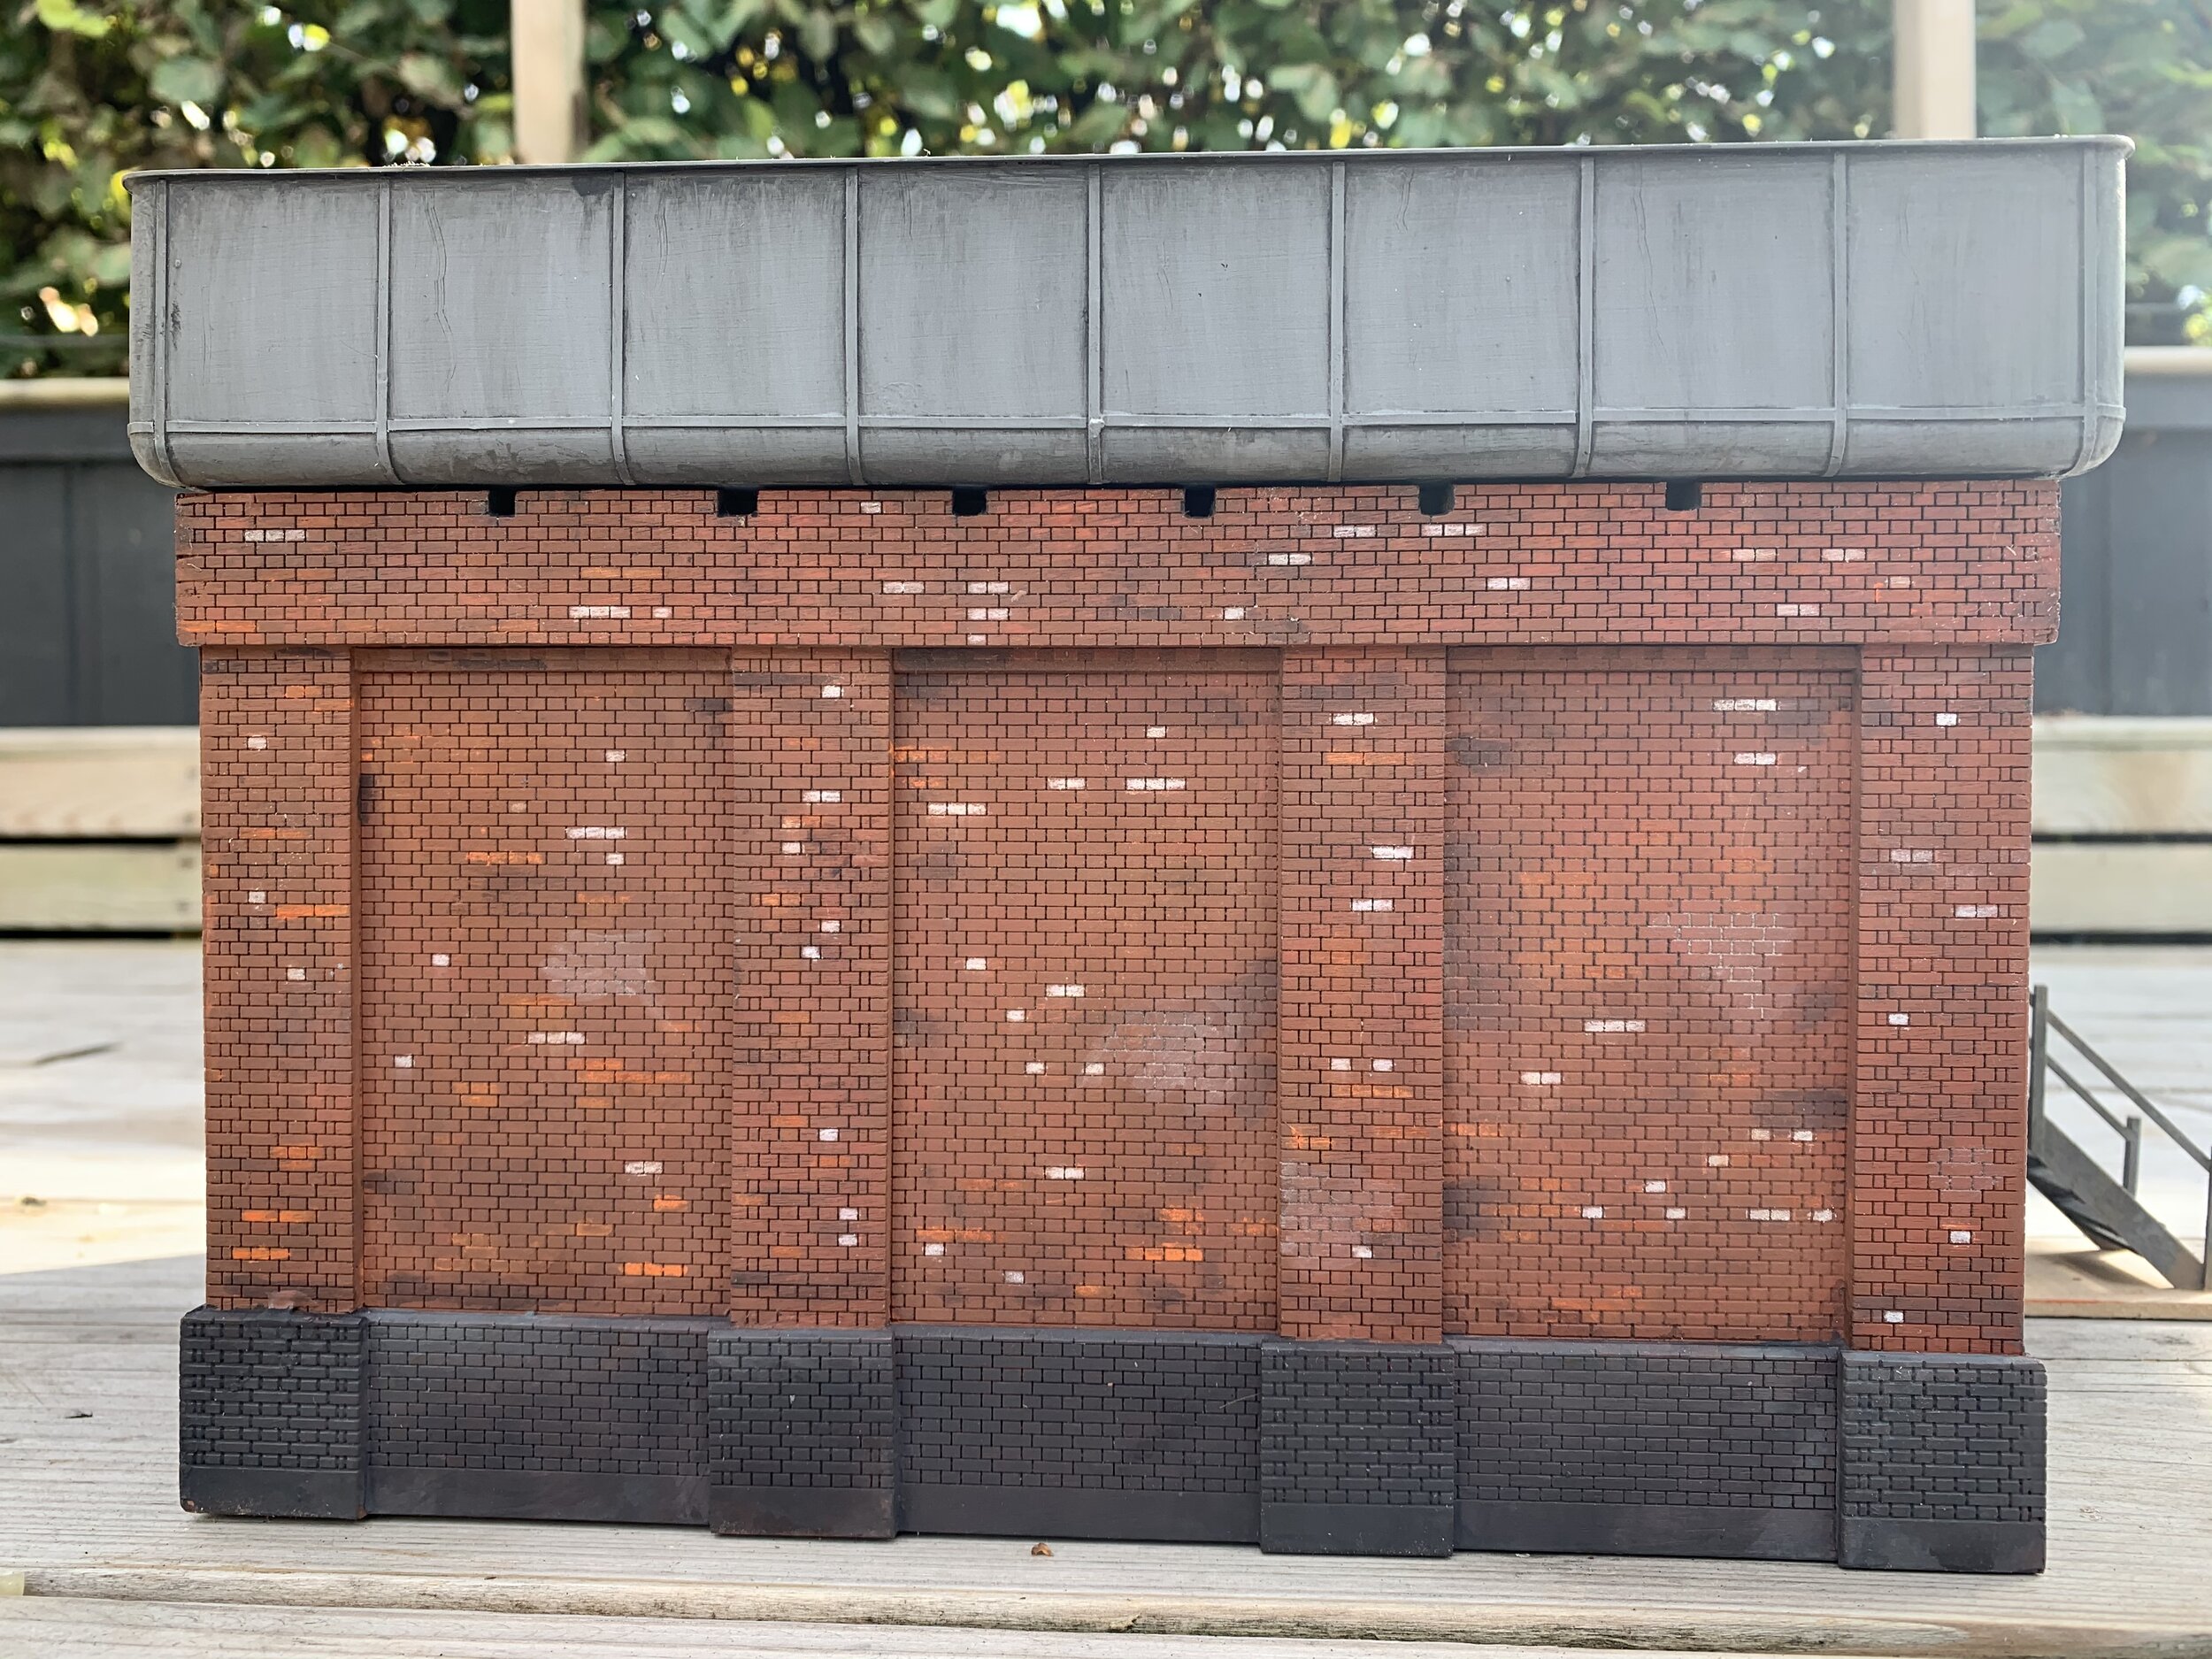
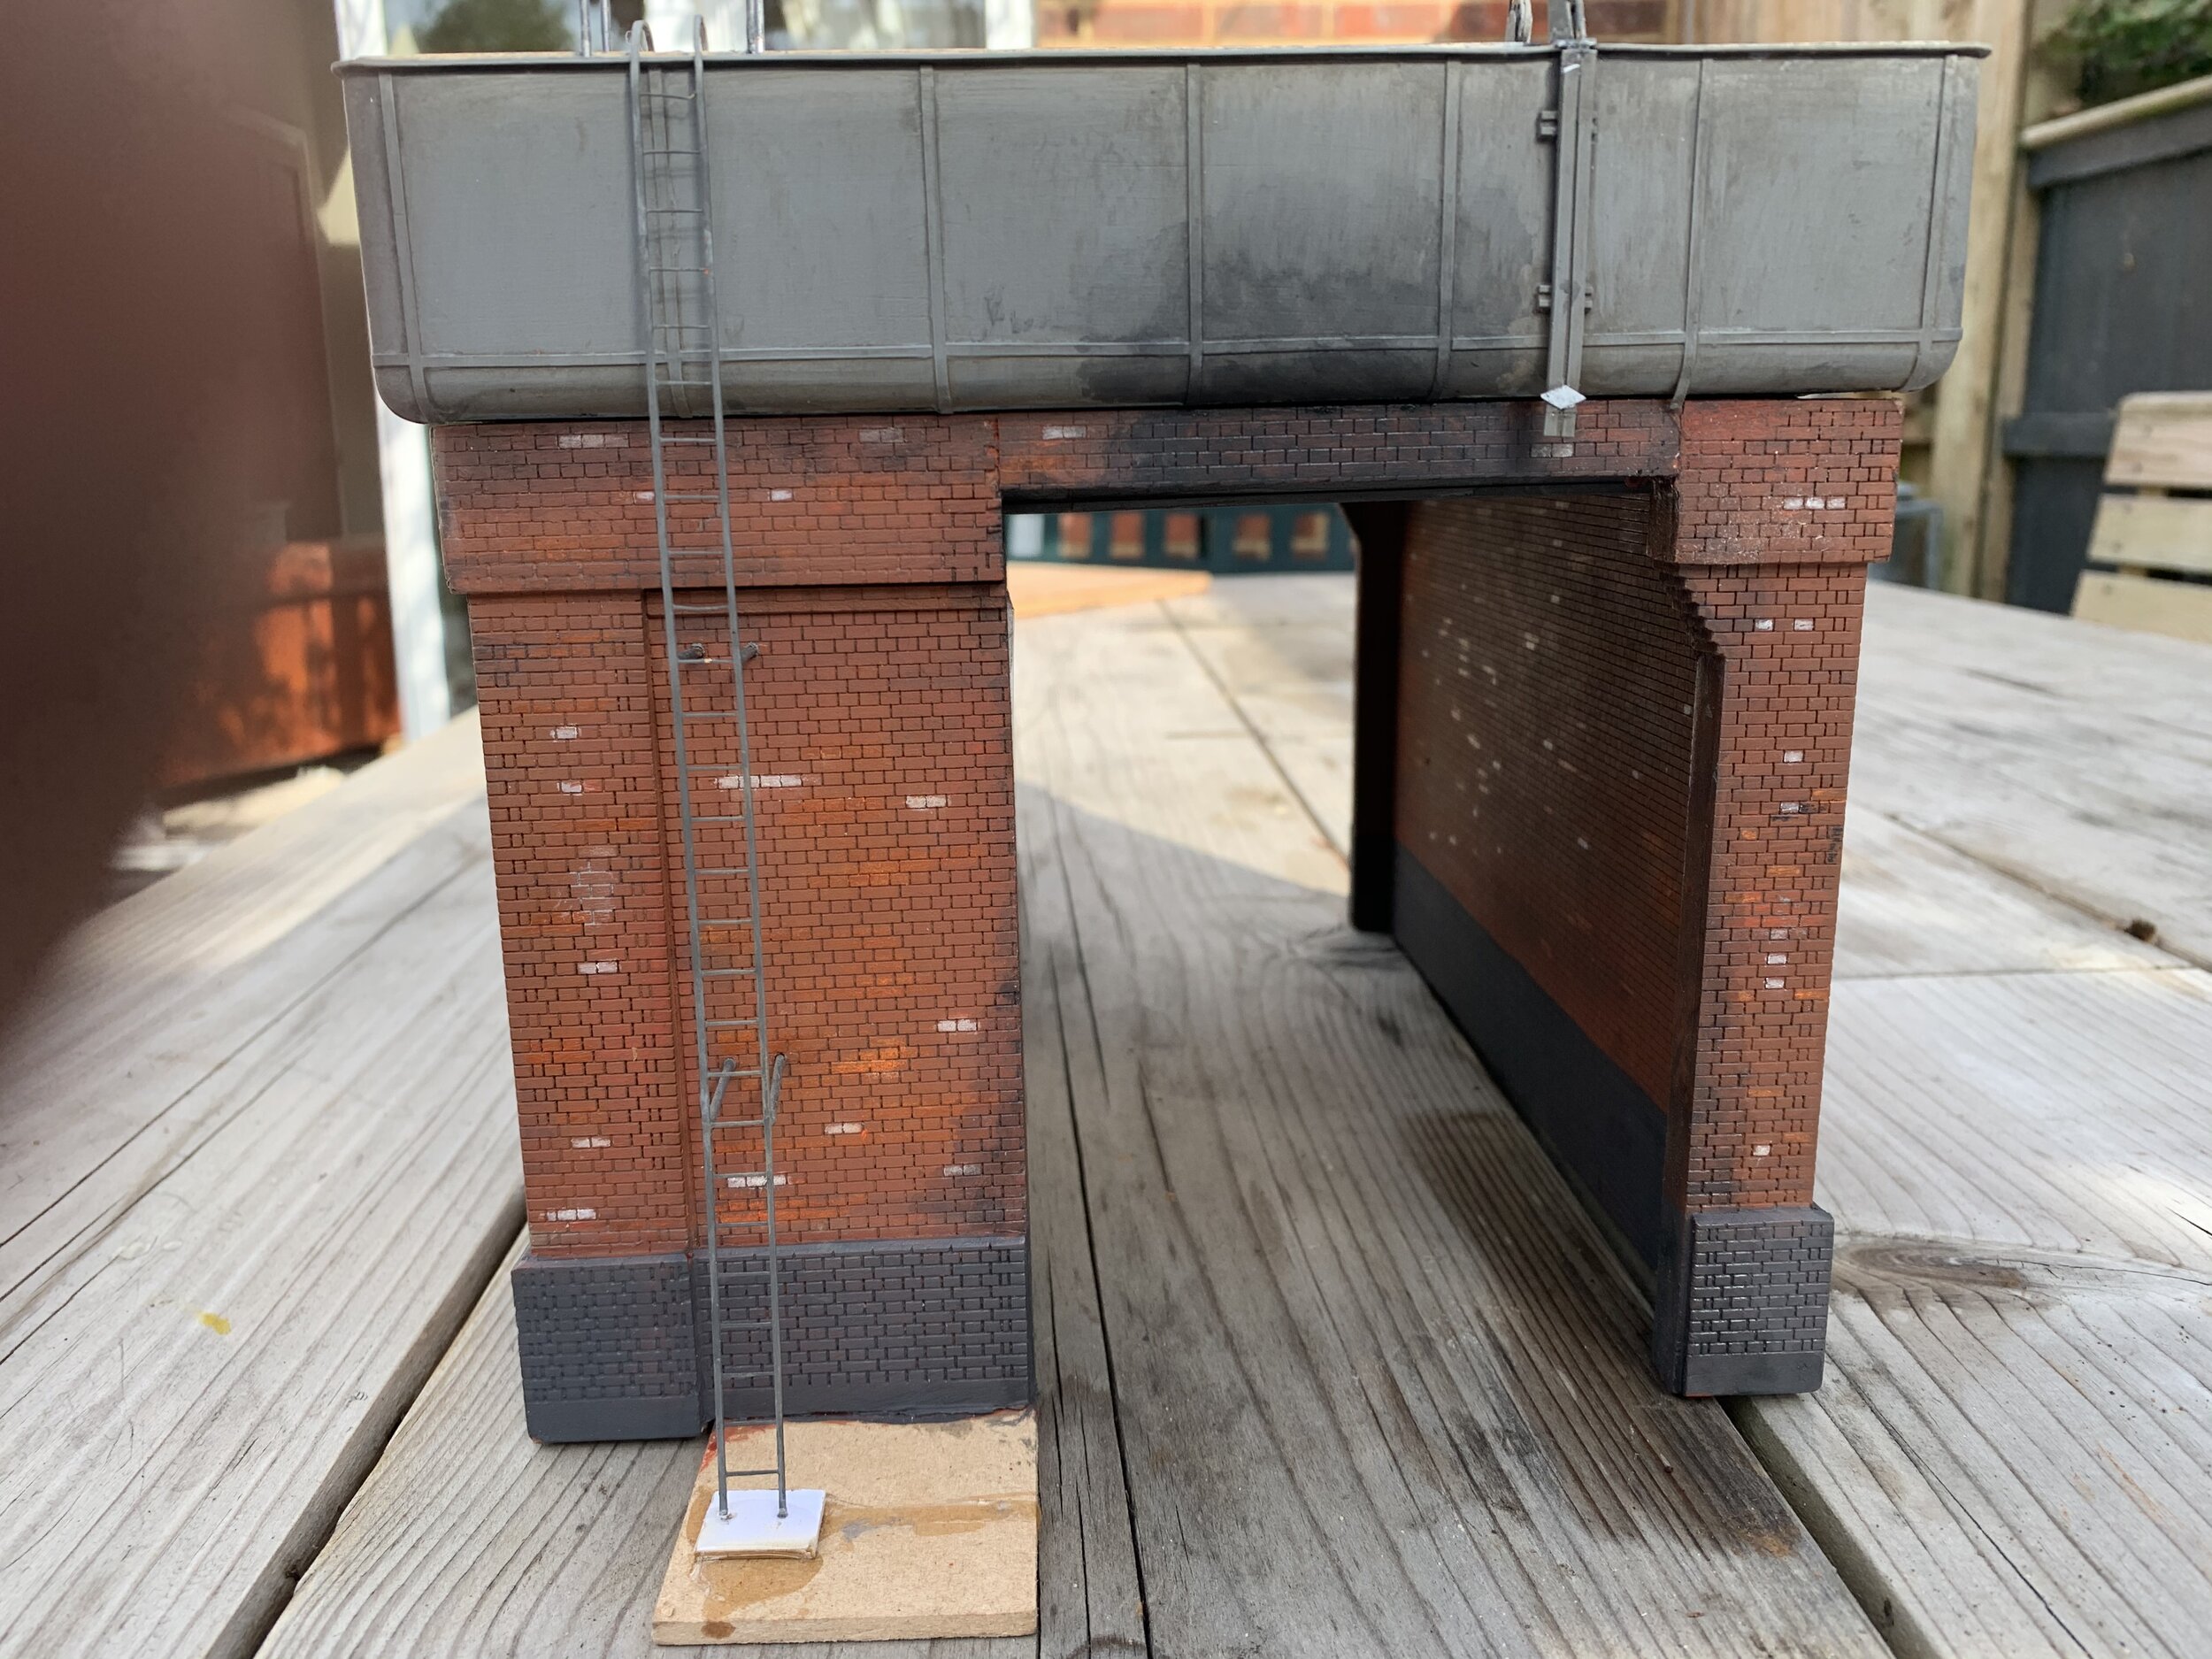
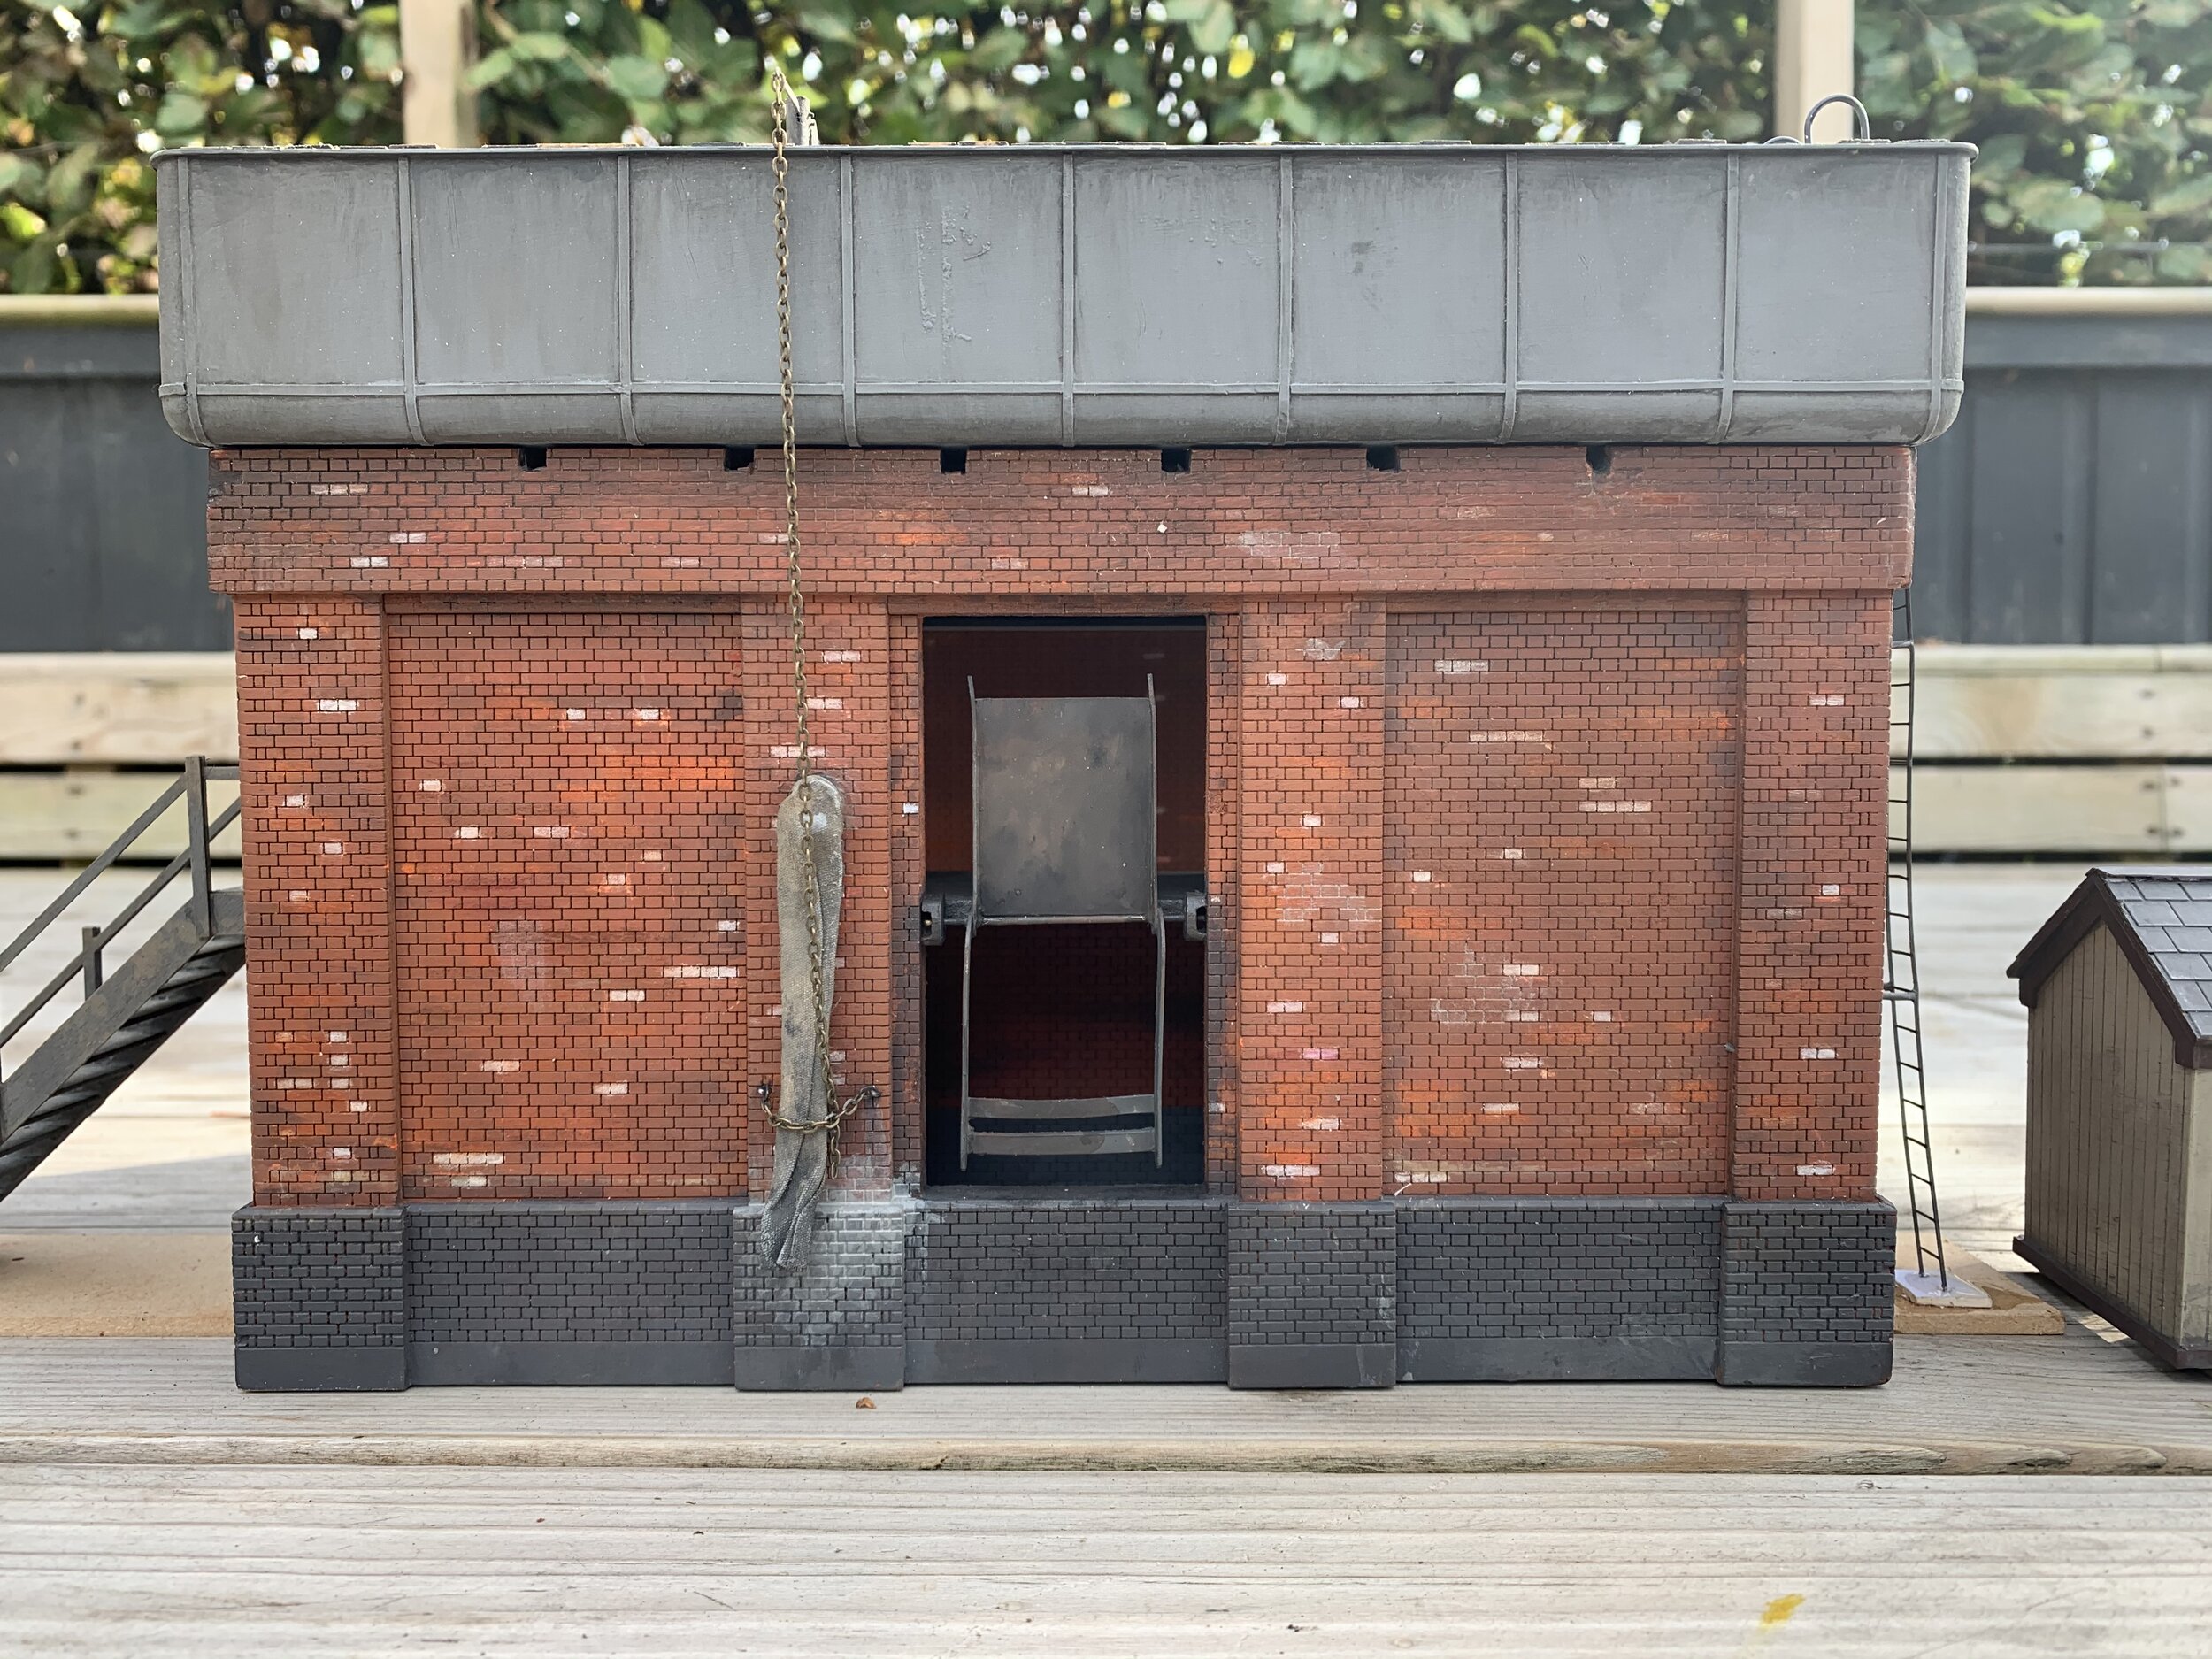
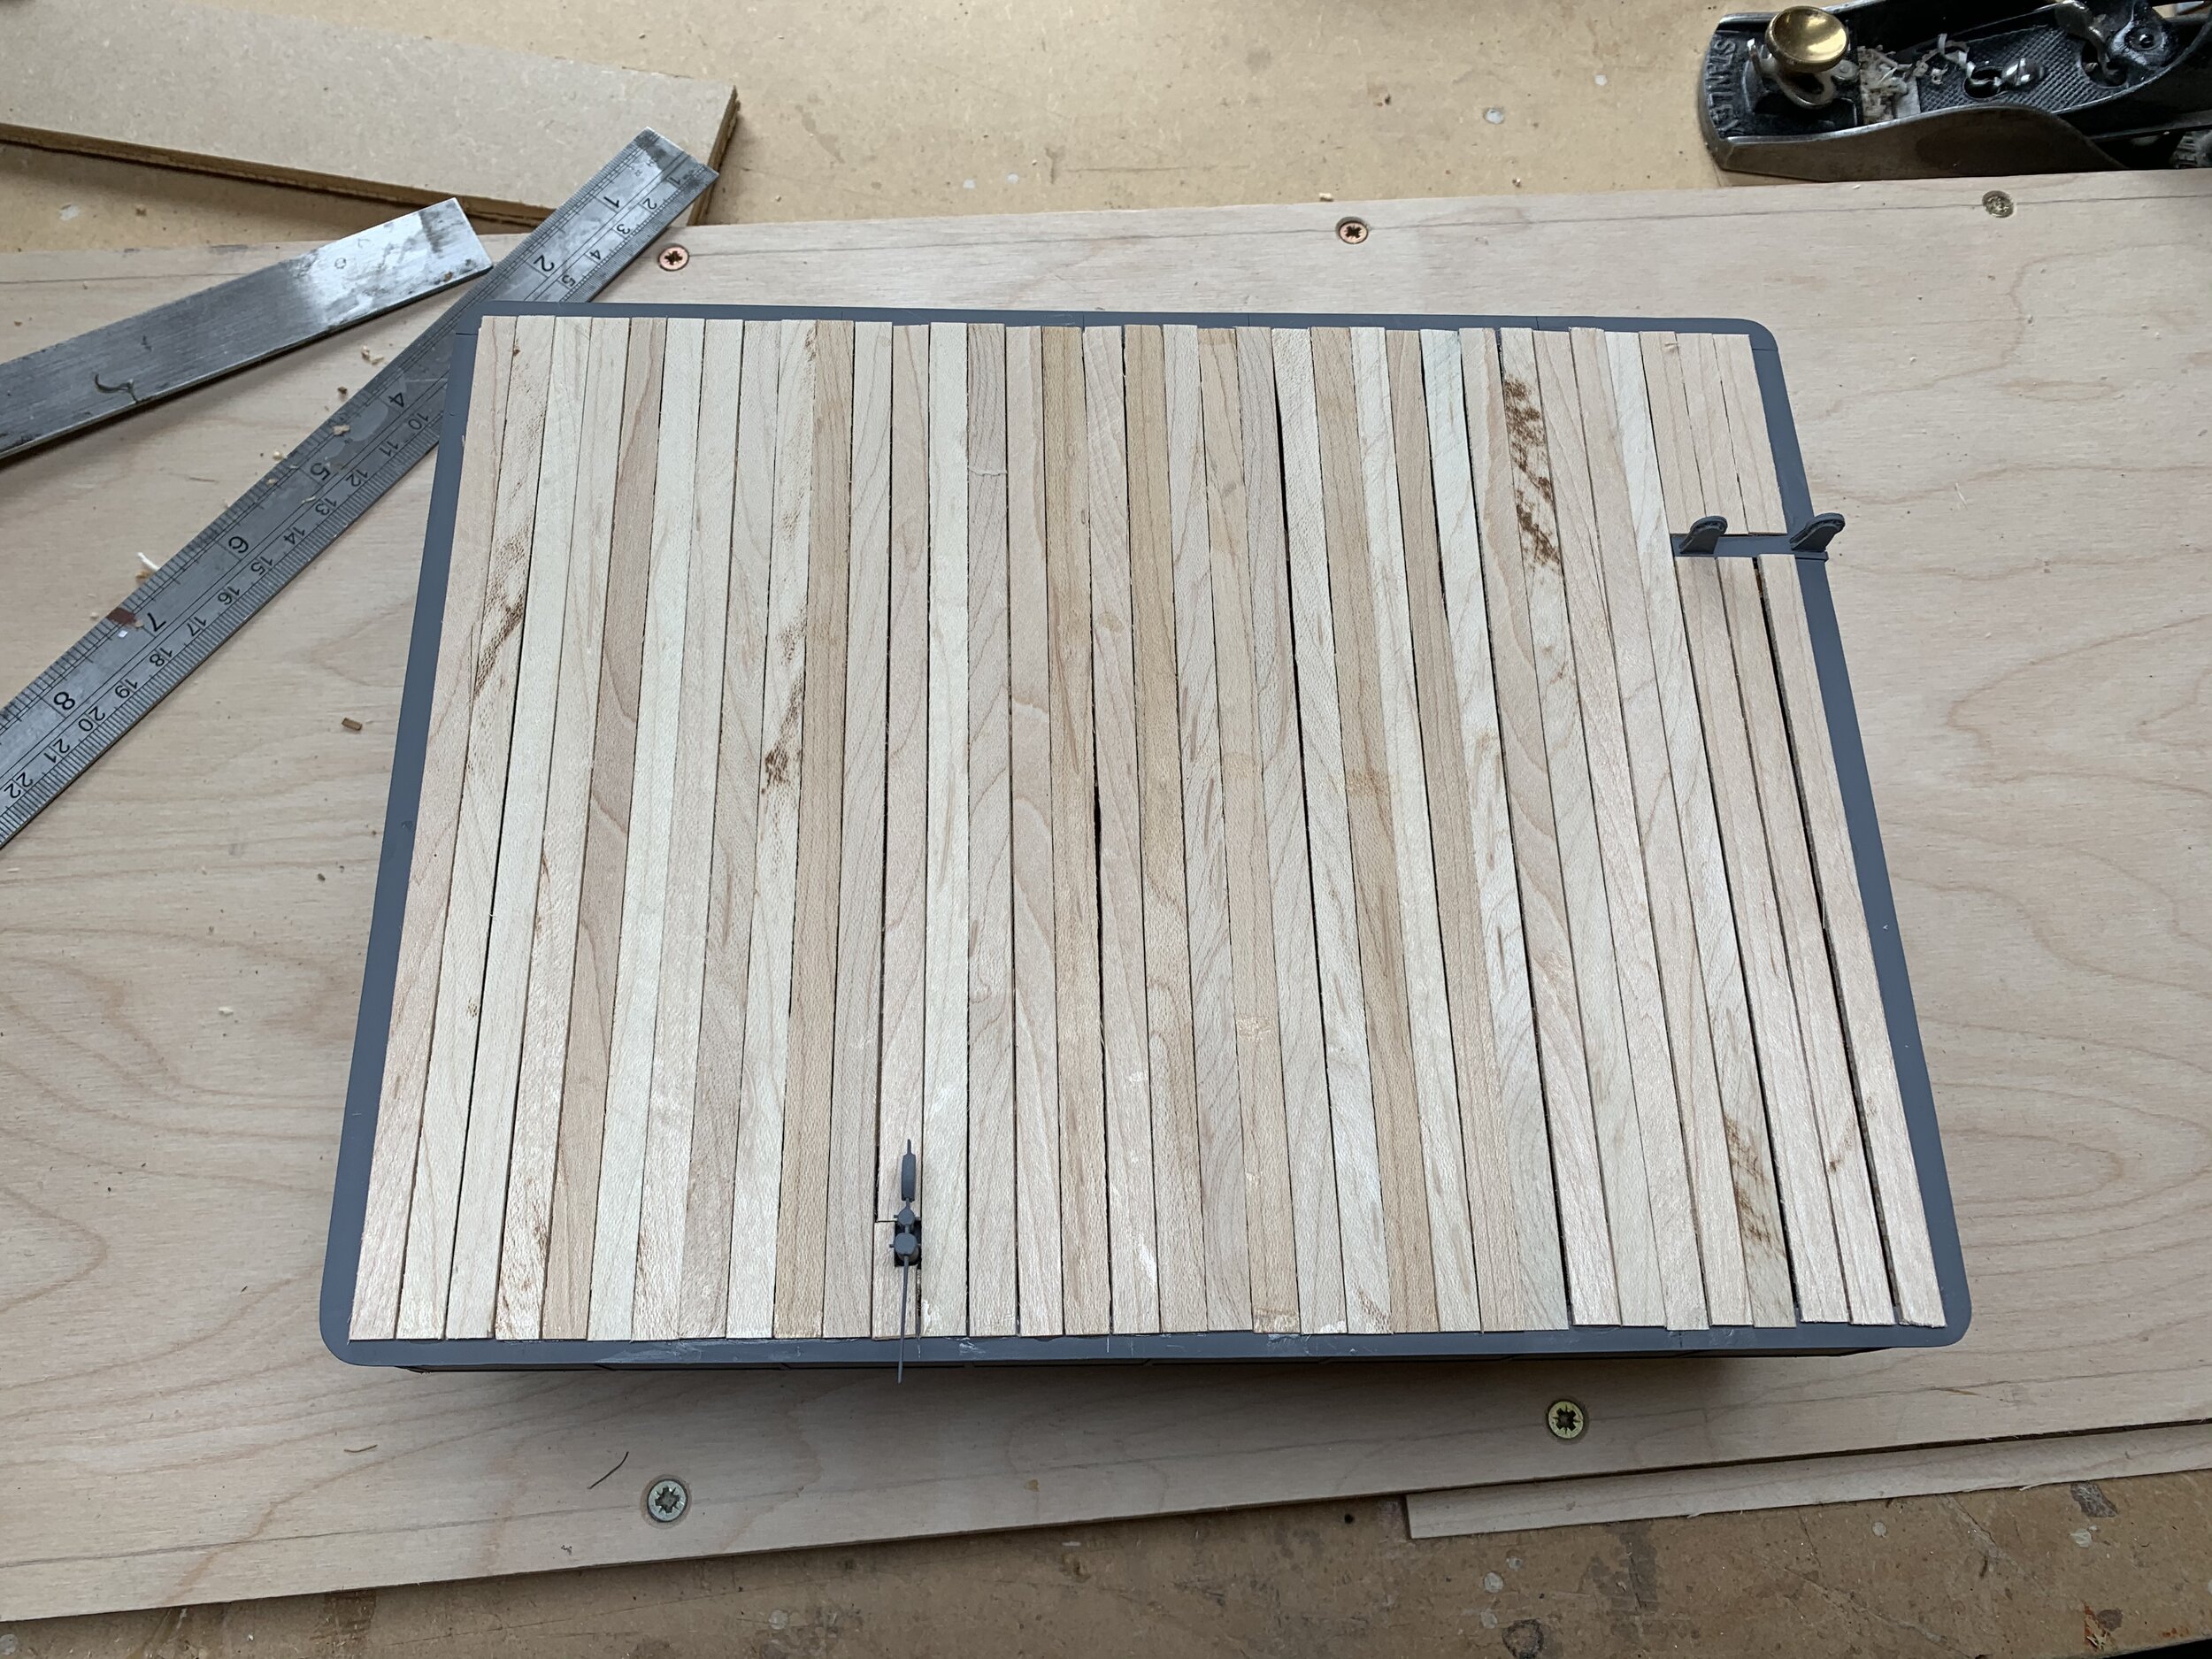
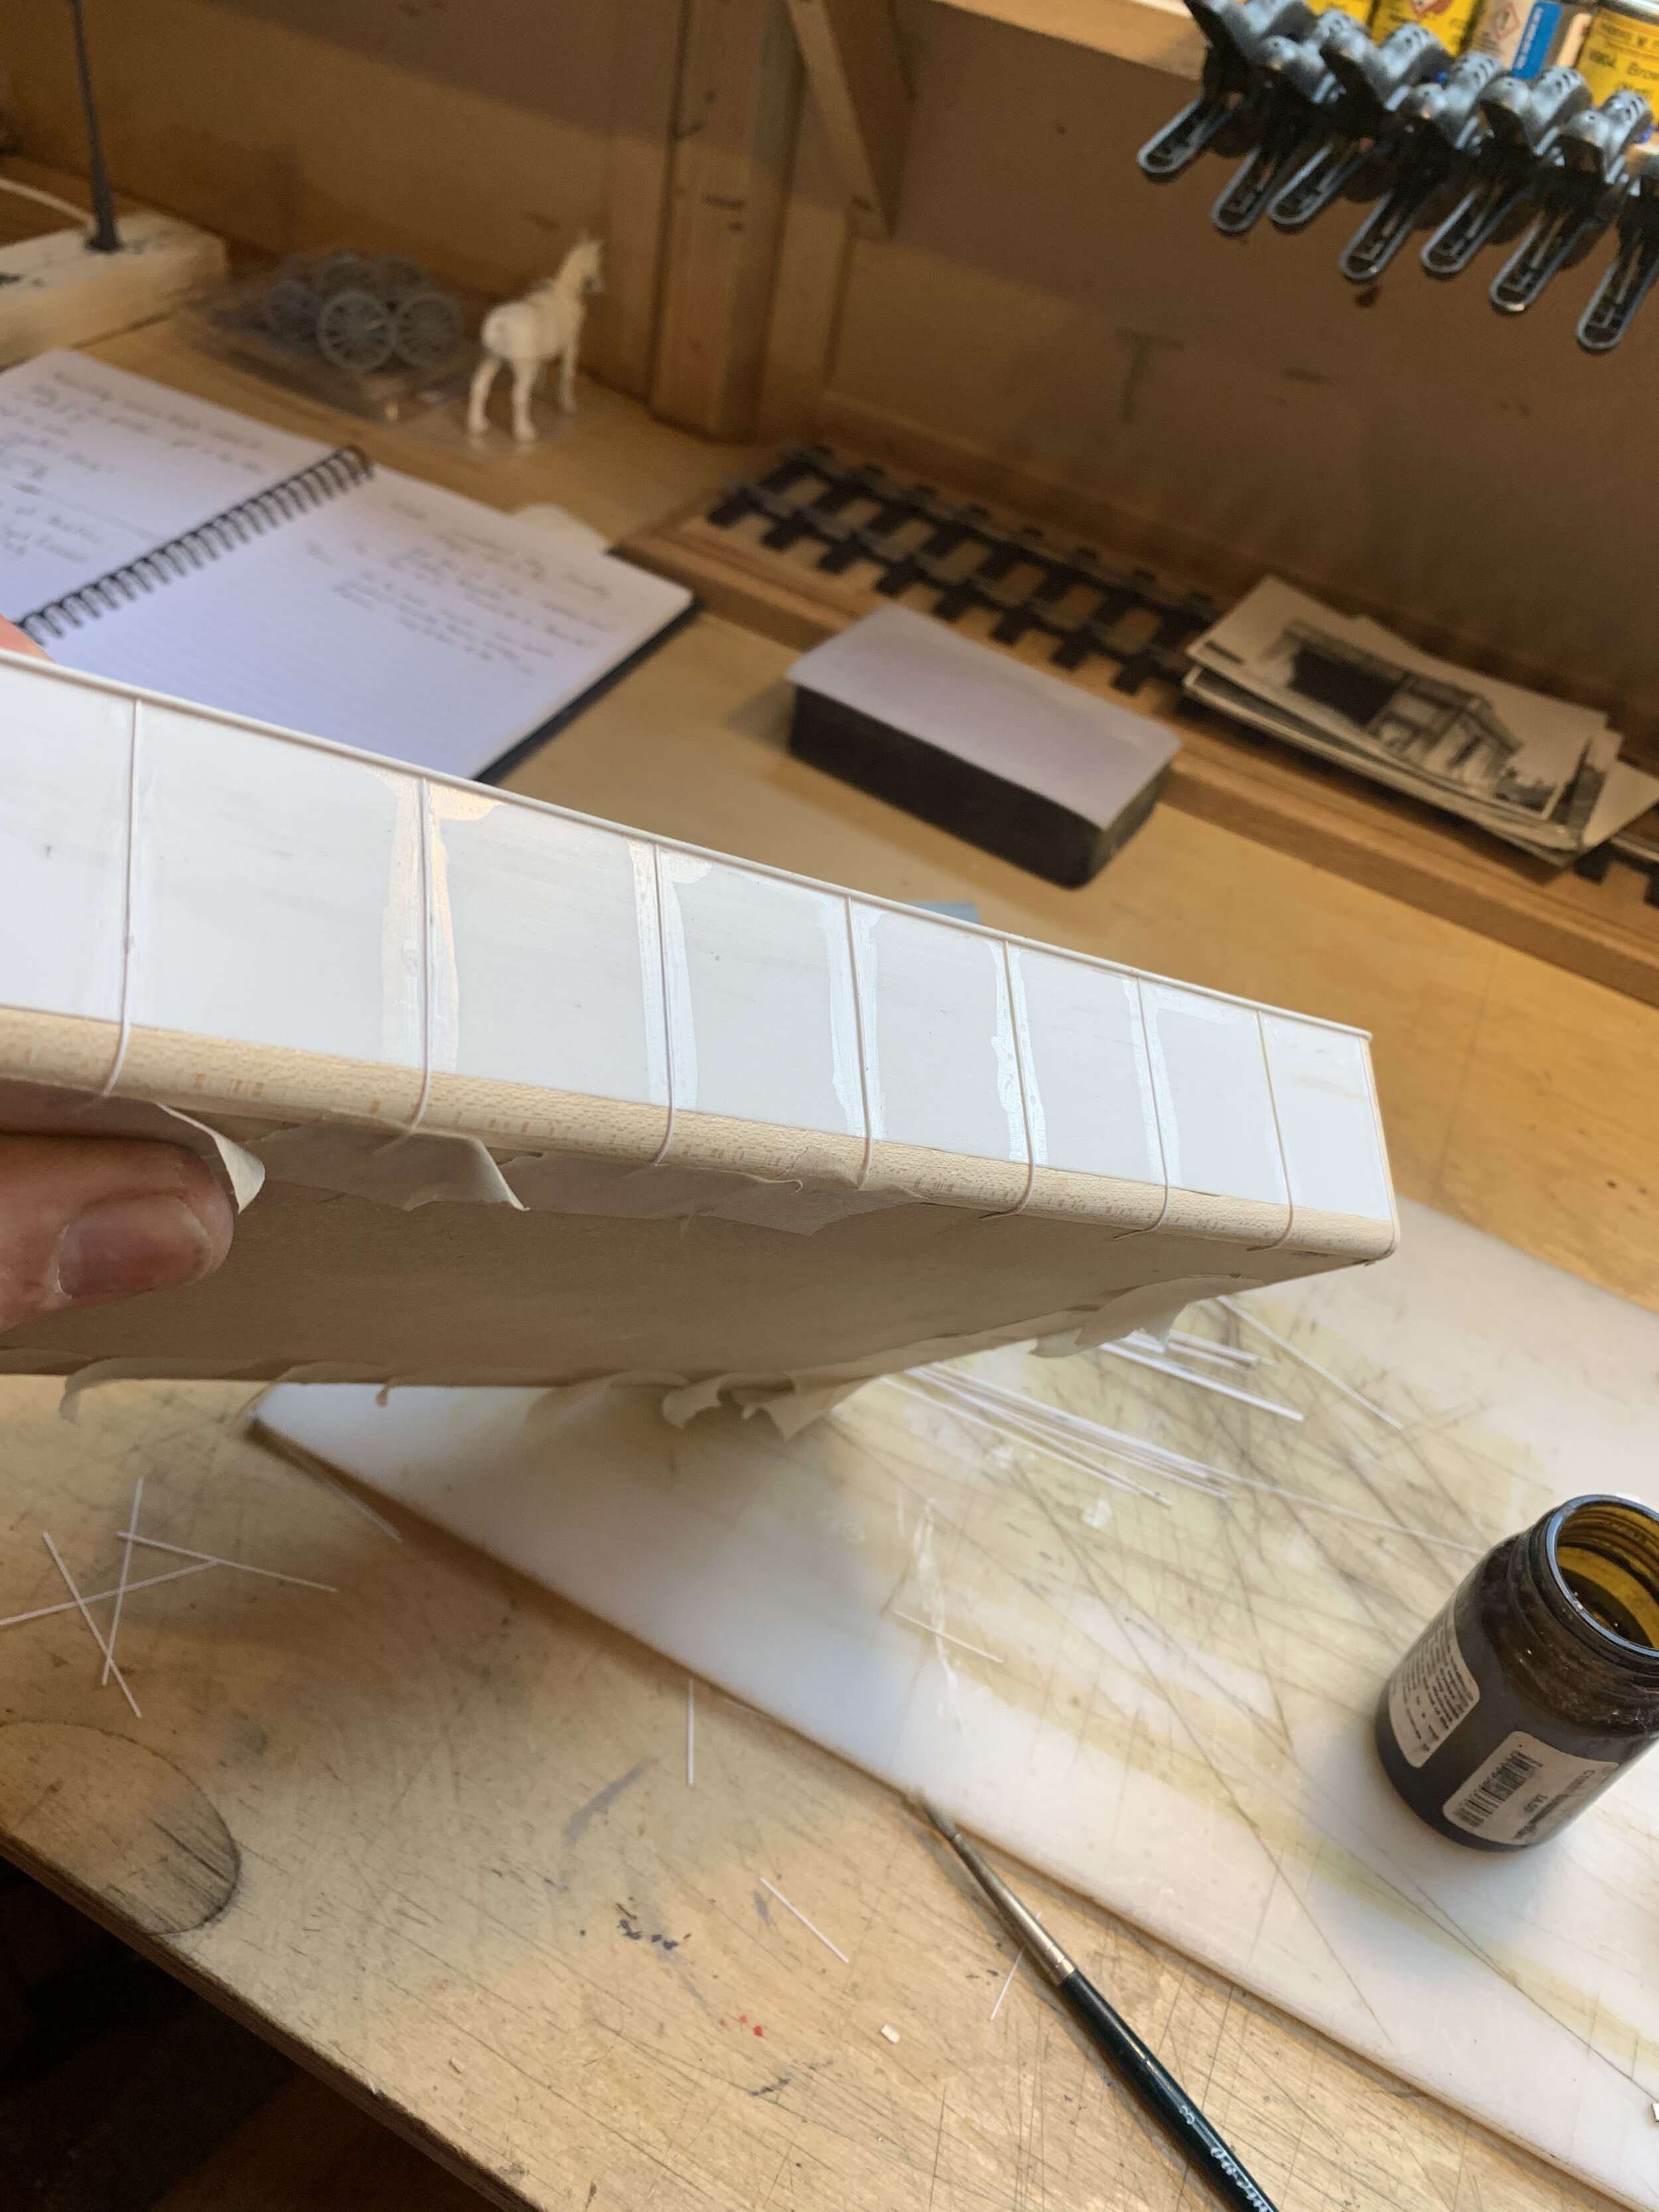
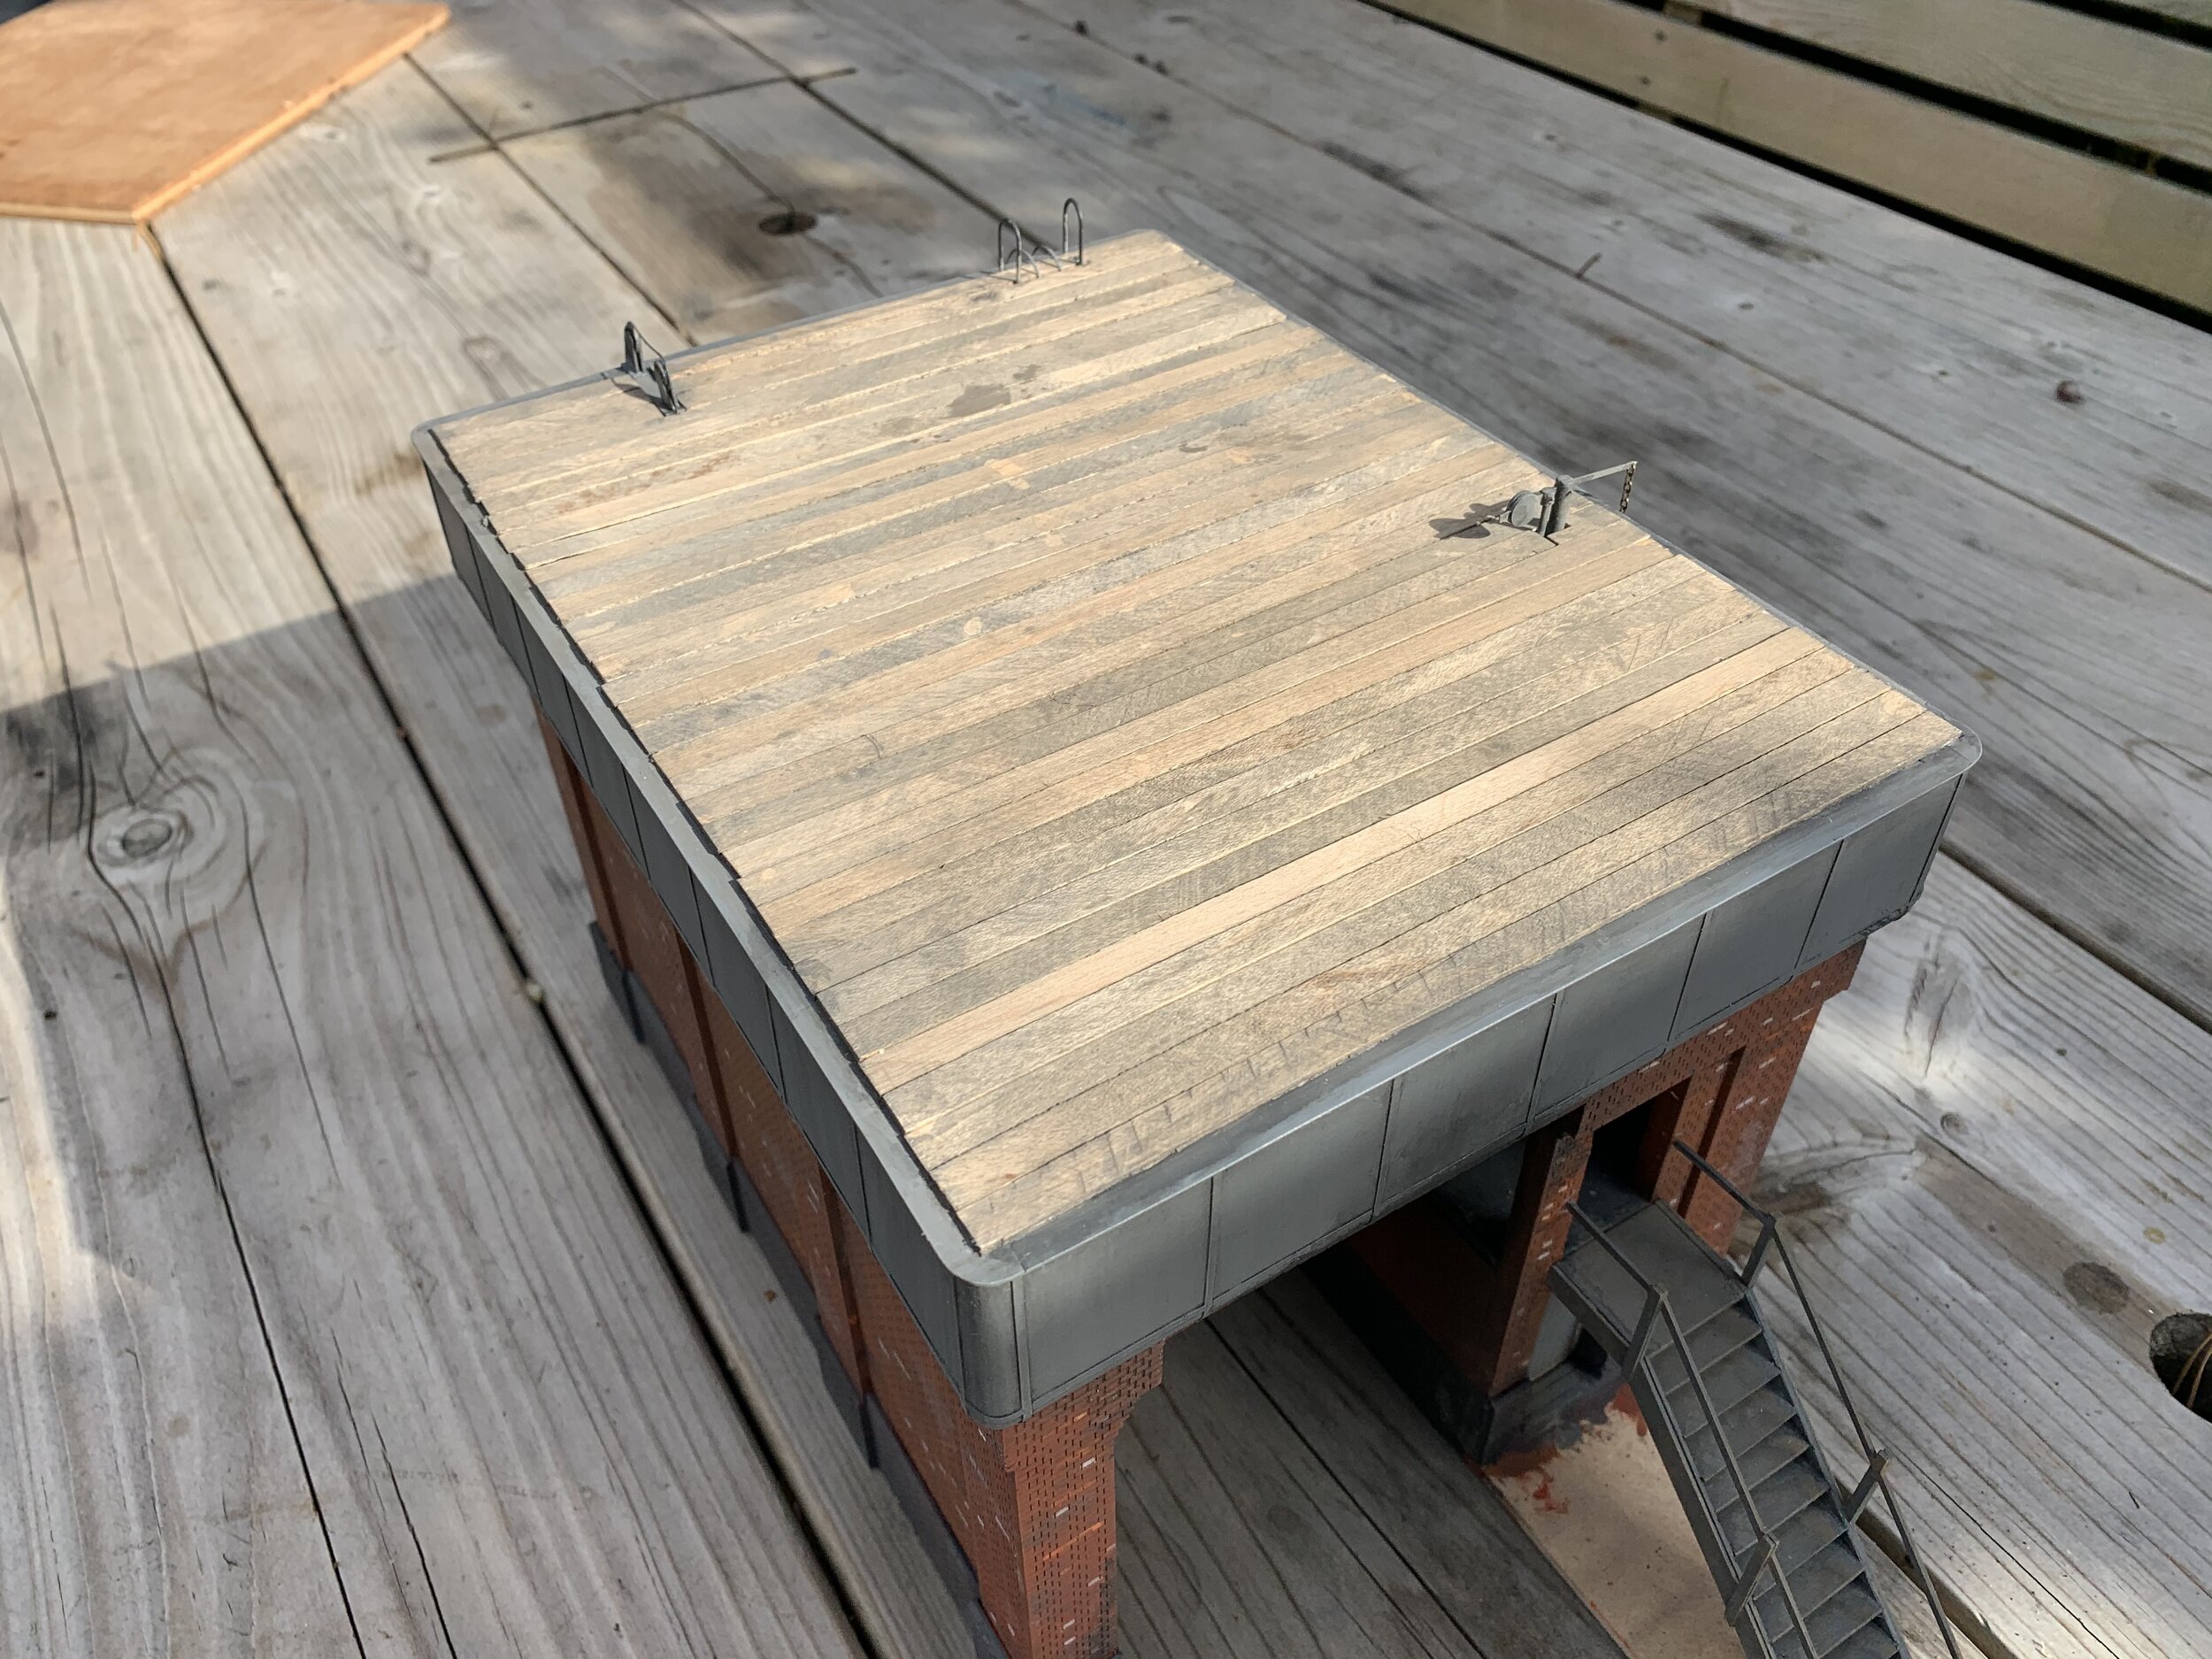
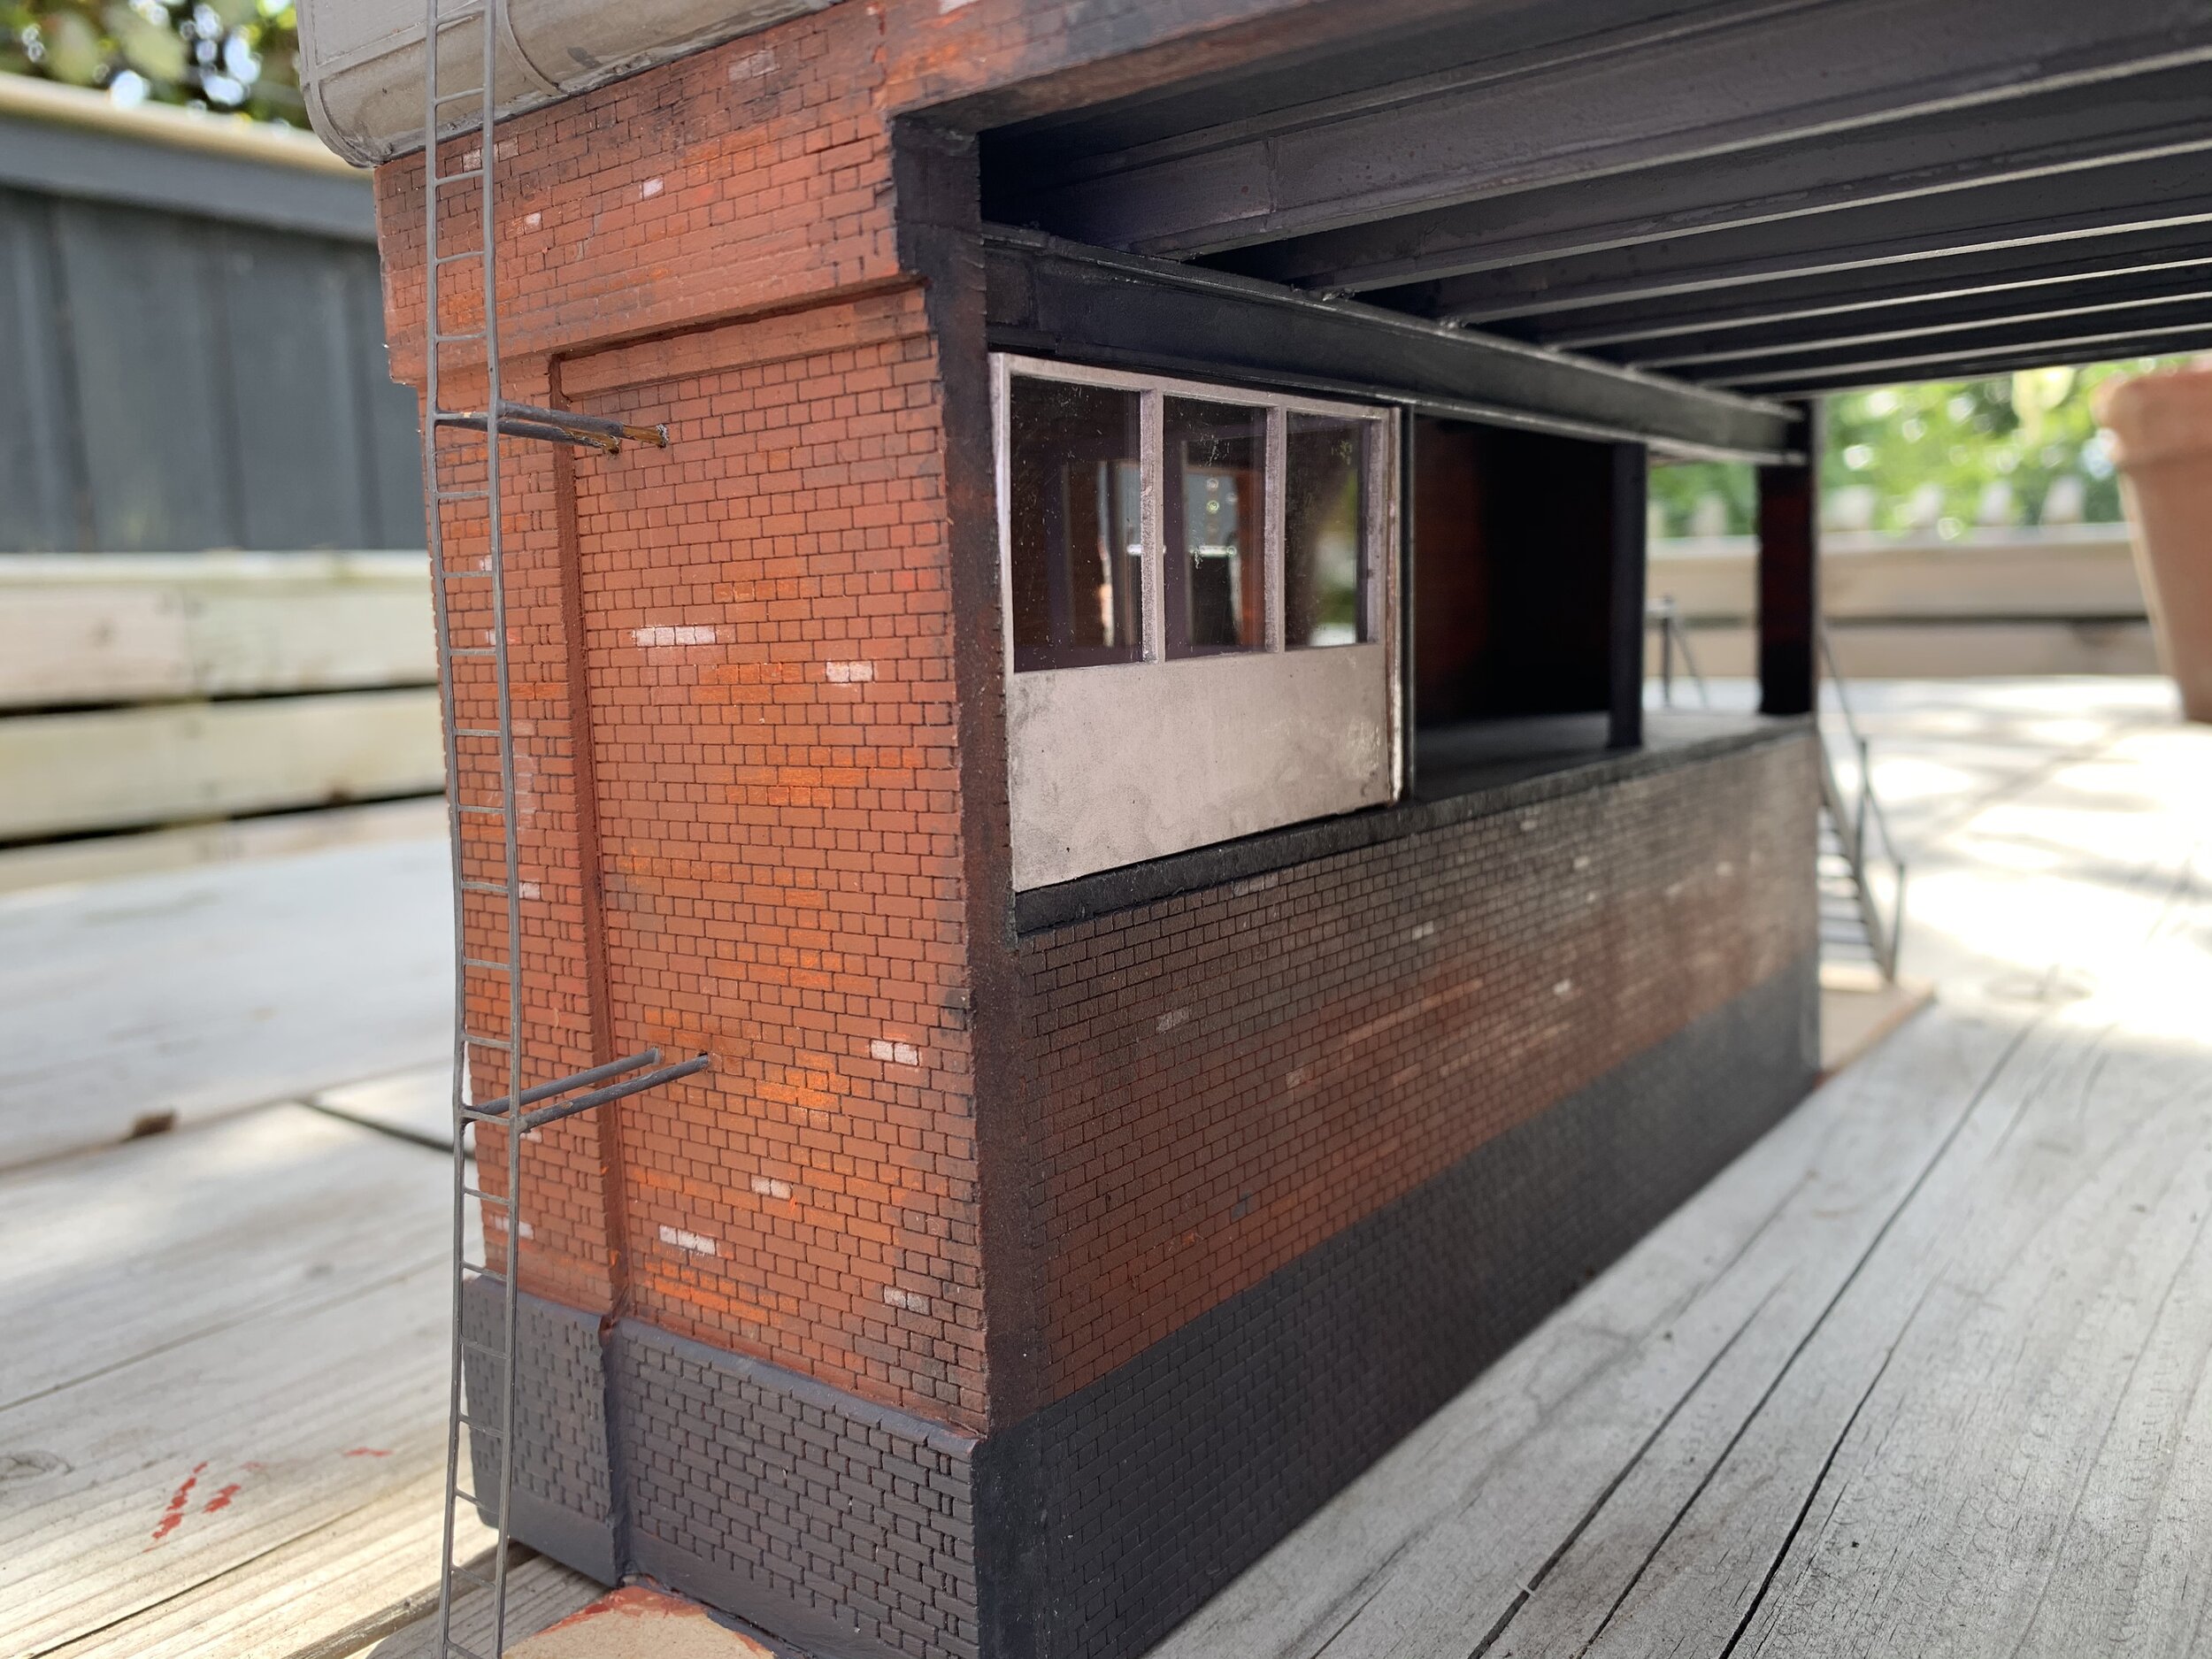
This model (to 7mm/ft) is part of a large layout build and complements the LNWR Engine Shed. Its construction is mostly laser-cut MDF. The tank is a solid core of MDF around which the tank details were added in plastikard. The wooden planking on the top is maple. Sometimes there is no substitute to represent real wood than real wood. Full internal detail is modelled. If you would like one, or similar do contact me.
And here’s a photo of the coal hole positioned temporarily on the customer’s layout. A very similar photo exists of the coal hole at Buxton with a loco on the wagon ramp alongside the small shed. Prototype inspiration!

IMG_0256.jpg
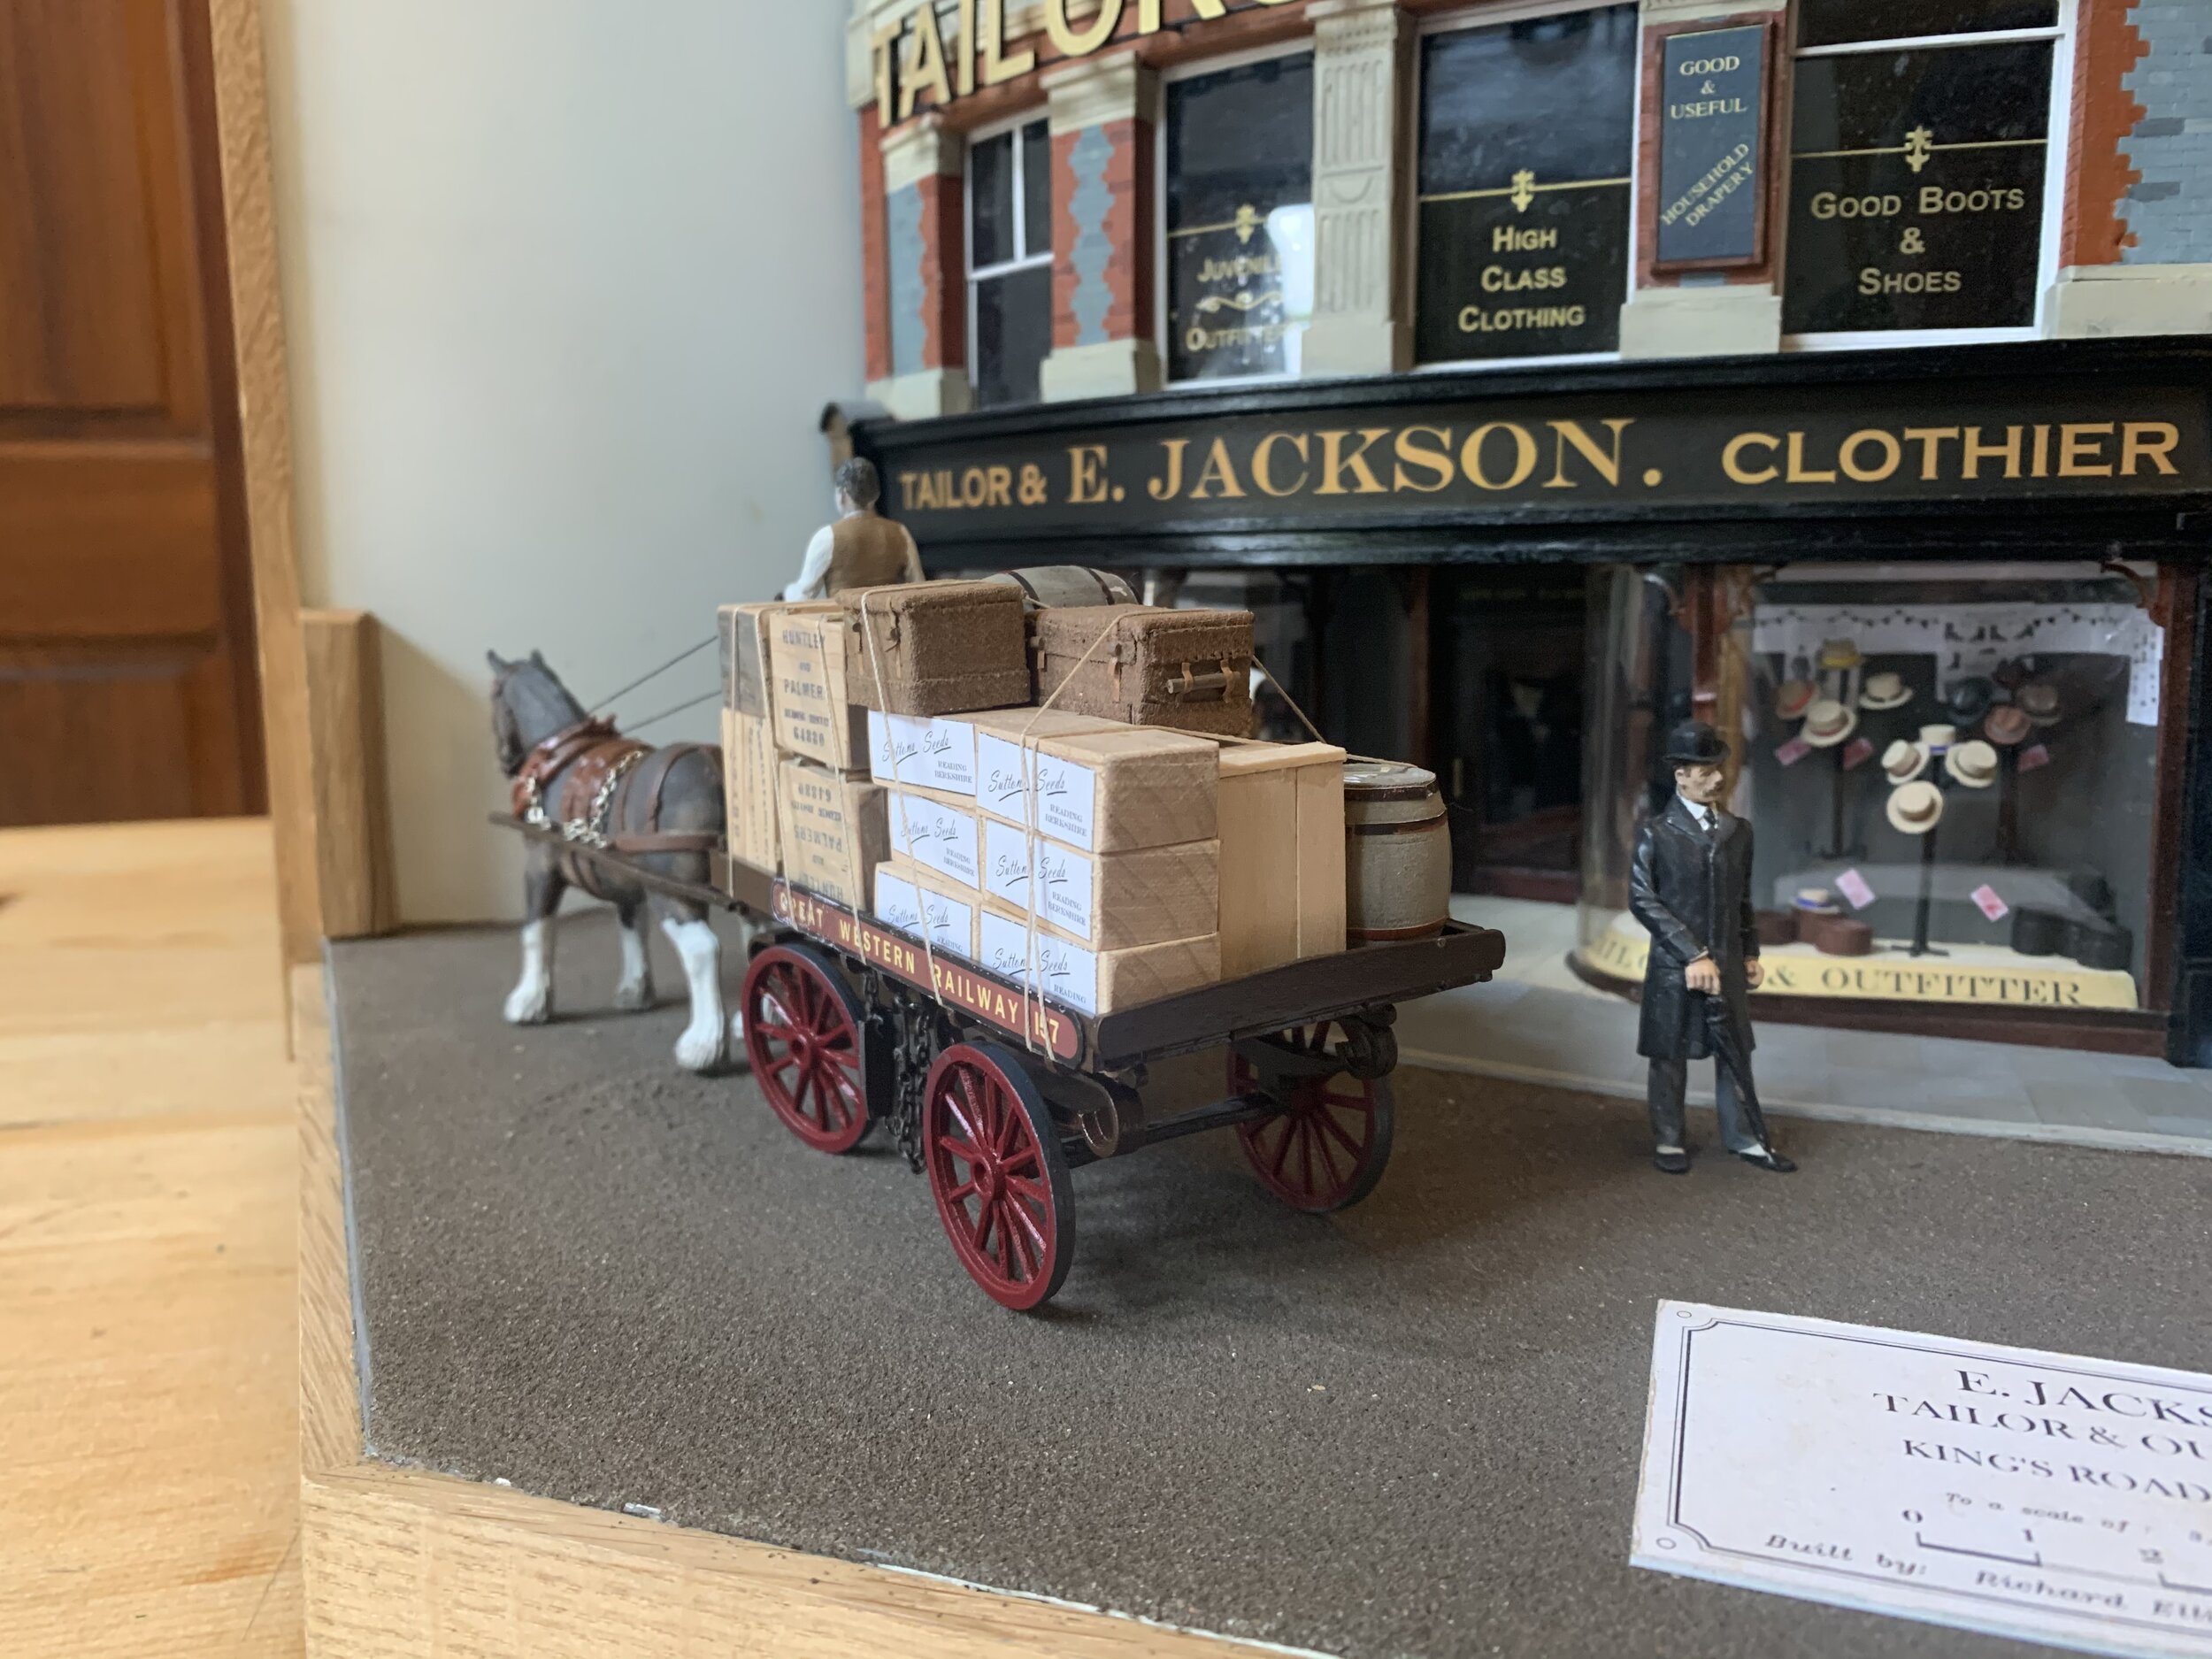
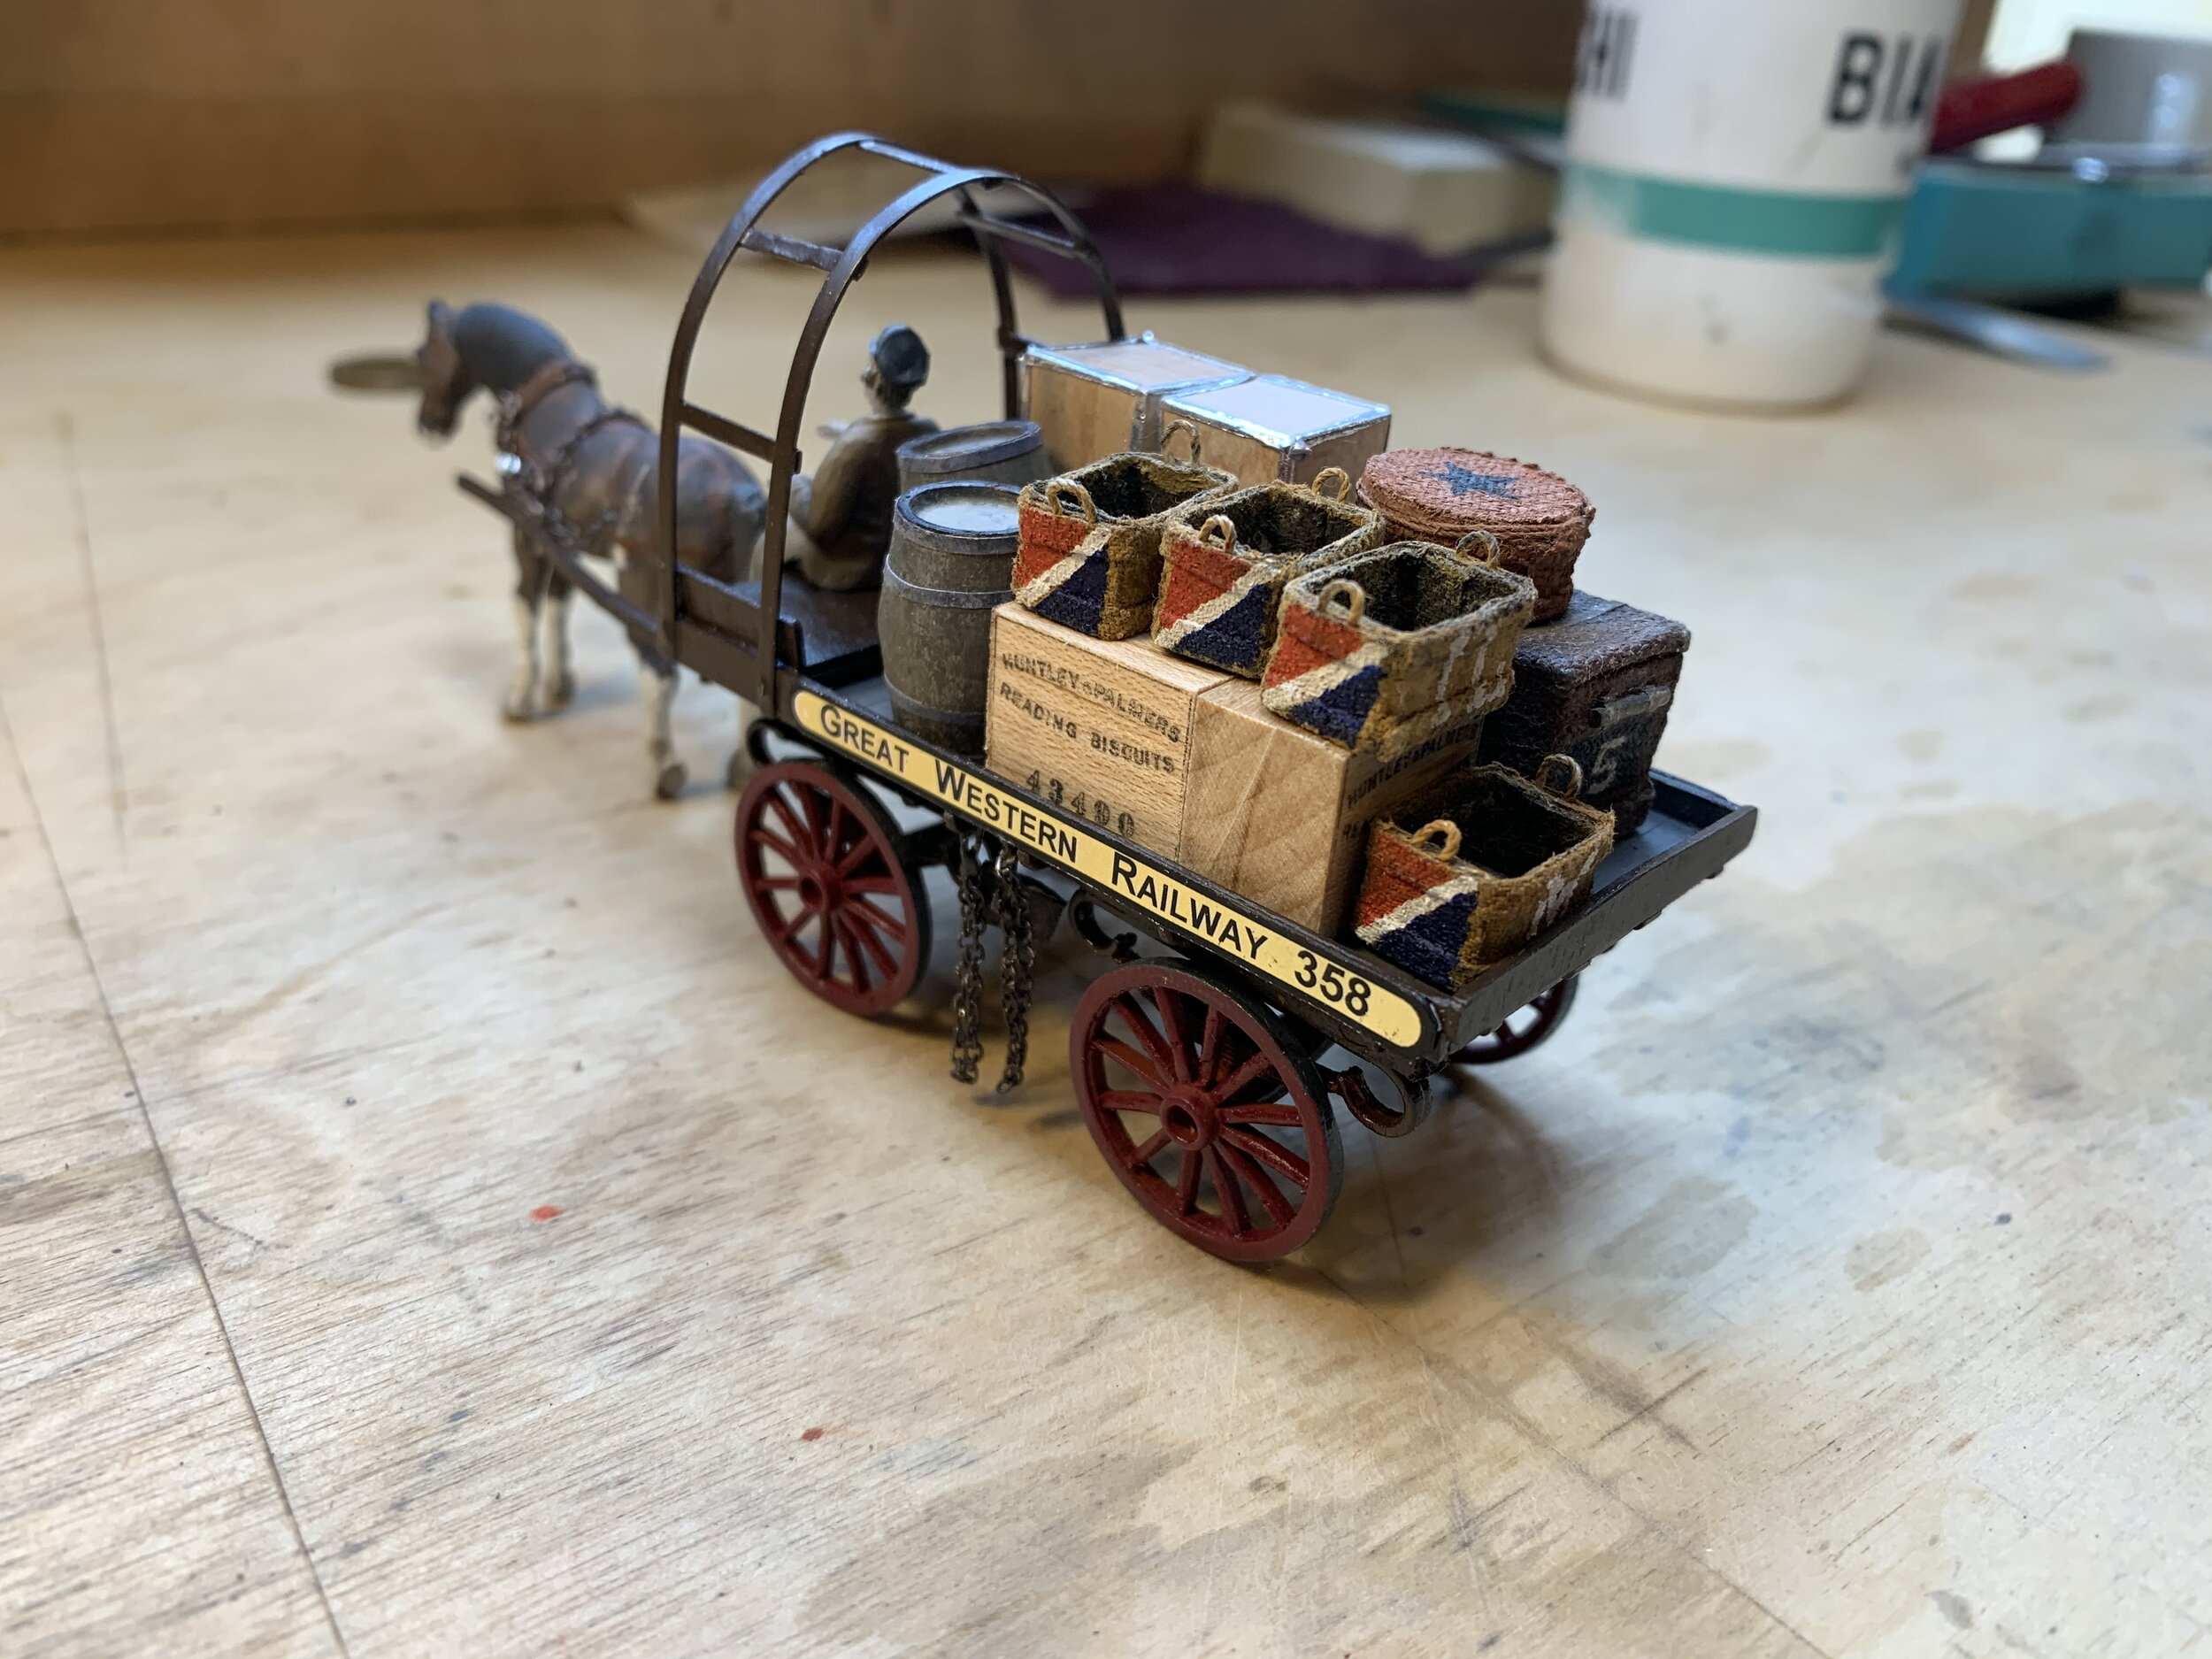
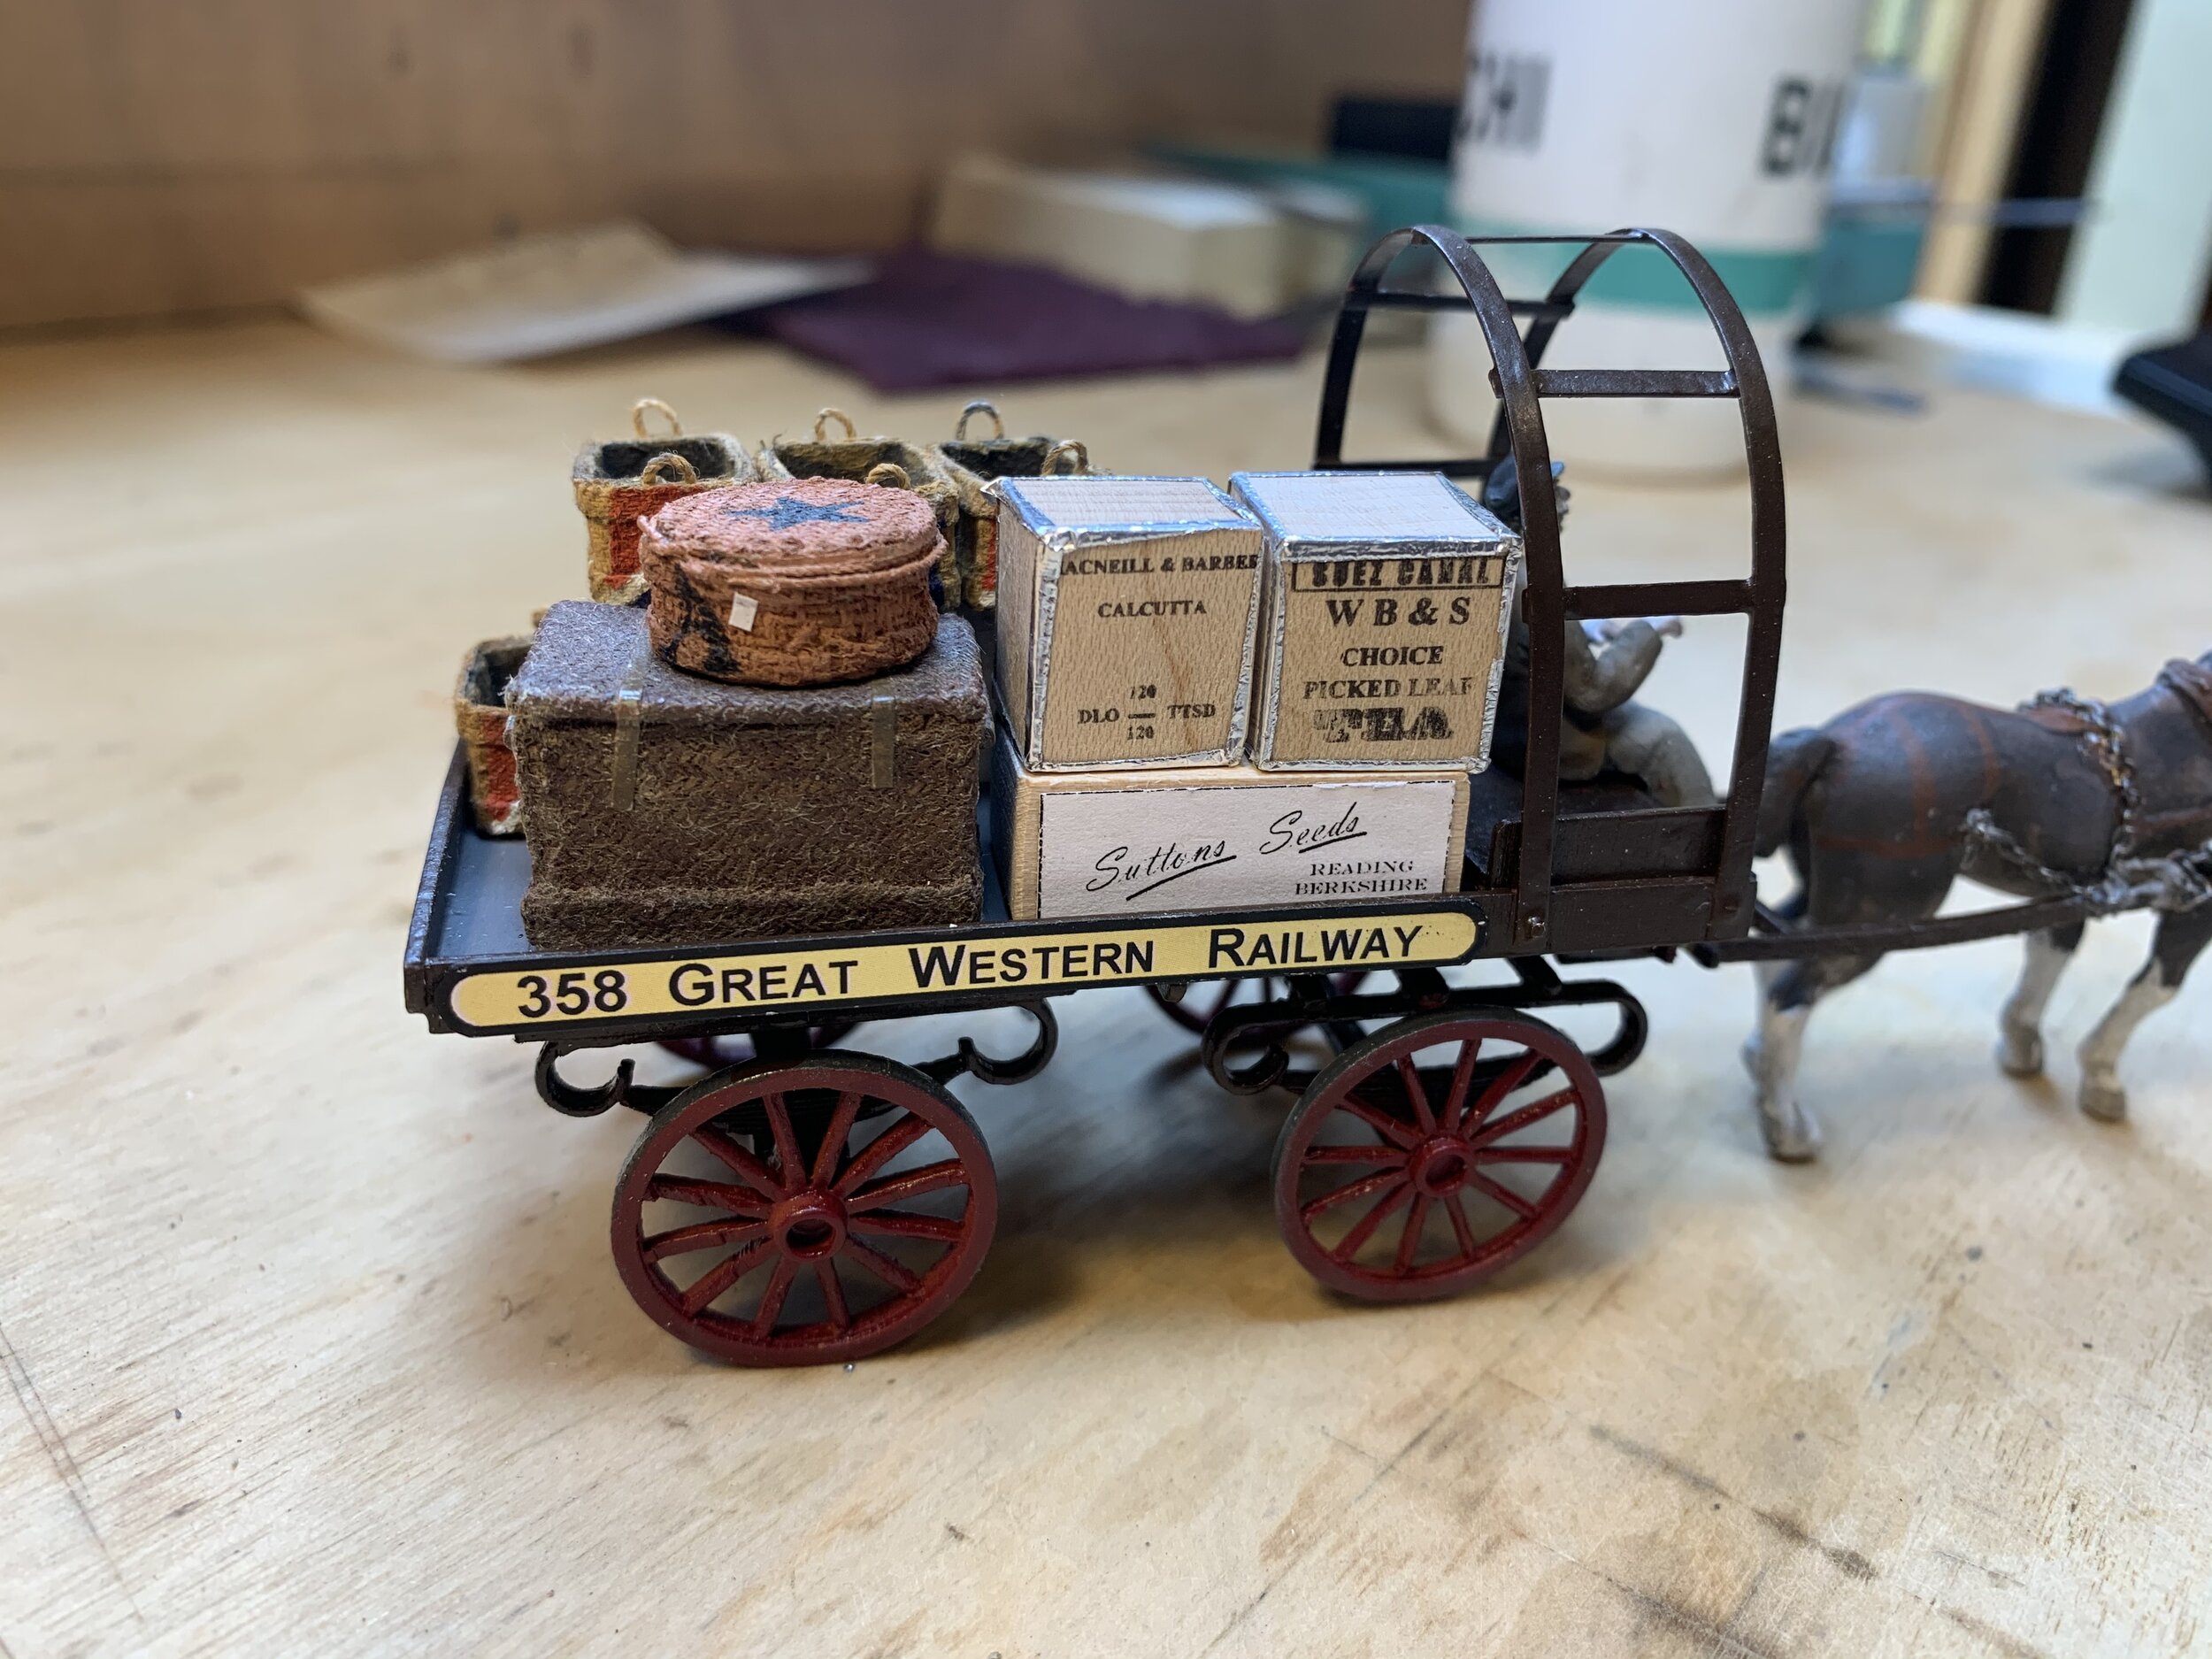
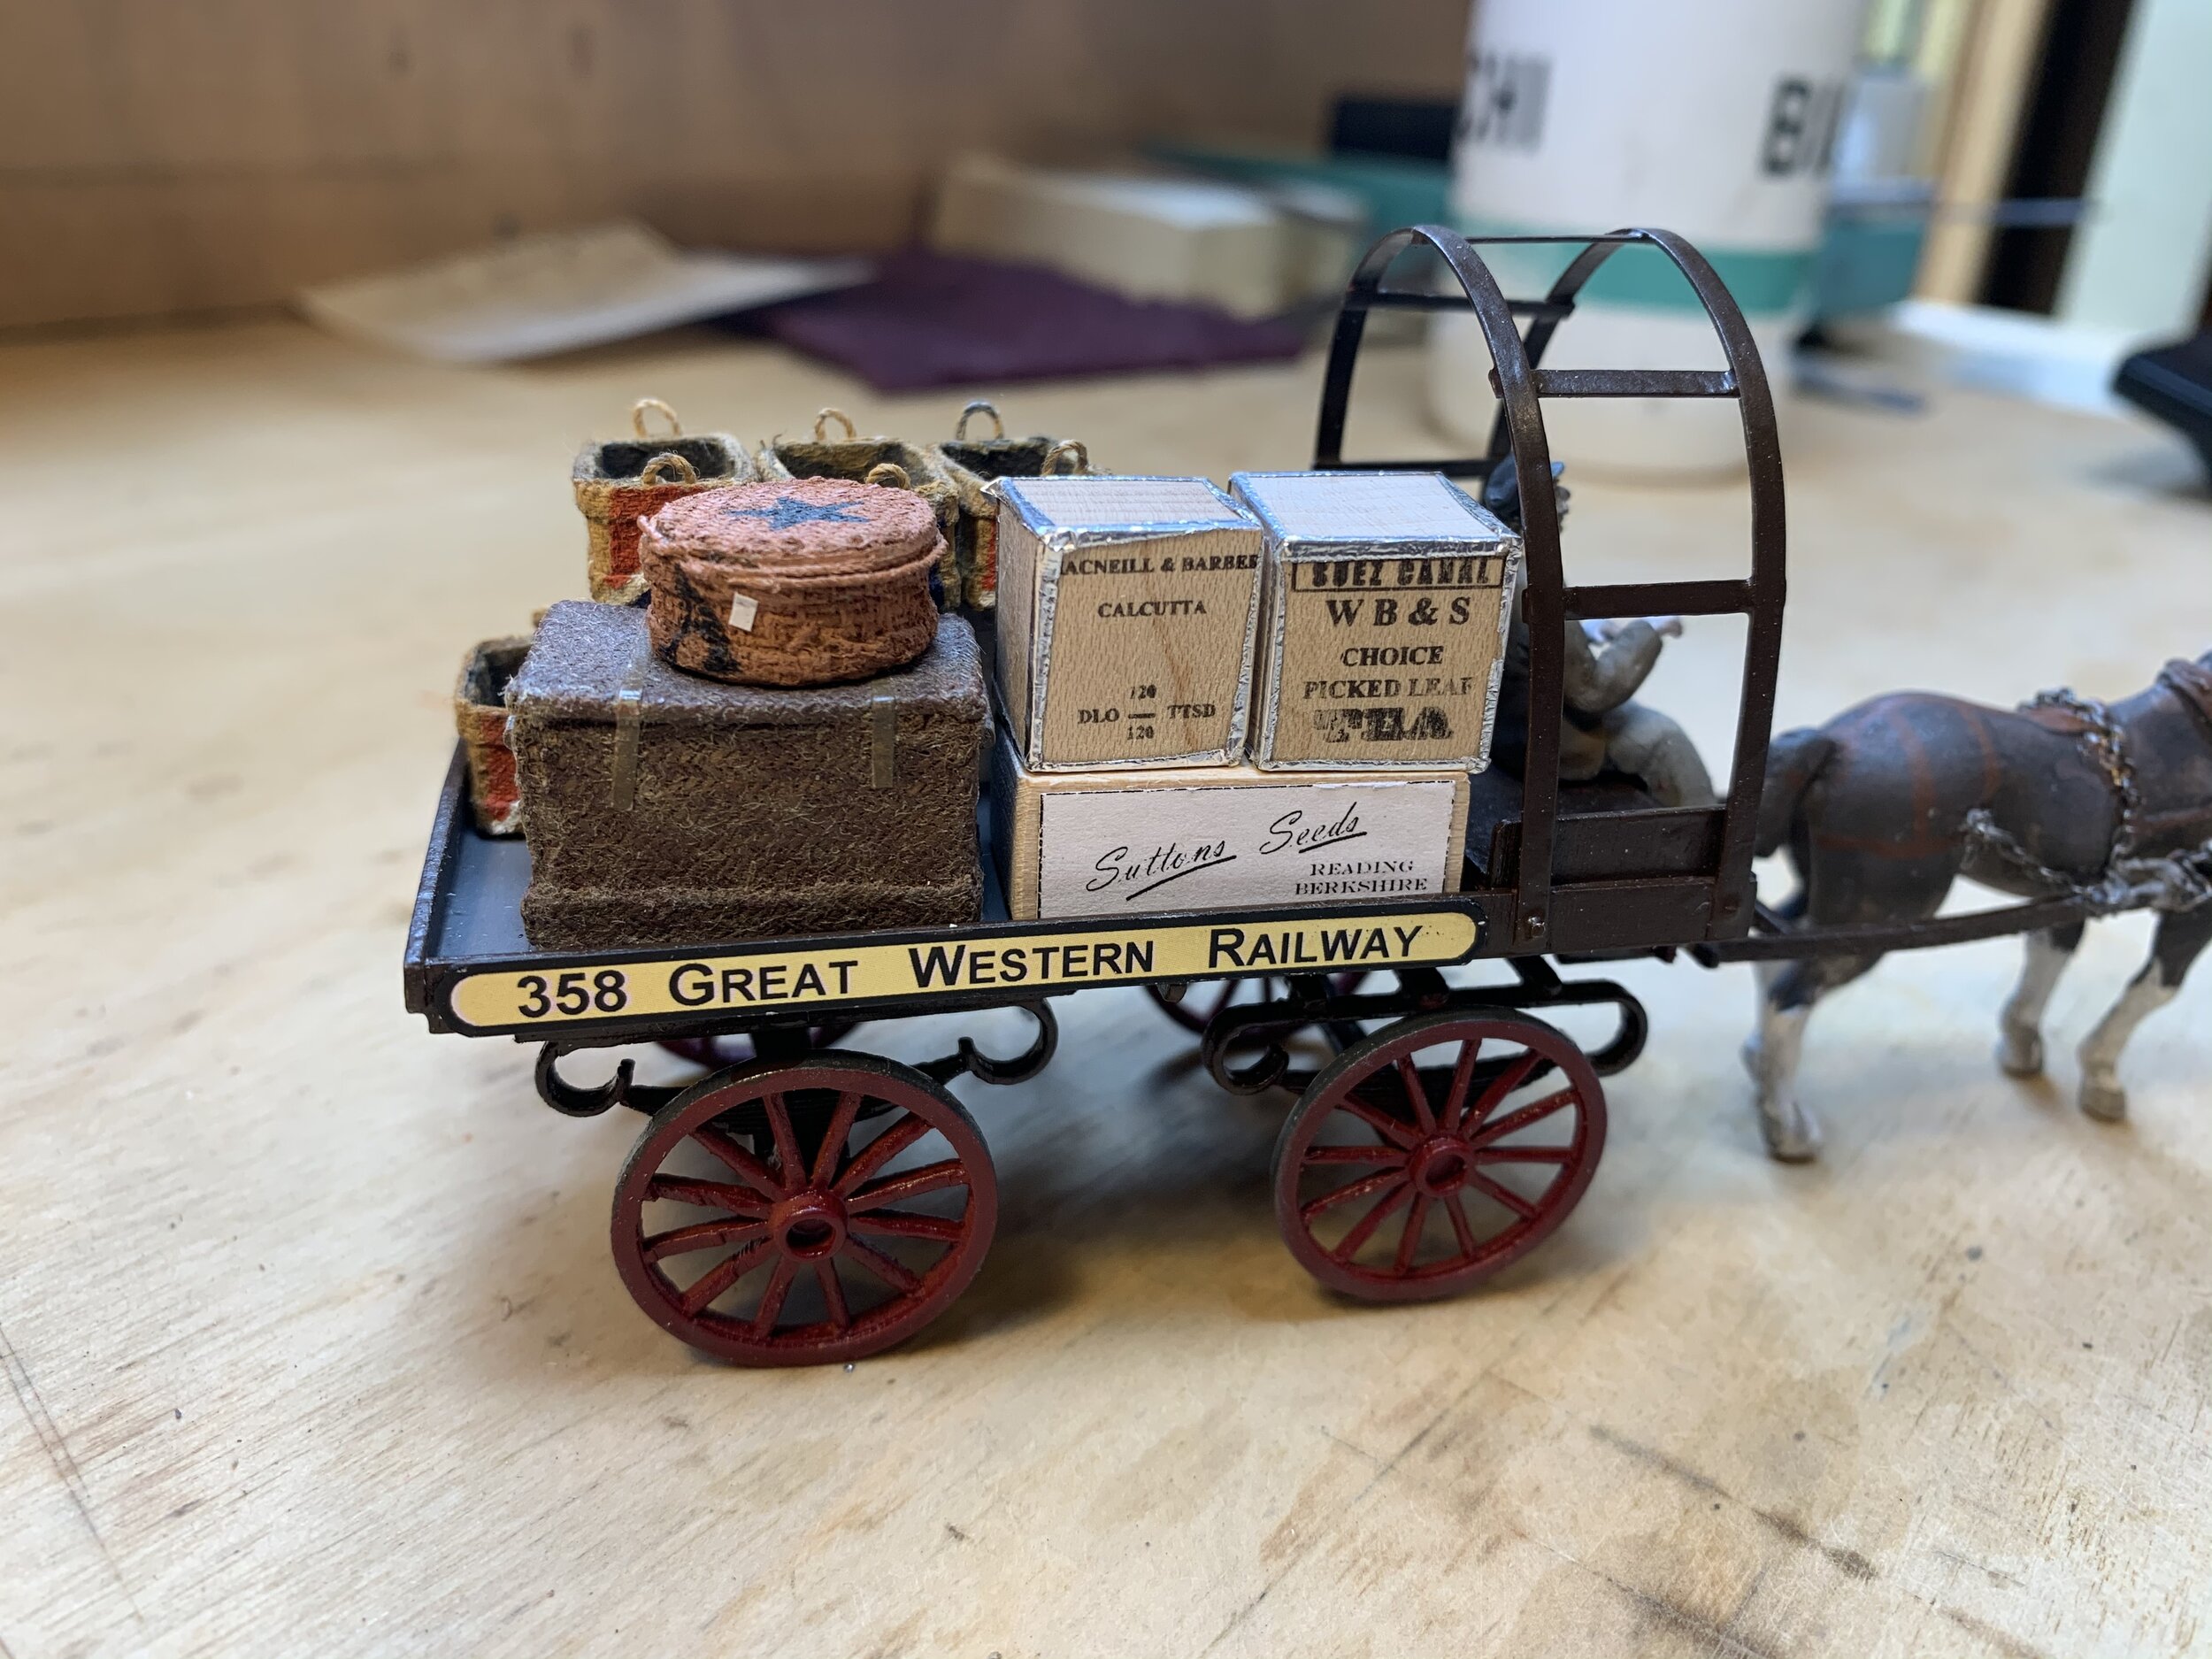
GWR Drays

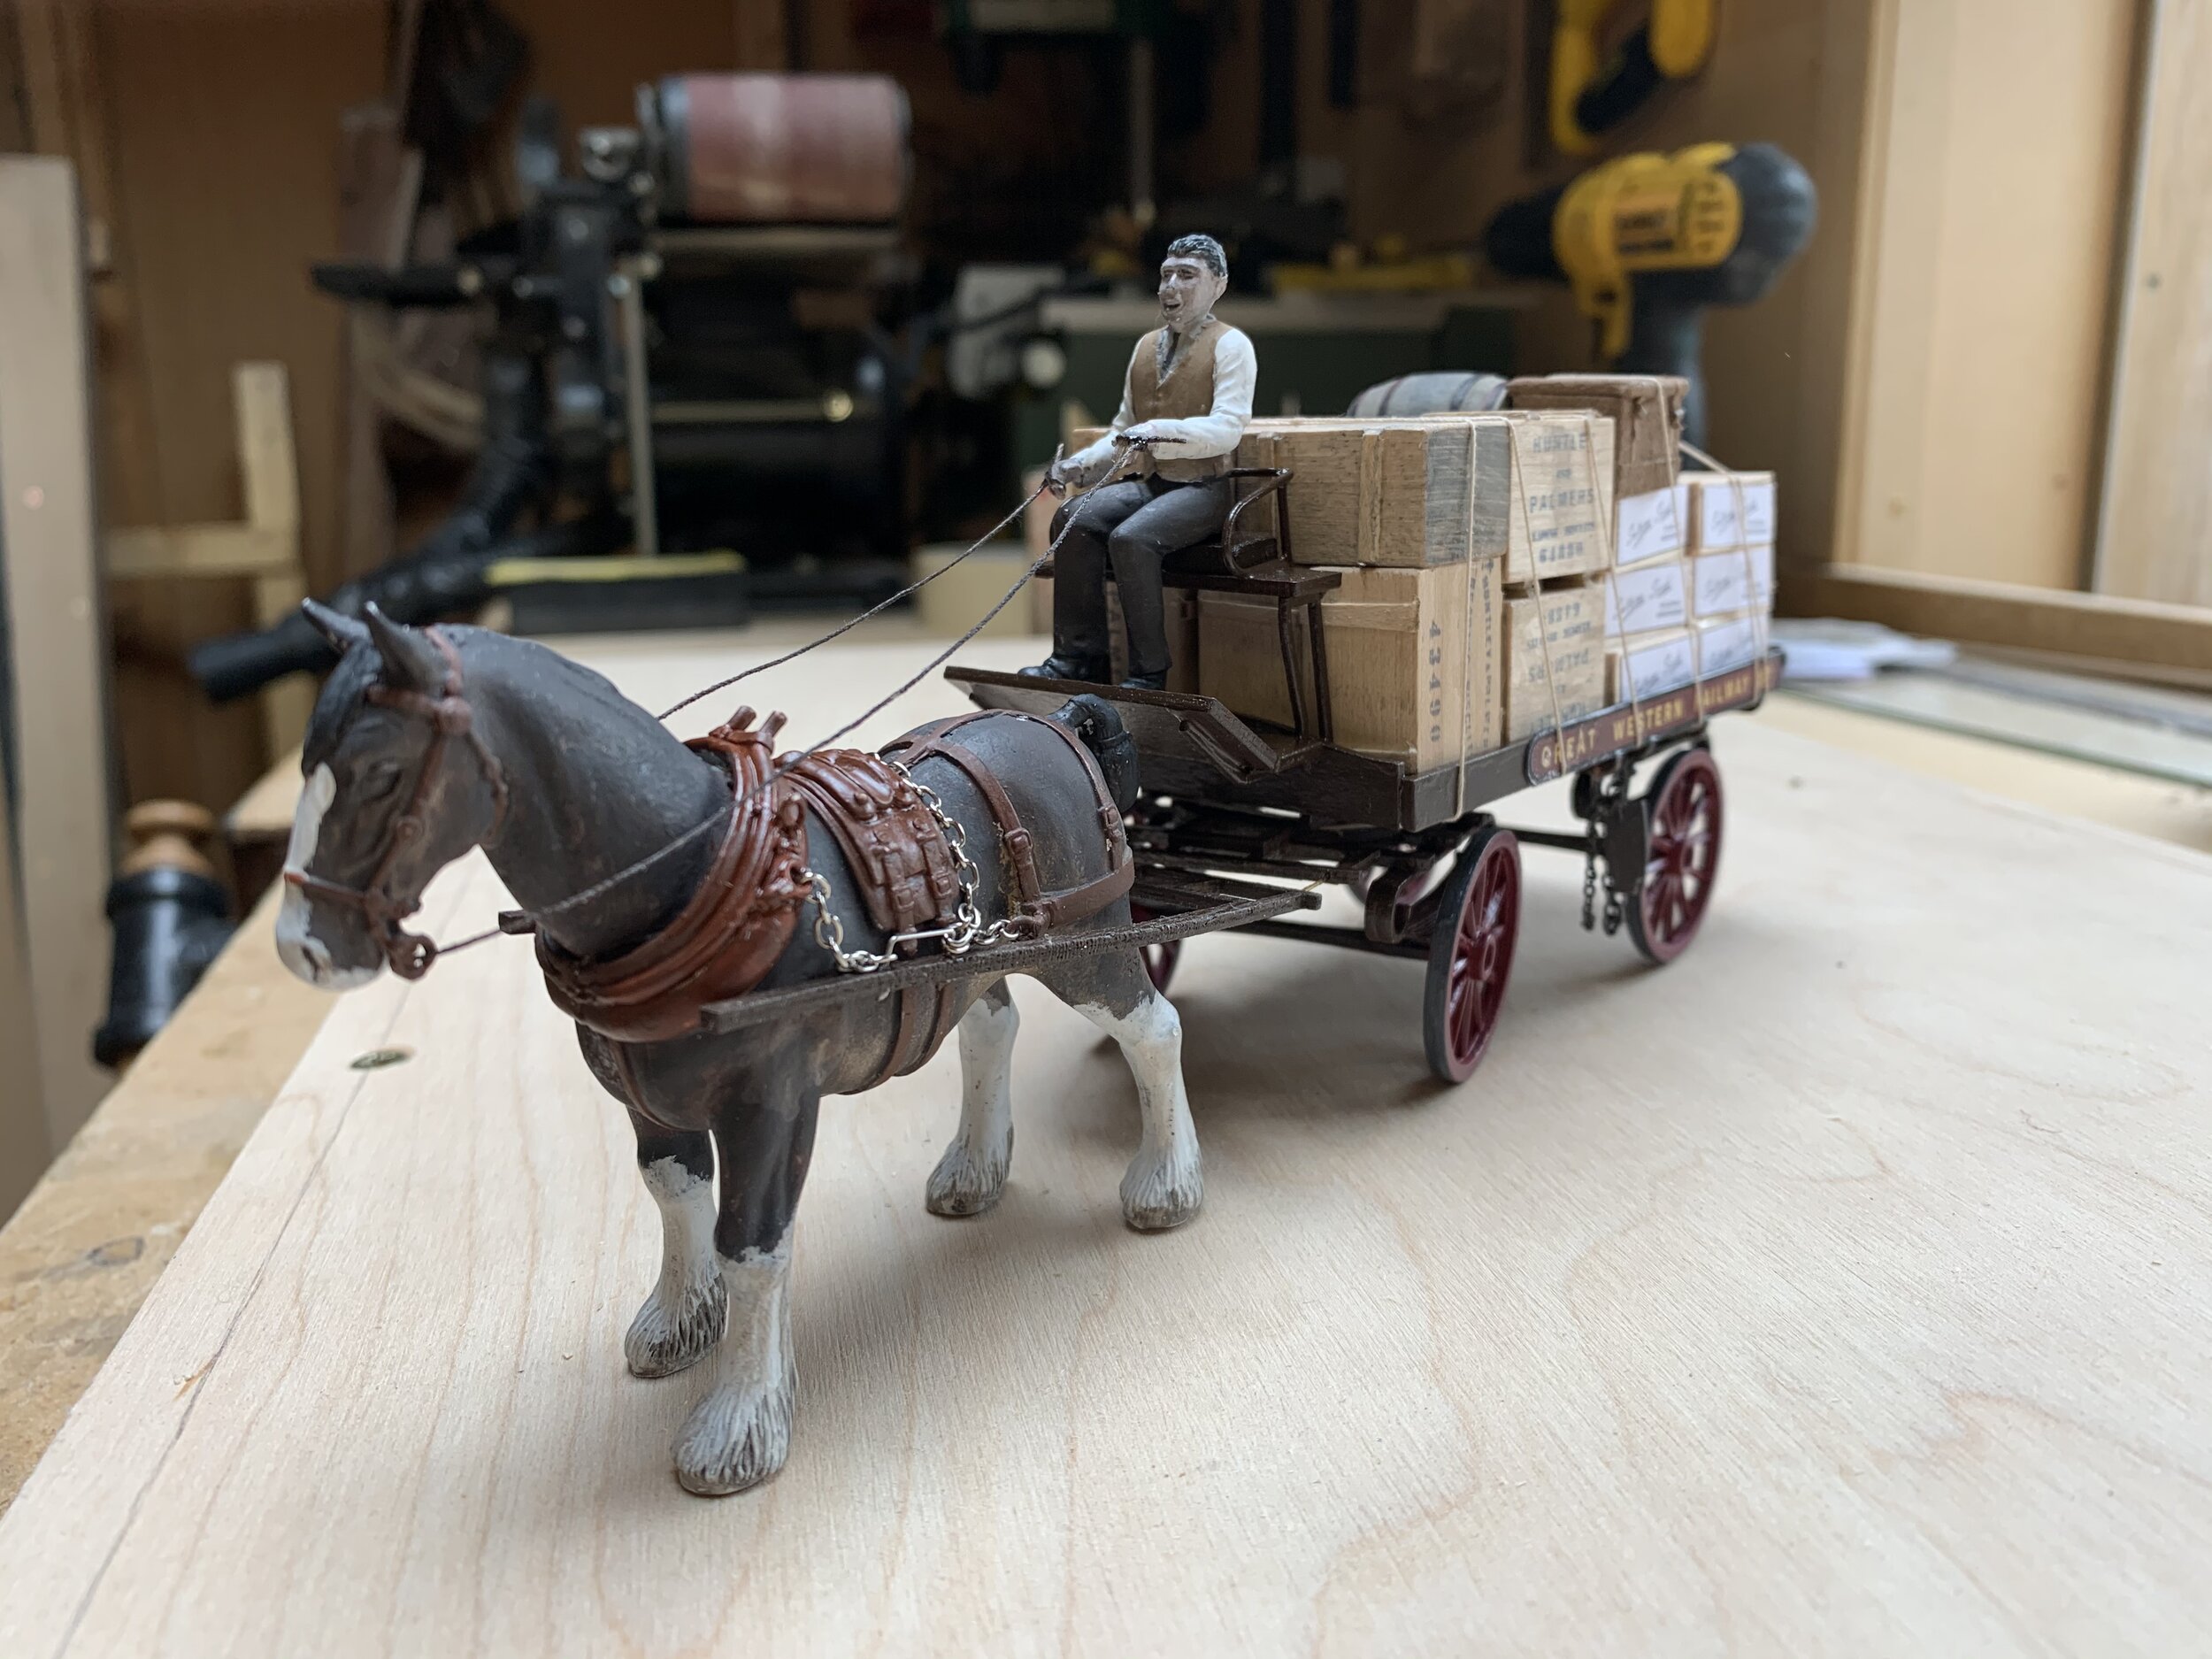
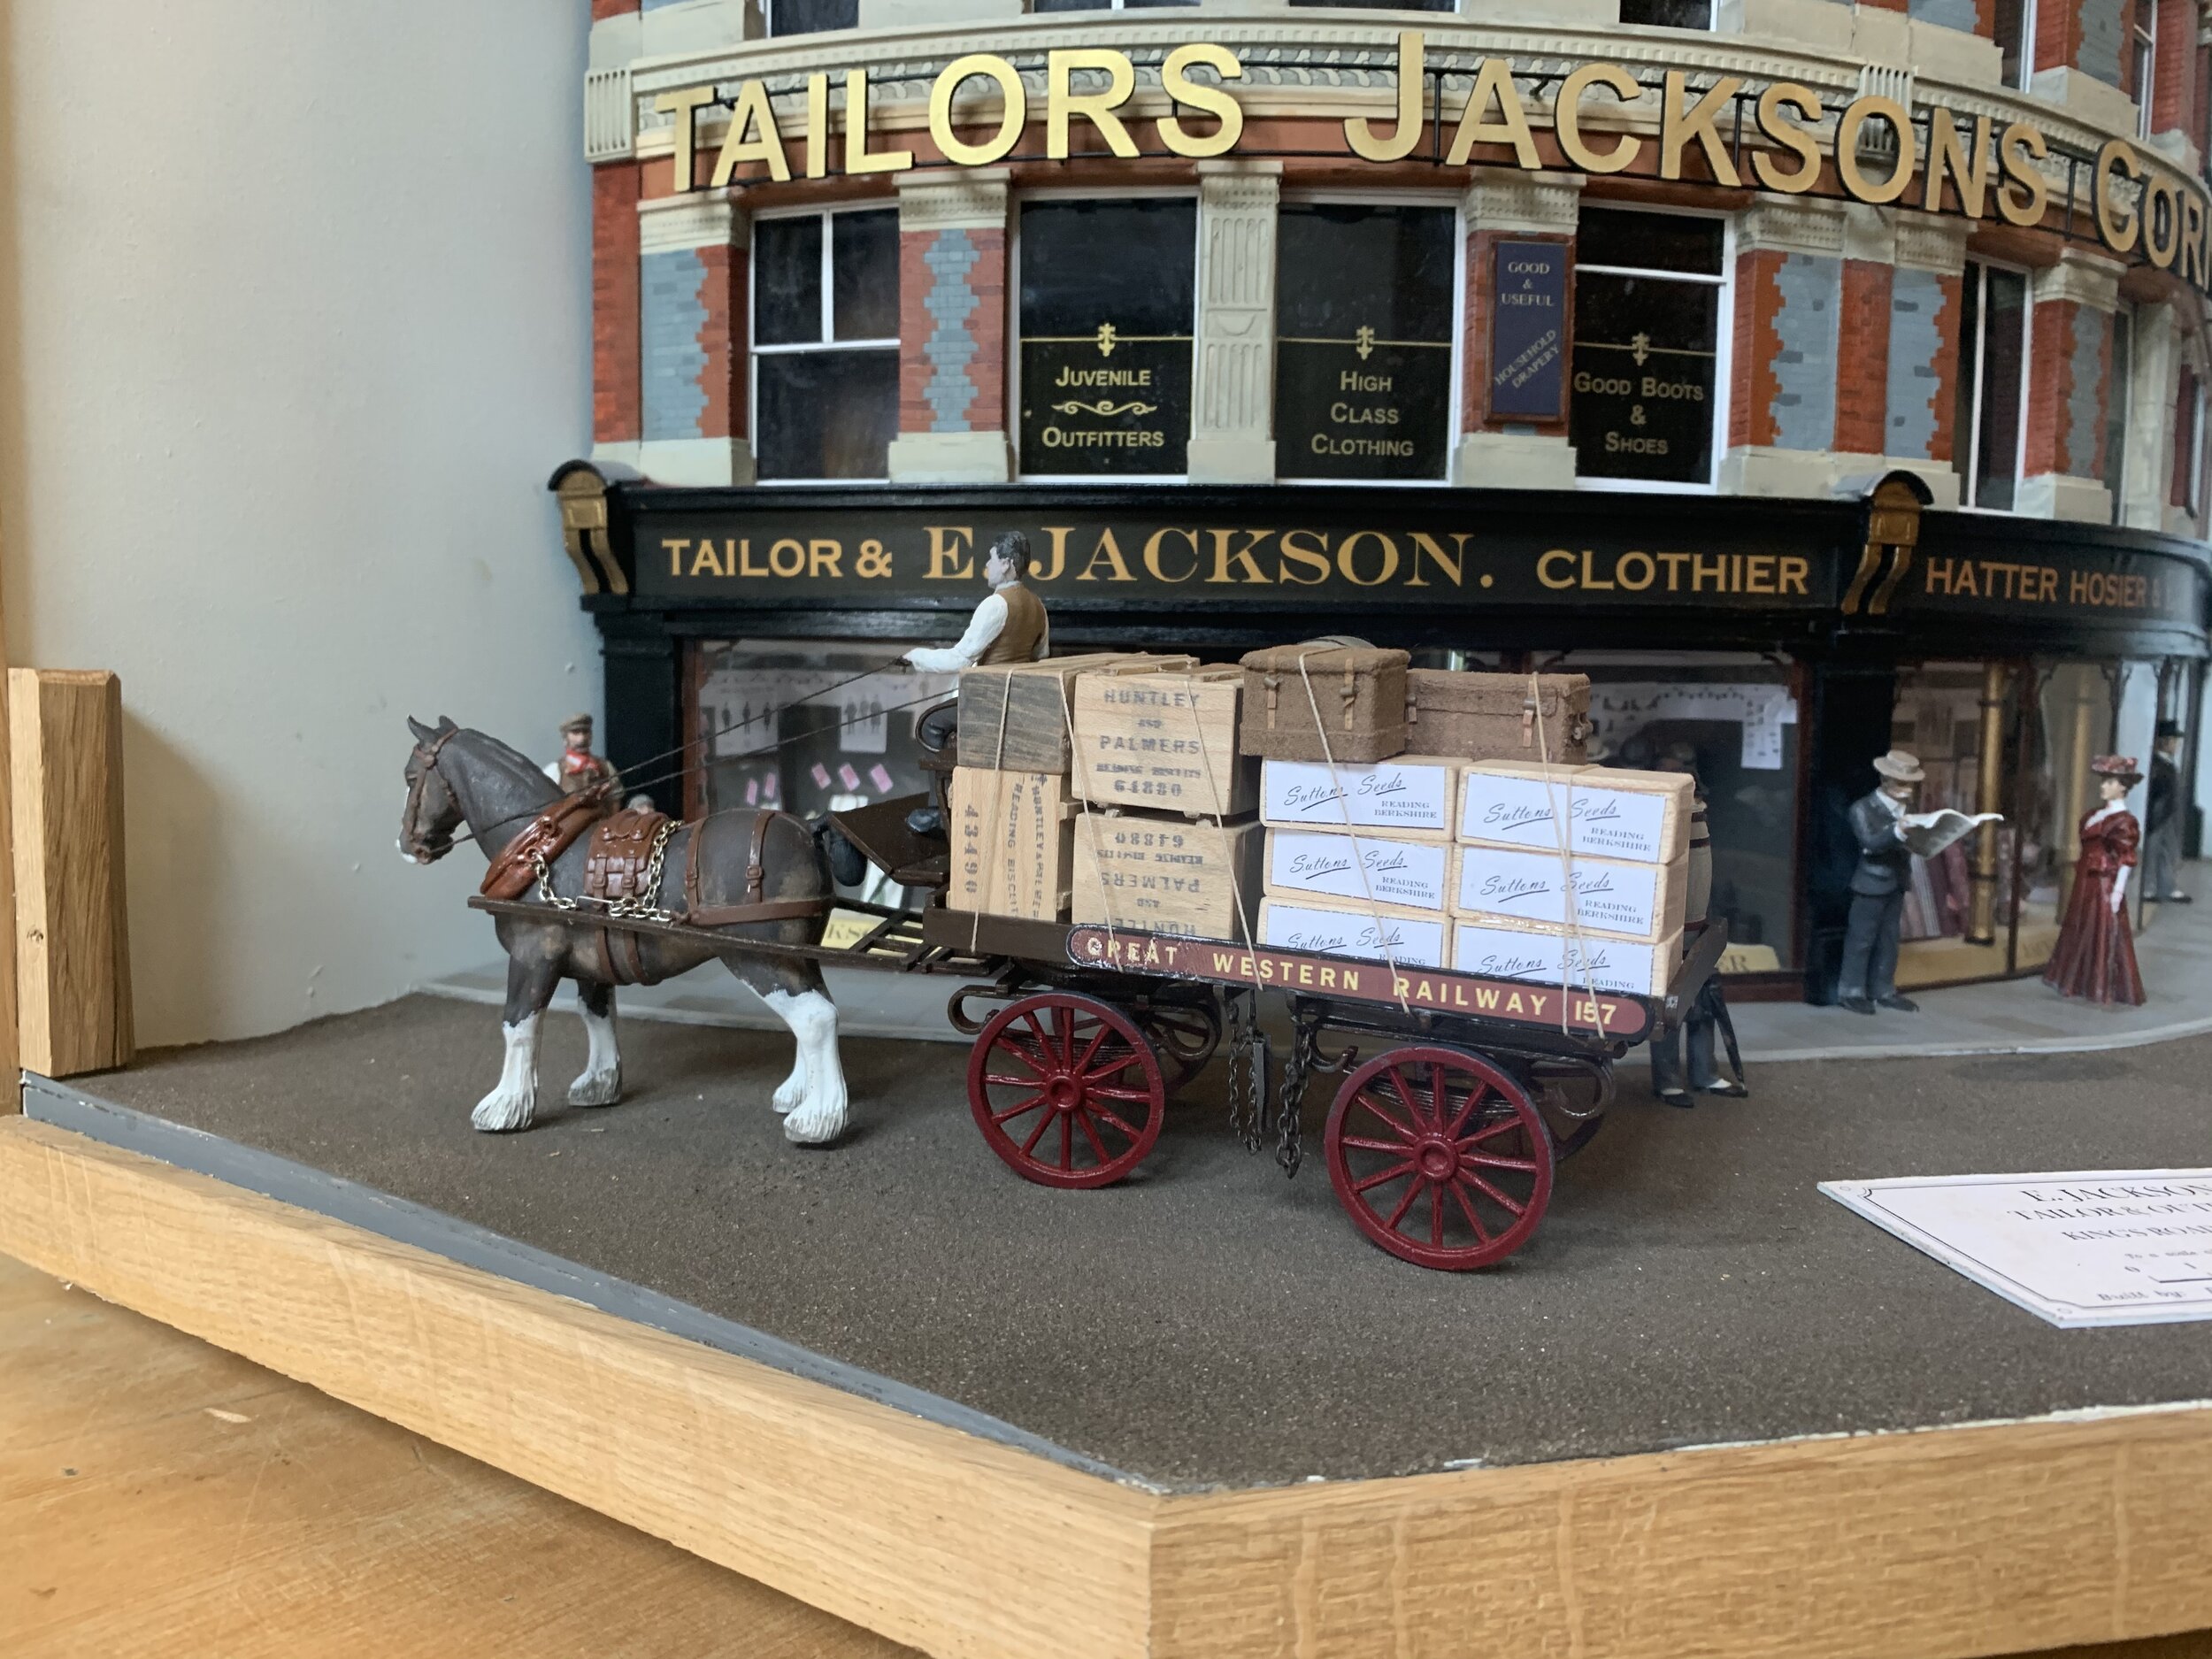
I was asked to make a GWR dray to Gauge One for part of the Jackson’s Corner display. By coincidence I was also asked to make a similar one to O Gauge. As no kits exist for either scale, I decided to make them from scratch myself. Heavy use was made of thr laser and most parts are either mdf or ply of various thicknesses. The drays are also painted by me. Signwriting was done using Autocad and printing to the correct colours

First foray into Gauge One

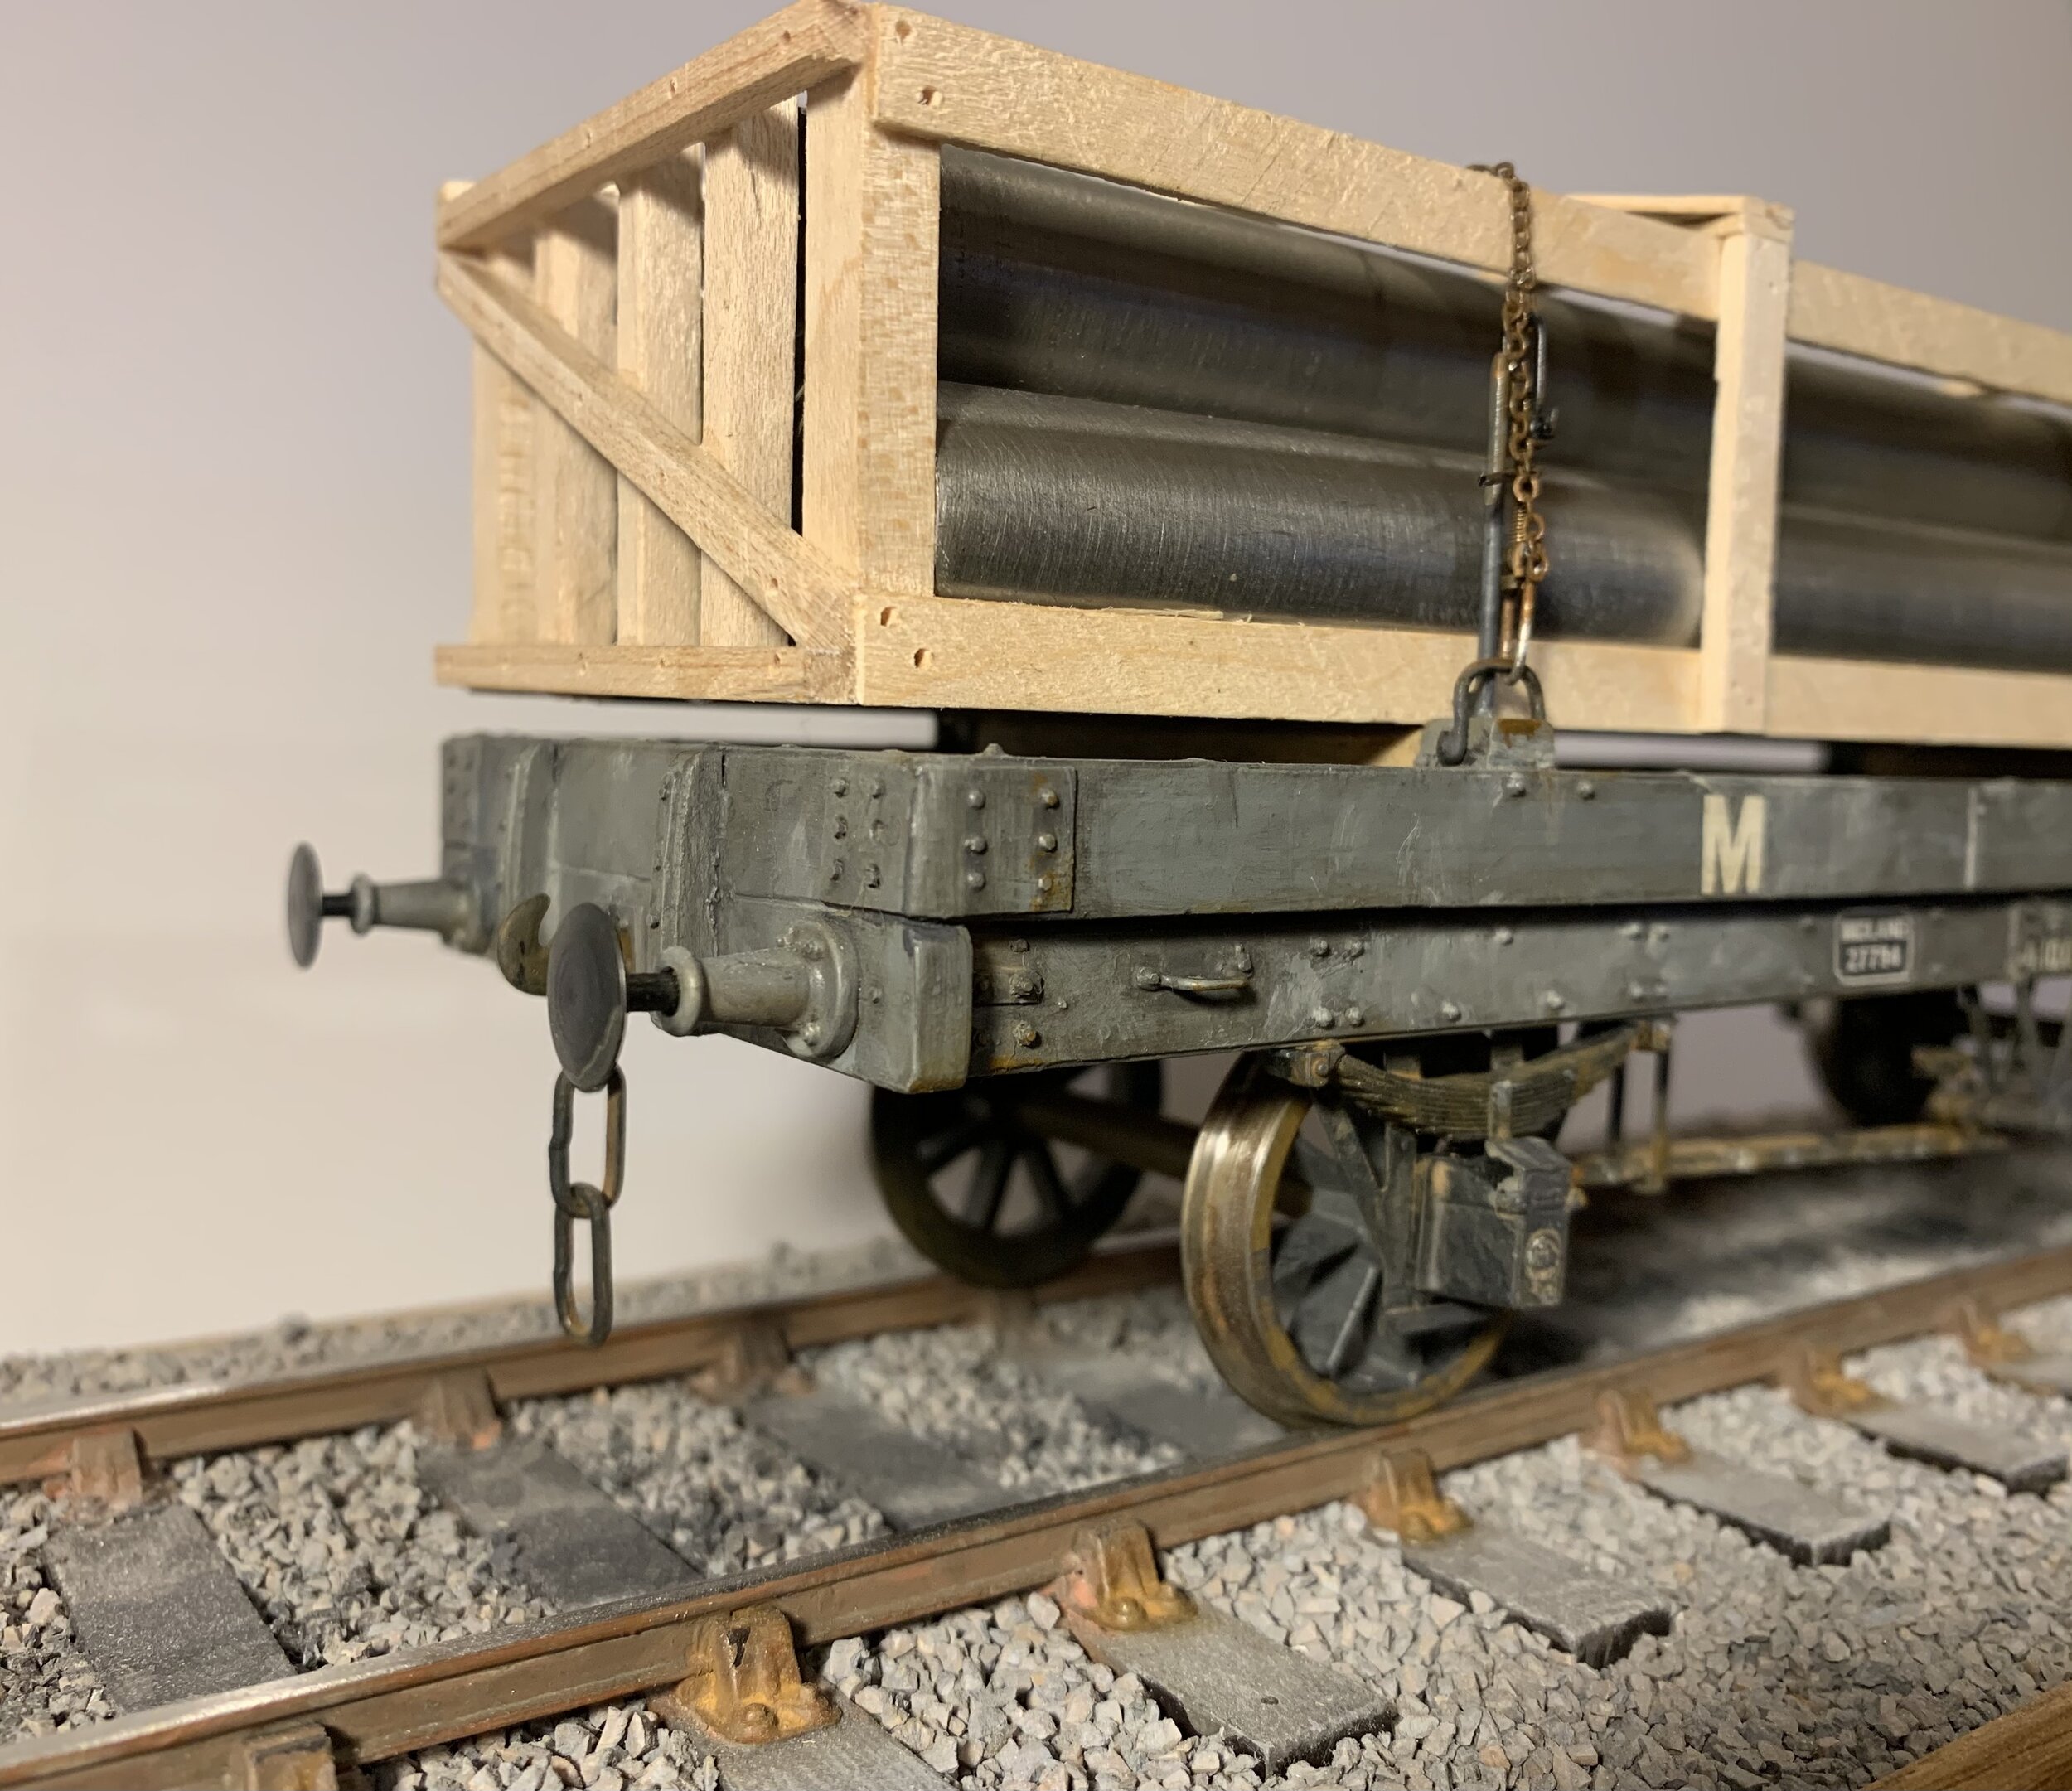
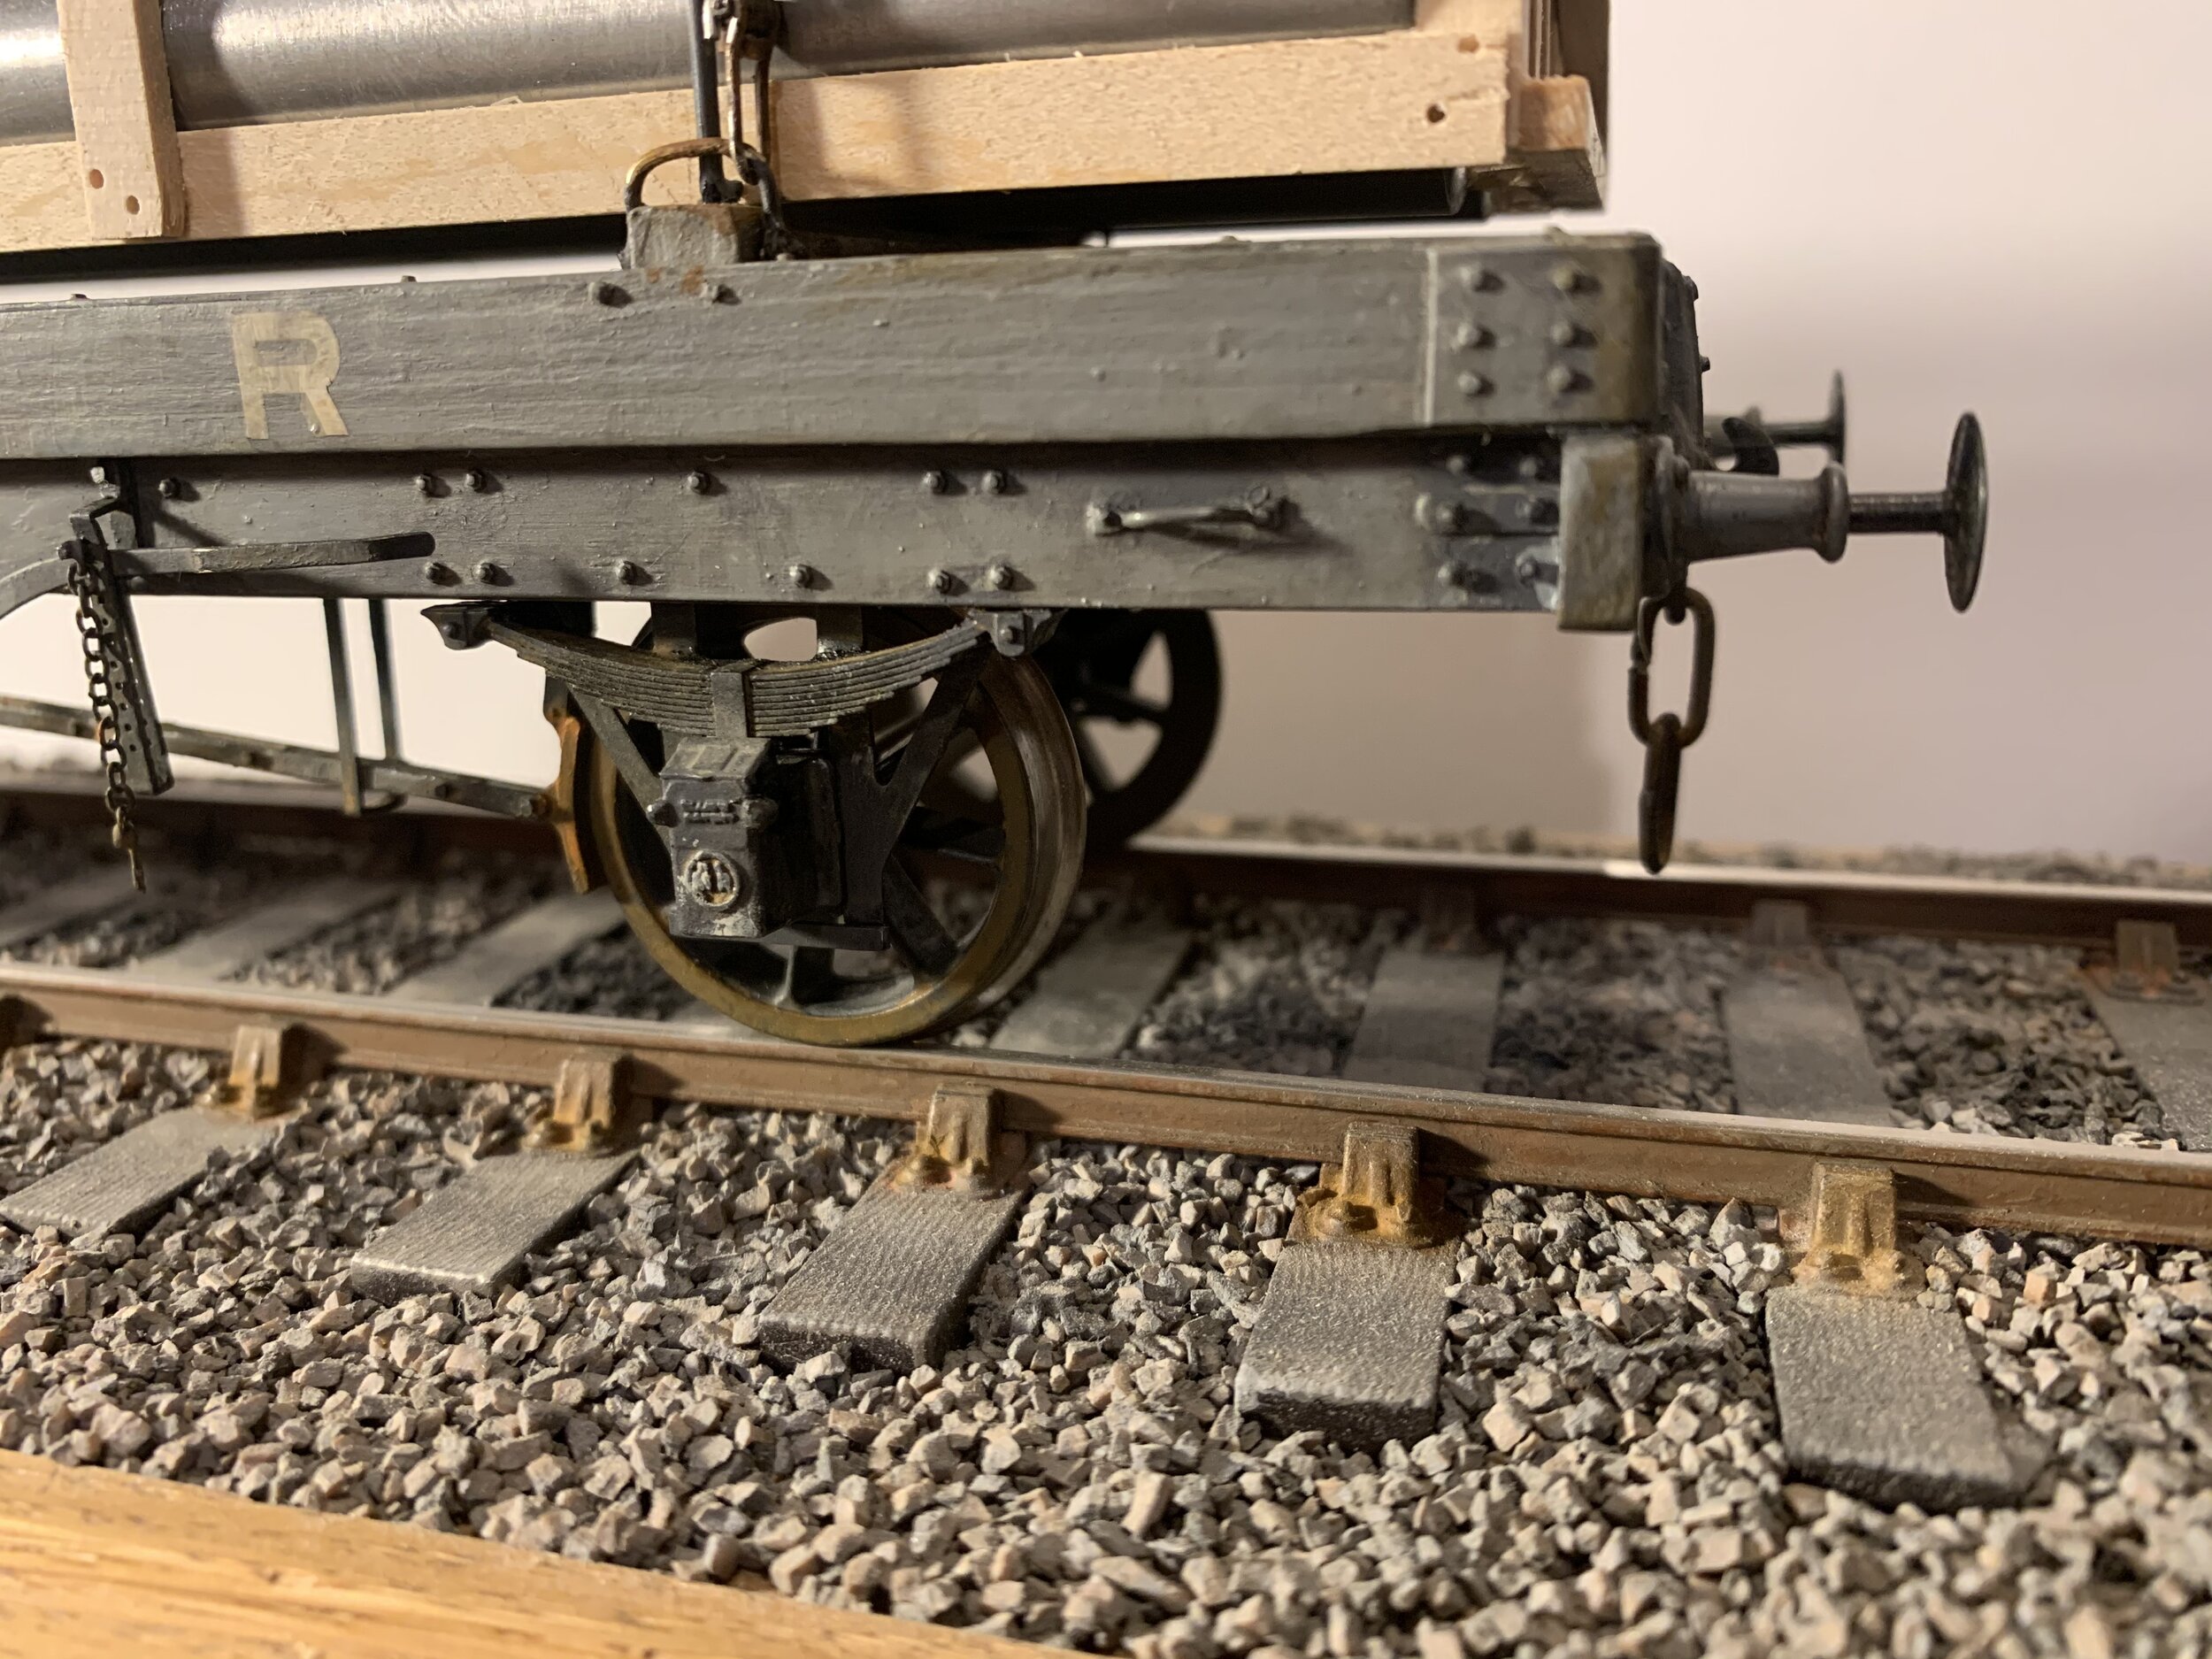
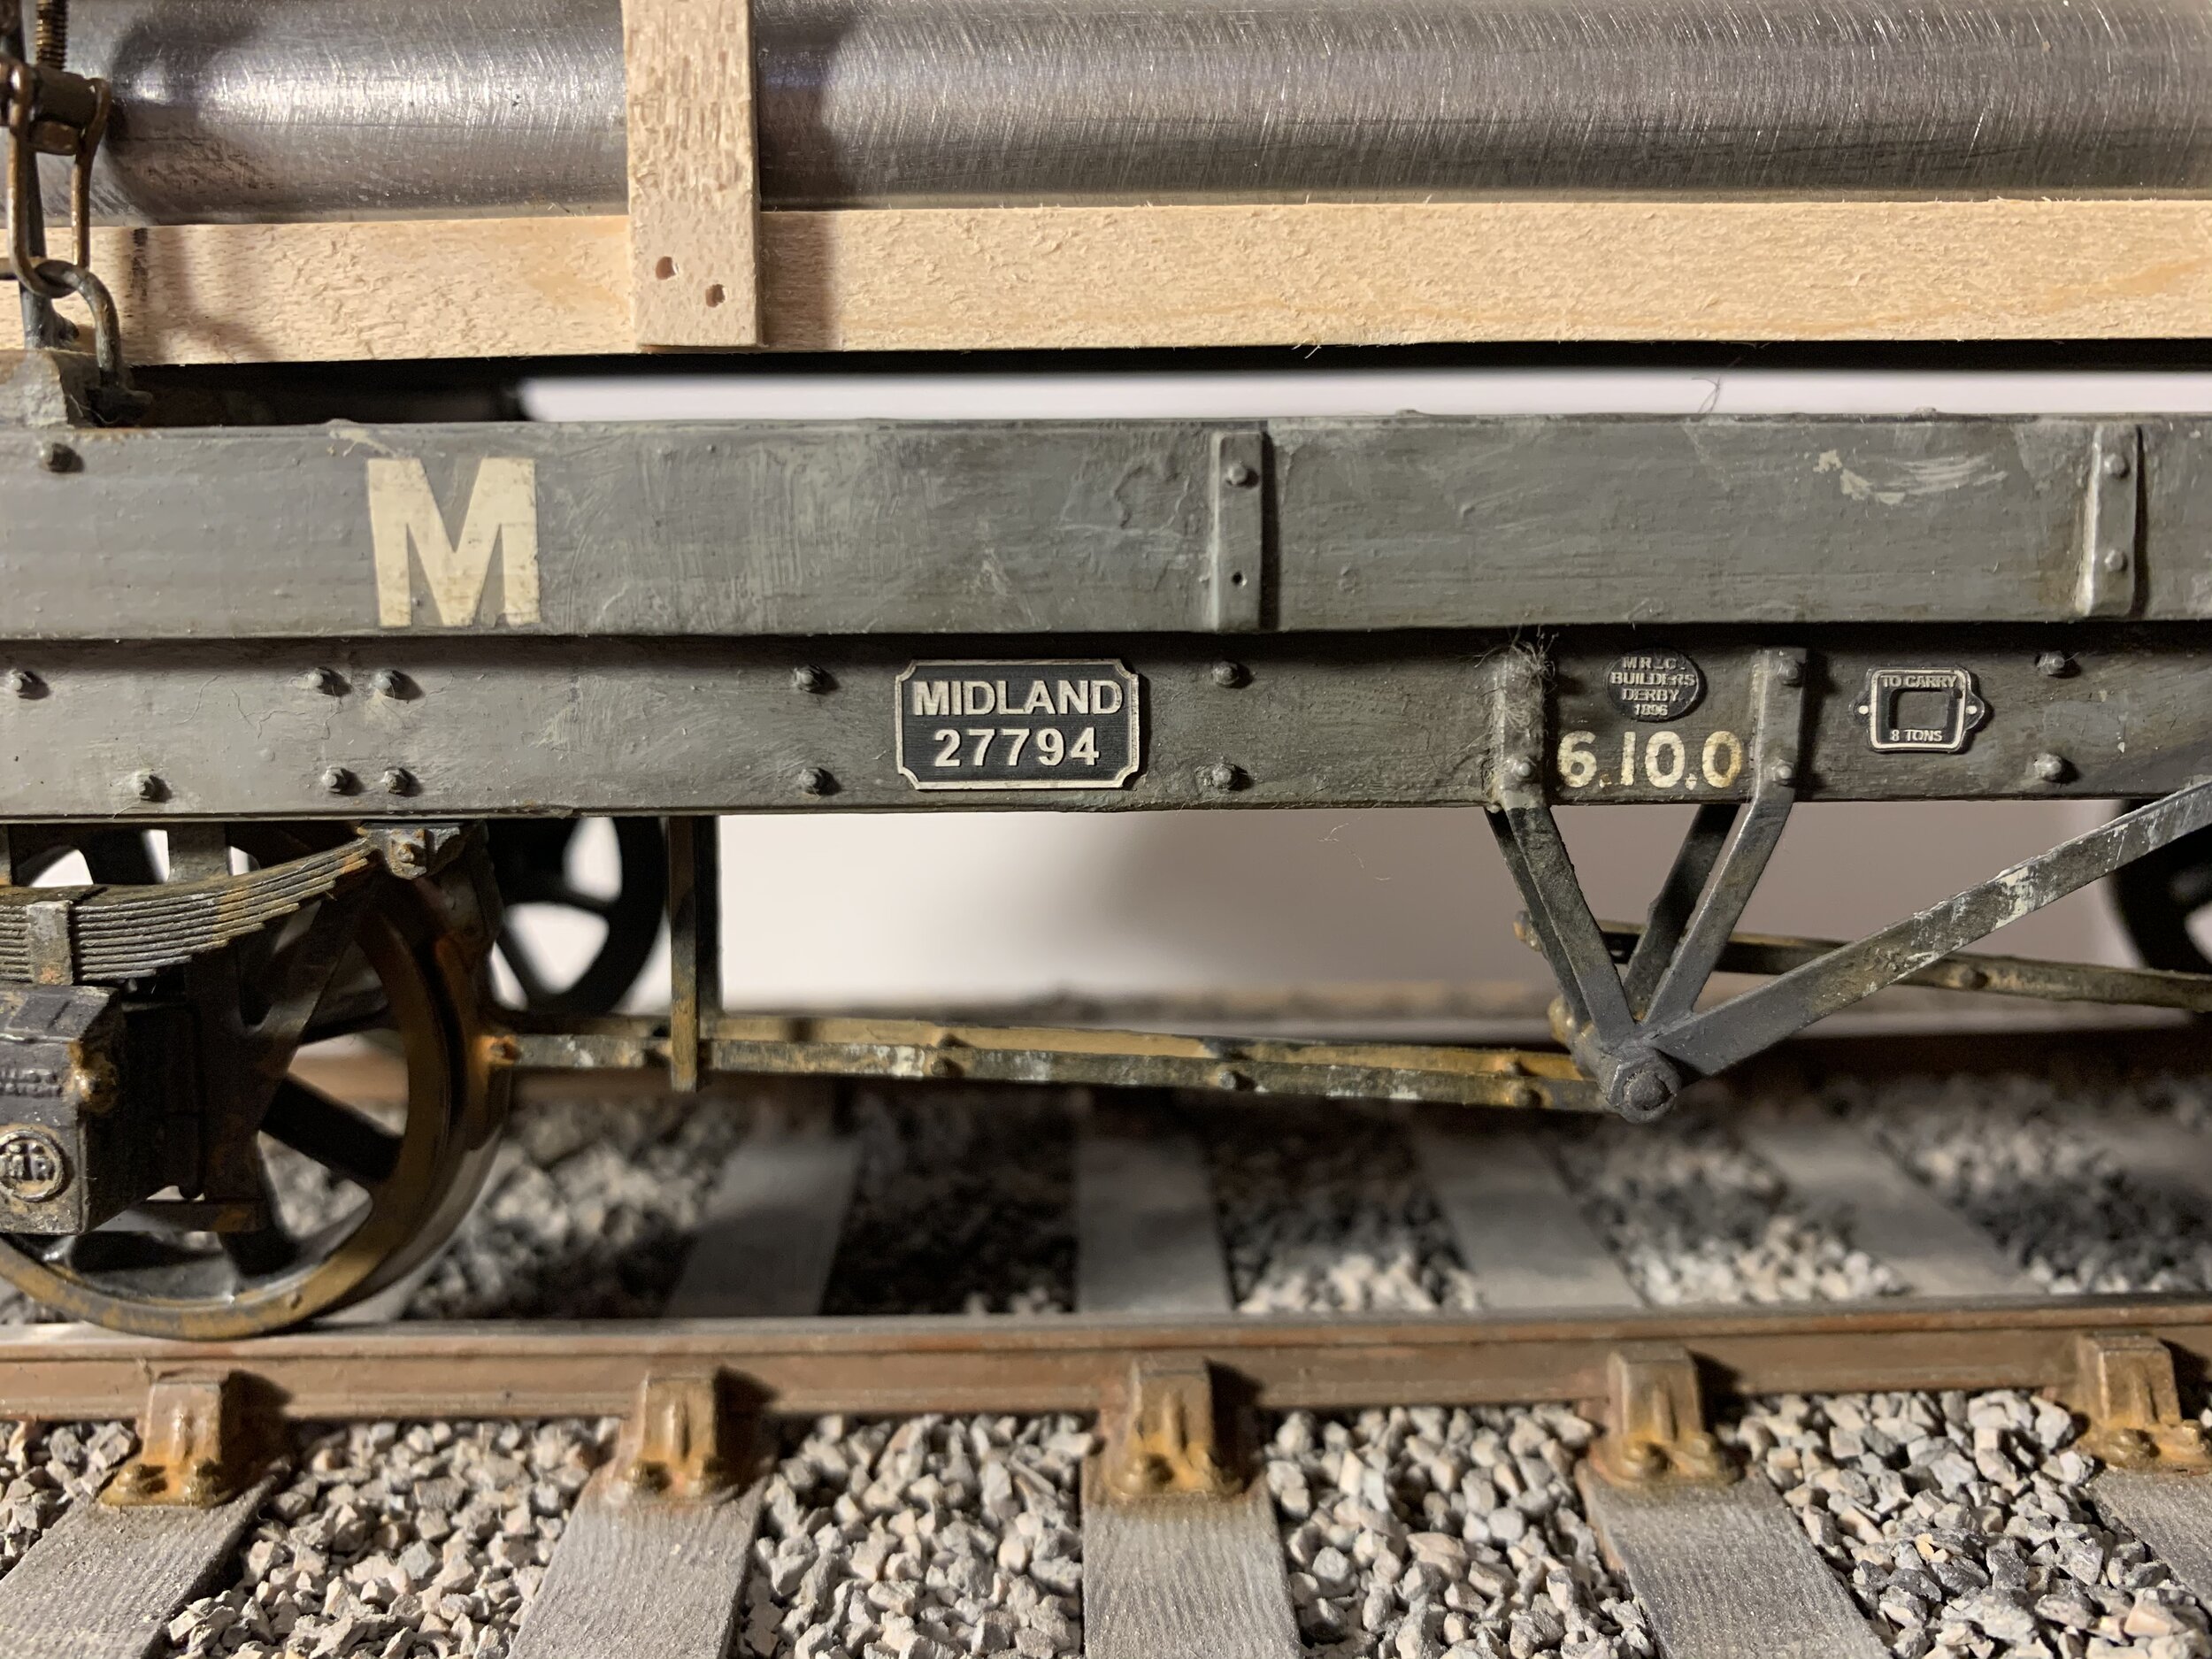
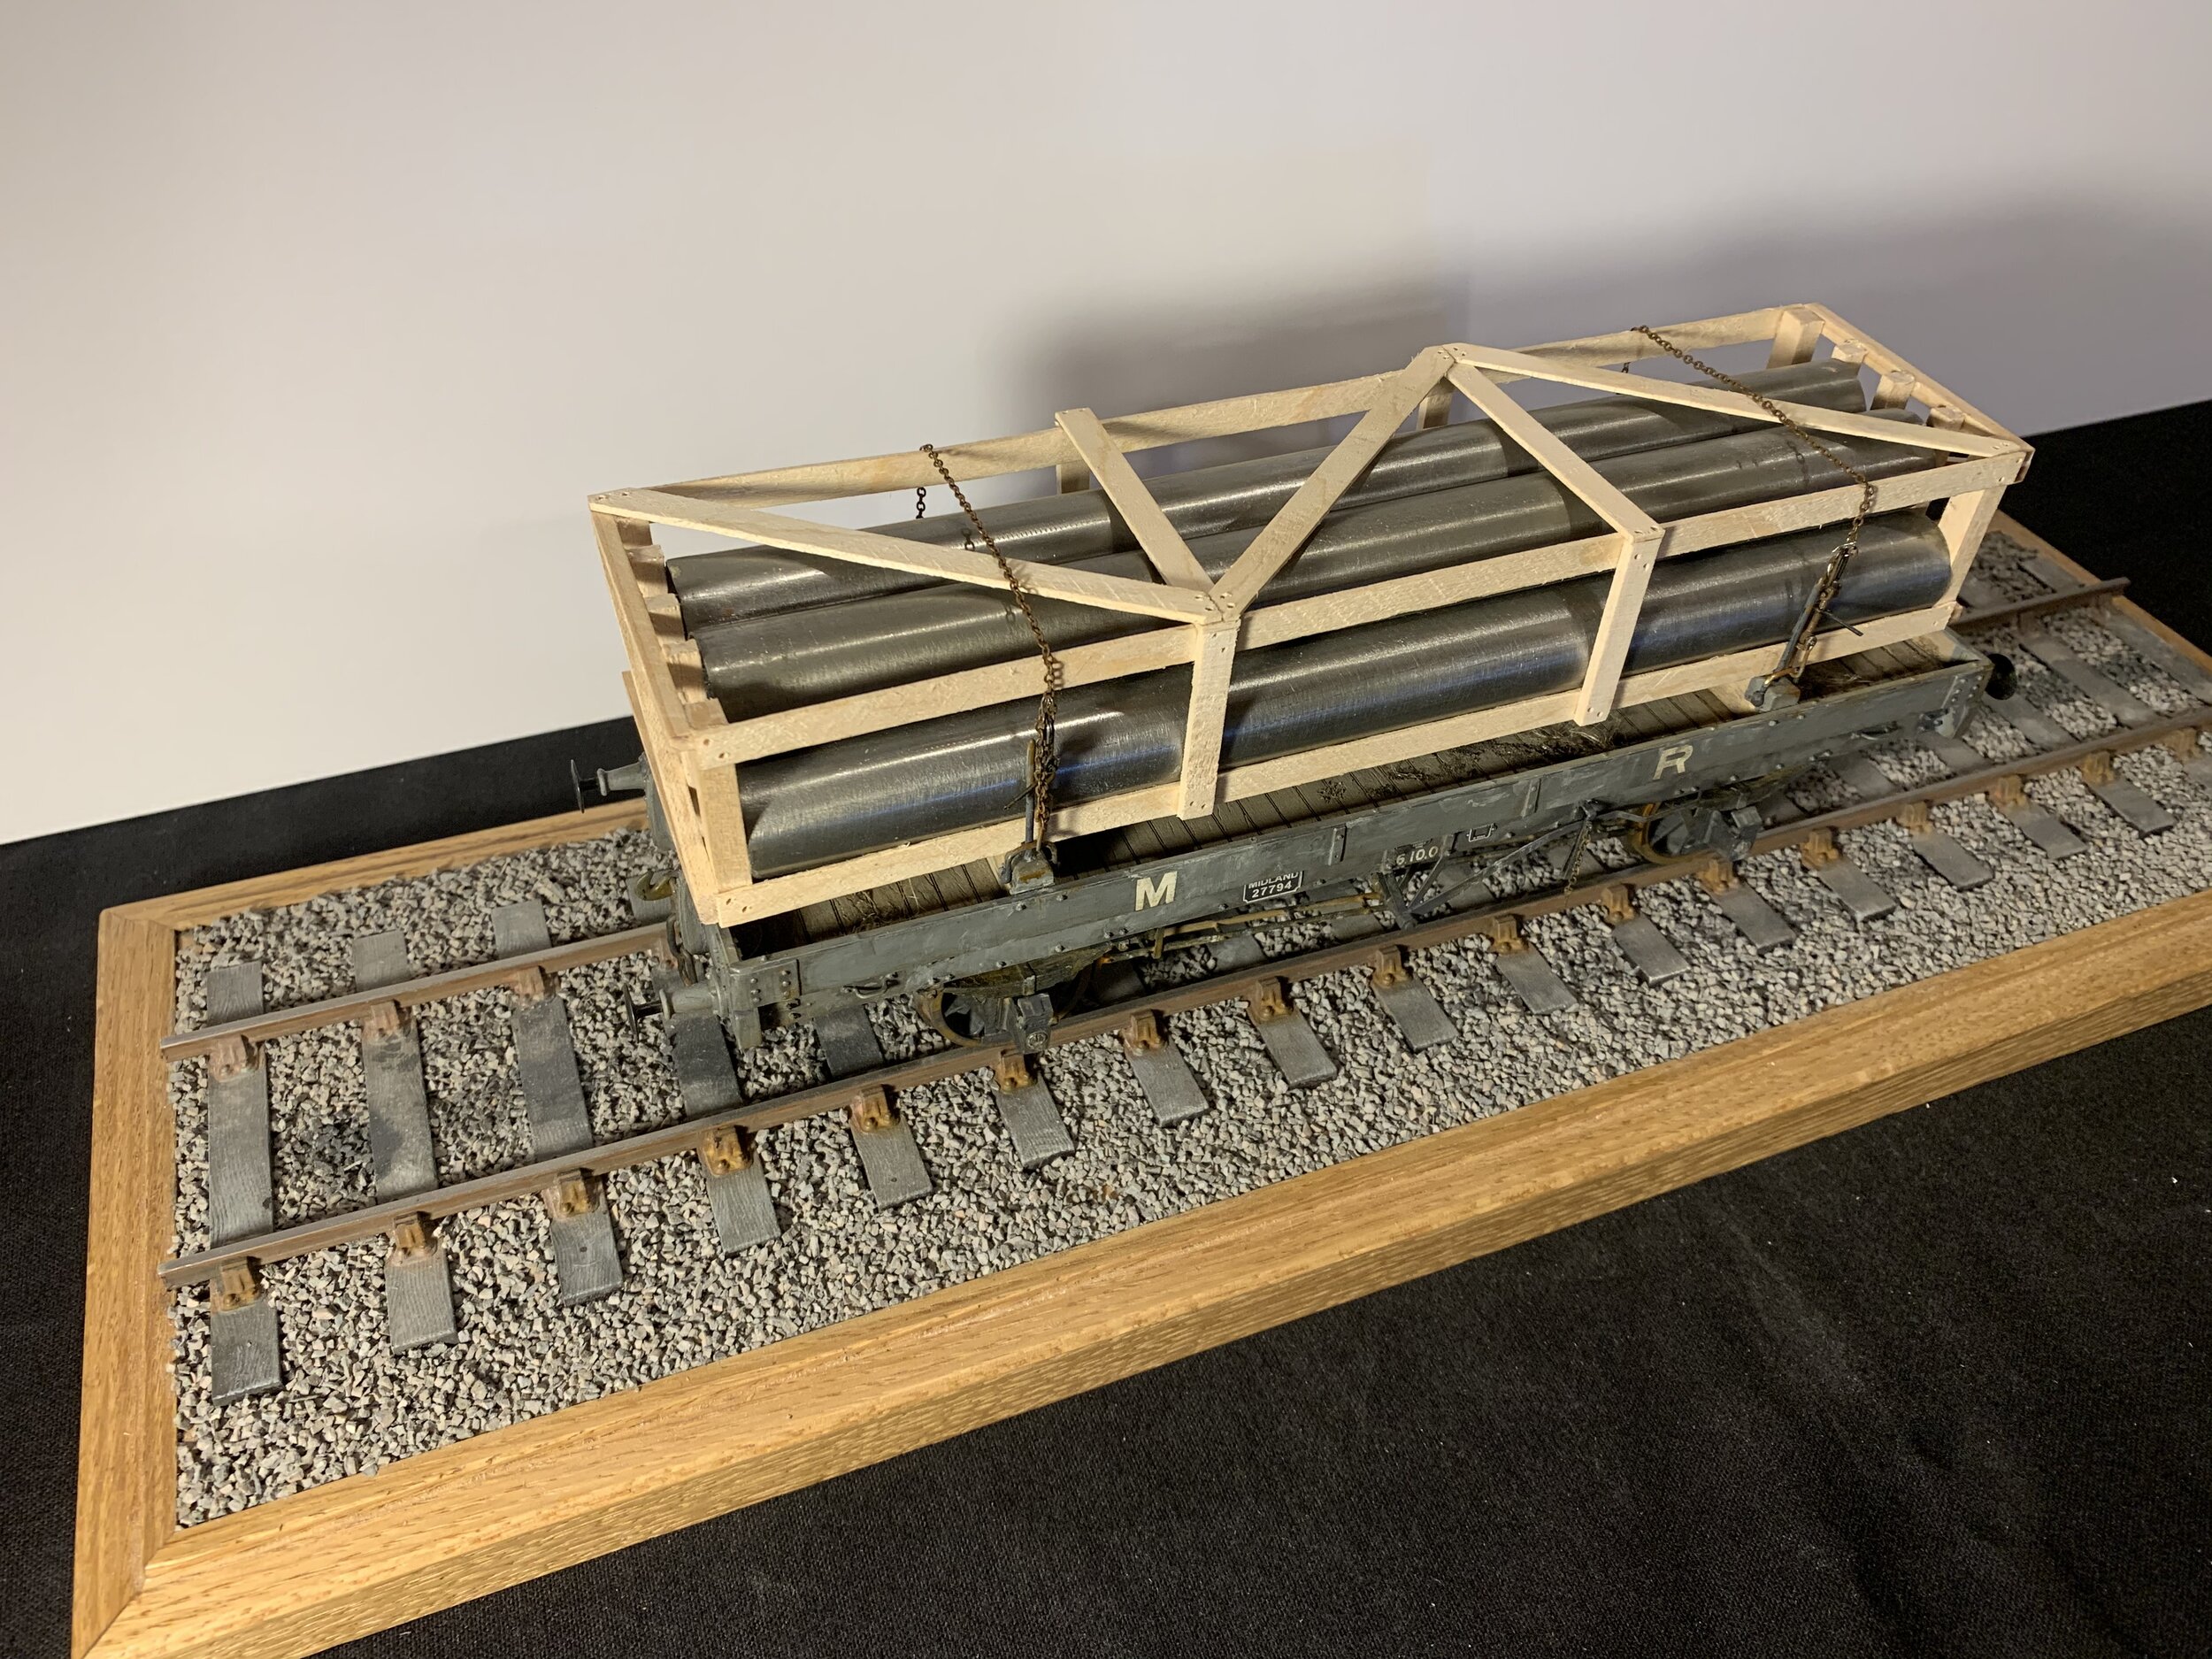
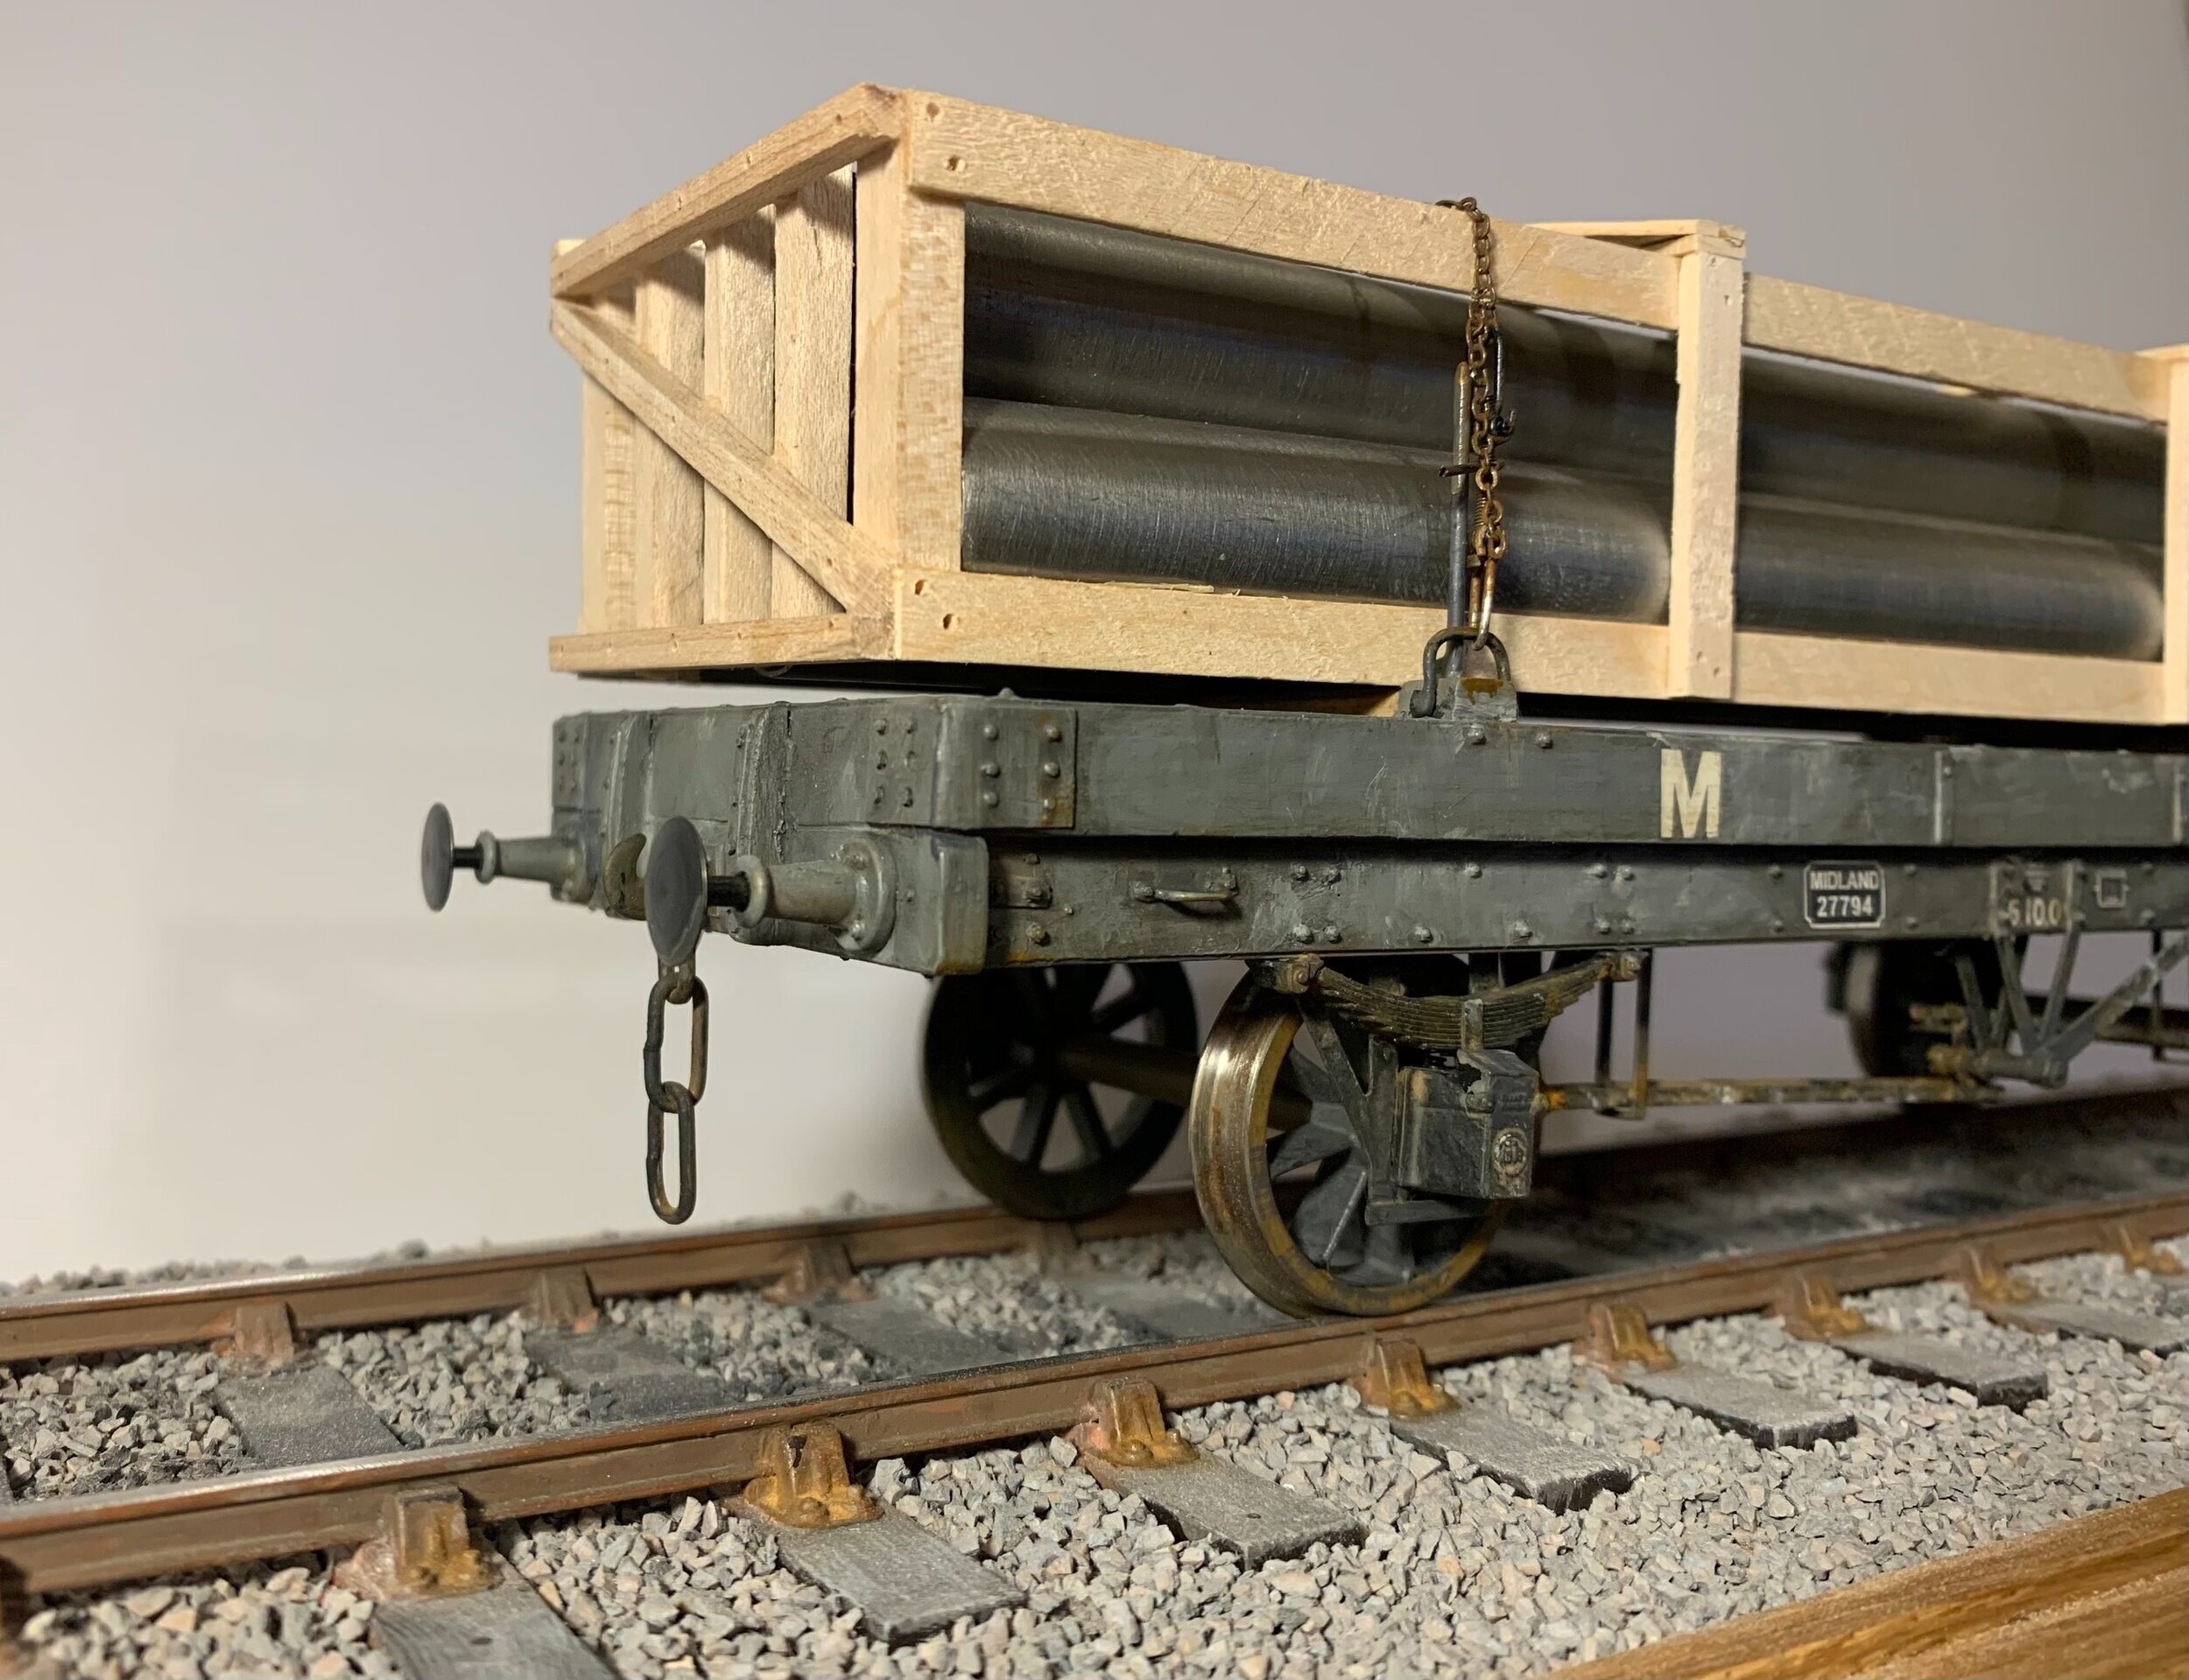
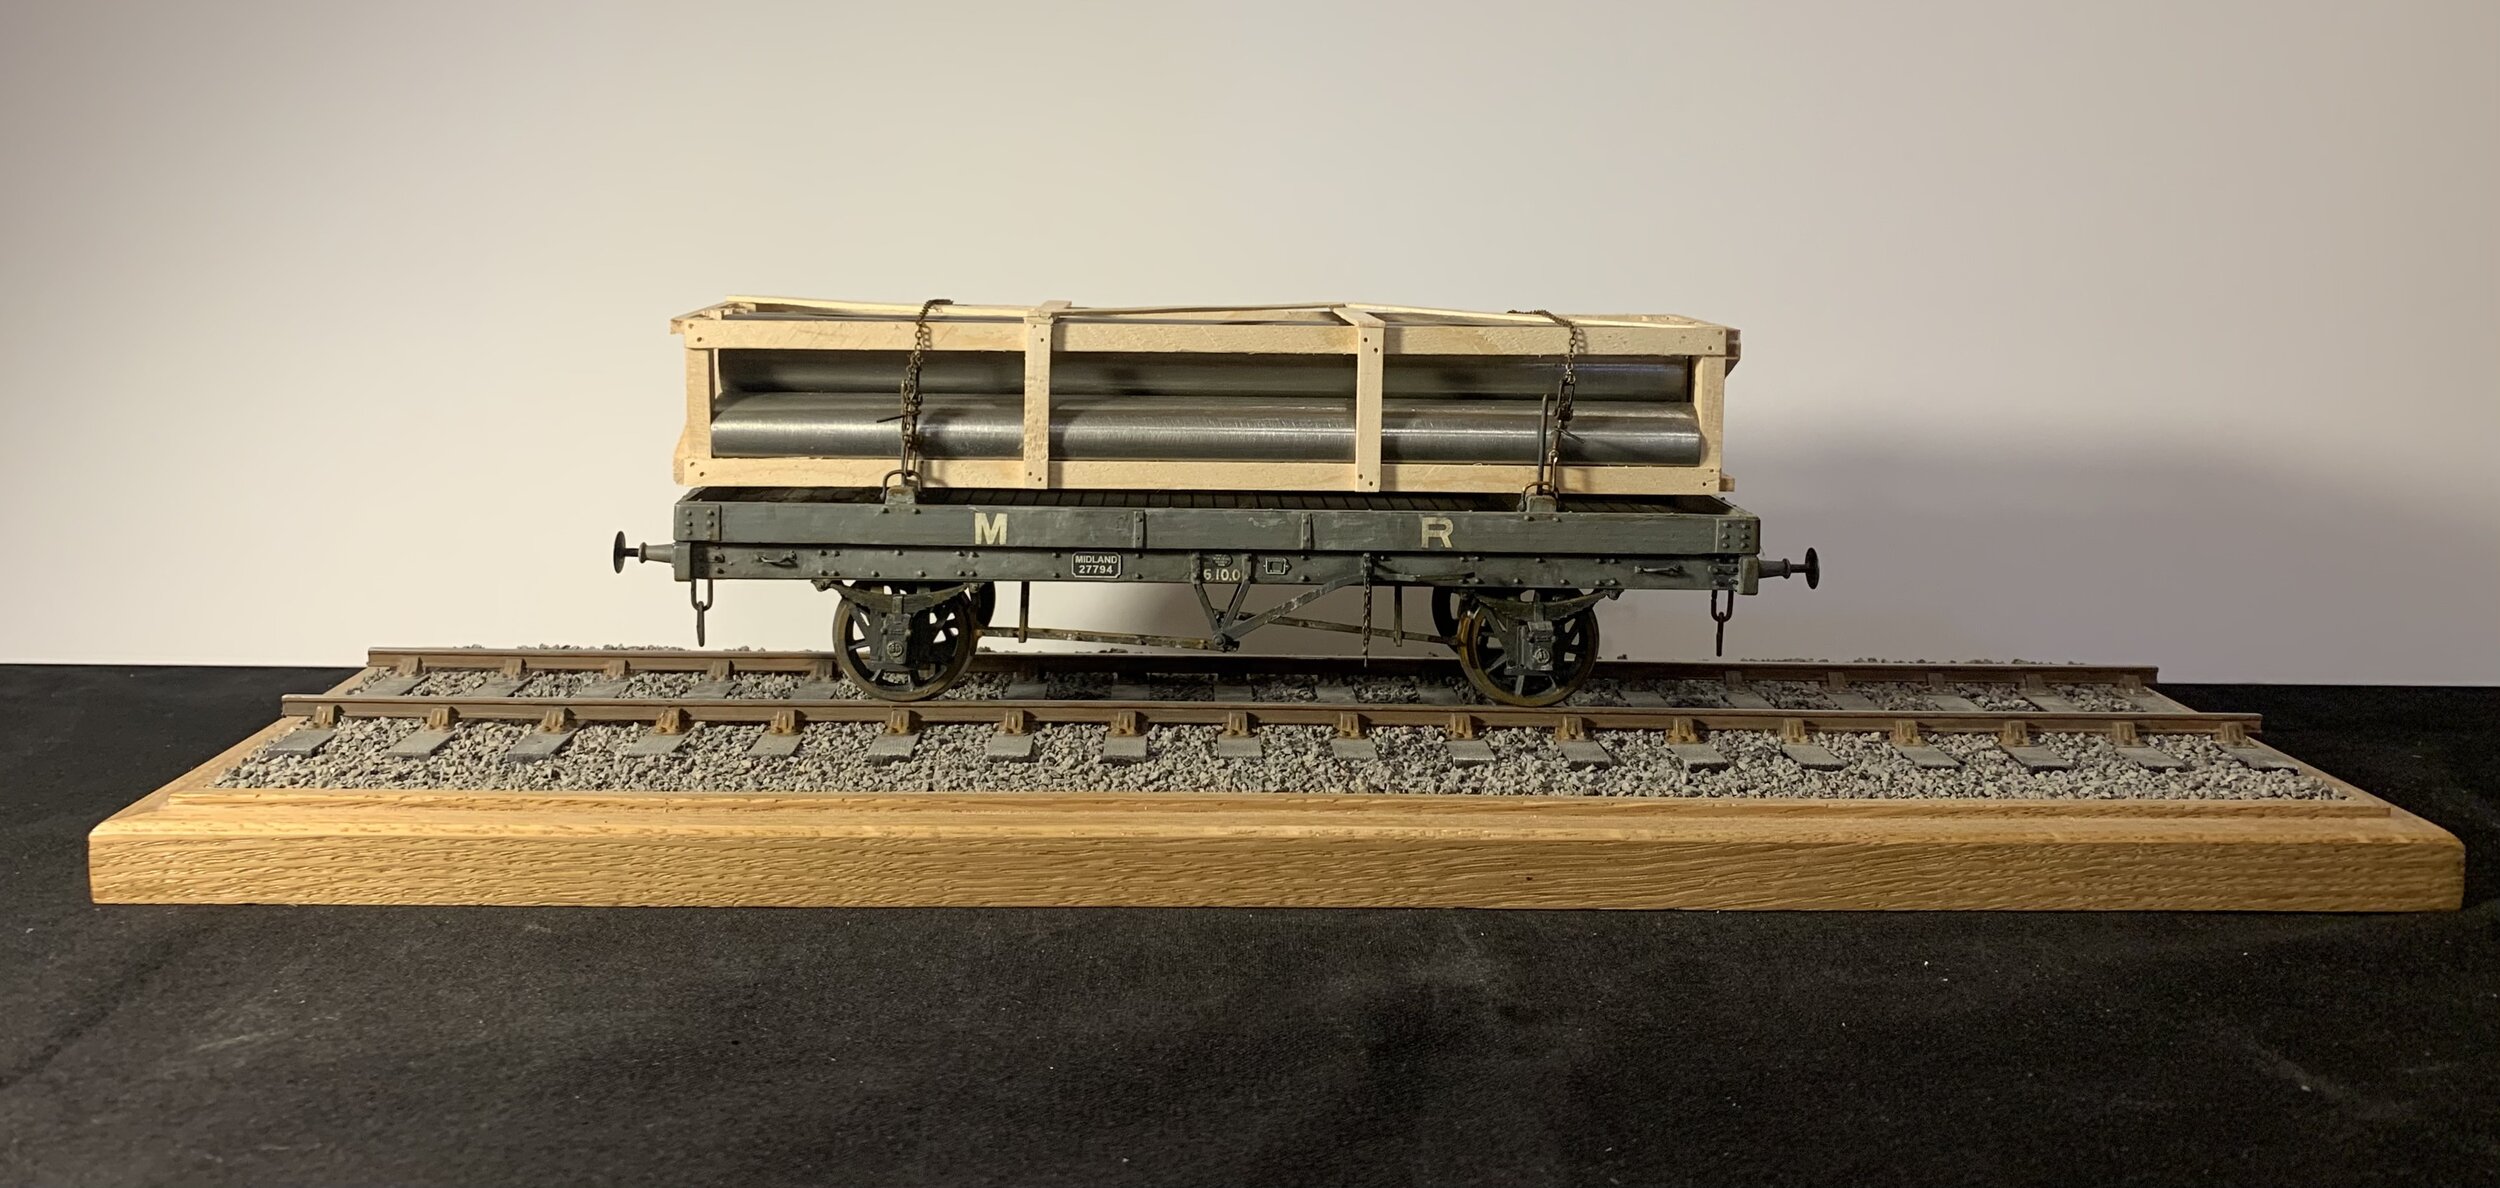
I have long held a desire to make large scale display railway models. I have been inspired on numerous occasions by such models displayed in museums, especially the Science Museum and the National Railway Museum. So I thought I’d take the plunge. I have started with something simple, a Midland Railway double bolster wagon, complete with a load of steel pipes. The basis of the model is sections of maple machined by me to the correct sizes to represent the buffer beams, solebars, plank sides and bolsters. The floor is a piece of ply with laser engraved planks. The wheels, axleboxed, w-irons, buffers and couplings came from Slater’s. The bolt details are from the excellent range by Historex. A bit of trial and error was needed to get the right sizes but they are extremely effective. I also have Phil Pearce of Intentio to thank for the laser engraved number plate, builder’s plate (with legible build date!) and ticket holder. My laser doesn’t quite have the definition to make these unfortunately. The load of steel pipes are curtain poles from Ikea that I happened to have lying around!

I have plans for a second wagon build so watch this space.

If you would like to commission me to build you your favourite wagin to this marvelous scale then contact me to discuss. This model is made to true 1:32, or 9.5mm/ft, as that is the scale the Slater’s parts are produced to.

Turnout Operation

The final and most important element to constructing pointwork is to get them moving. I tend to use the C&L components in conjunction with Tortoise point motors. I mount them using strips of wood to aid location, especially if struggling upside down under a layout!

Photo 23-11-2020, 10 10 31.jpg
Photo 23-11-2020, 10 11 12.jpg
Traversers

Usually as part of a larger project, traversers can be built to any size. I use quality ply-wood and super-smooth ball-bearing runners so the trackbed can be moved up and down with one finger from either end with no snatching or sticking – far superior to draw-runners. Discuss your requirements by making contact with me using the contact page.

Photo 23-11-2020, 10 20 19.jpg
Photo 23-11-2020, 10 20 04.jpg
IMG-3624.jpg
Electrics

As part of the overall package I am asked to provide, I can undertake electrics; either DC or DCC. Wiring is to usual two-rail with track-power bus-bars running the full length of the layout. In addition a second bus-bar is used to power point motors etc.

IMG-3620.jpg
IMG-3621.jpg
Layout Design

I can take your initial rough sketches and room dimensions and come up with a draft plan for your approval. Typically it can take 4 or 5 revisions before a final version is arrived at. Here I show a couple of real examples. They are drawn using Auotcad and therefore are extremely accurate. Individual turnouts or sub-assemblies of trackwork can be printed at full-size and can then be used as templates to manufacture the trackwork on or off-site. Full scenice details can be represented or just a simple track centre line- to suit your requirements.

Planning takes into account baseboard sizes if already made, or I can design the layout around site constraints such as having to man-handle boards up winding stairs.

My plans are produced for the intended recipient’s sole use as part of their hobby, and are not to be reproduced for any reason outside of this use.

Wagon lettering and weathering

I can hand letter your wagon to any style or period. I can also weather your wagons to suit your requirements and taste. Pricing is upon application. If you wish to discuss in more detail, the please get in touch using the contact page.

Here is a gallery of some of my work.

Midland in Bristol
A general overview shot of 'Midand in Bristol'

A general overview shot of 'Midand in Bristol'

A close up of 1761’s innards.

A close up of 1761’s innards.

‘Midland in Bristol’ is my entry into the Model Railway Journal Cameo Competition, finished in May 2019. It’s 6’ long and about 18” deep at its widest point. It is based on the Avon Wharf docks in Bristol around the turn of the last century. Inspiration for it has mostly come from Midland Record No 30.  I have so far built an 0-6-0 tender engine from a Mercian kit with much refining and added detail. It includes radio control from Red Arrow, with the battery in the tender, driving the Mashima motor through an ABC gearbox. I am, however, aware that this would have been far too large an engine for the docks; it struggles on some of the tight point-work and may well be confined to running in with a train only. I am also in the process of re-building an ancient 0-6-0 tank from a Slater’s kit; adding radio control and an ABC gearbox. This one will be built with plenty of side-play to negotiate the track-work. Although the minimum radius was intended to be 6’, I think some of it unintentionally dips below that!

I’m looking forward to getting to grips with the rolling stock - my existing stock of about half a dozen wagons, mostly 3-plank opens, is being re-built with sprung w-irons and lots of weight, new stock will be built which will be about half a dozen 5-plank opens - by far the most numerous Midland wagon seen on the docks.

The wooden buffer stops at the dock’s edge.

The wooden buffer stops at the dock’s edge.

Midland Railway 0-6-0 tender engine; a Mercian kit with a lot of extra detail. Resplendent in a simplified Johnson livery, as running in 1907 but just prior to re-numbering as 3153

Midland Railway 0-6-0 tender engine; a Mercian kit with a lot of extra detail. Resplendent in a simplified Johnson livery, as running in 1907 but just prior to re-numbering as 3153

E Jackson, Tailor and Outfitter, Reading

This commission involved constructing a 1/32 scale model of the ‘Jackson’s Corner’ building in Reading, Berkshire. It was to be as accurate a representation as it could be of how it looked in its Edwardian heyday, complete with fully-stocked shop windows. Thomas Macey, who used to work there and is the archivist for Jackson’s commissioned the project and provided all the historical information, photos and general encyclopaedic knowledge of all things Jackson’s related. 

The most obvious feature of the building is the curved front. Less obvious is the sloping path. But both of these features presented some difficulties to overcome in its basic construction. In the end I plumped for a level base that the ground slope would be built up on. The basic shell of the building is 6mm plywood which first had the rough window openings cut out and then ‘kerfed’ on the reverse face. Kerfing is where successive shallow cuts are made across the plywood at close intervals. This then allows the board to be bent to a curve. The plywood was then covered with a ‘skin’ of mountboard on which the accurate window openings where cut and bricks engraved into the surface. Without any architect’s plans or site survey, proportions and sizes of the building were worked out by counting bricks, based on a standard brick being 3” x 9”. It sounds incredibly tedious to count so many bricks on close-up photos and that’s because it is! But sometimes there’s just no short cut. The cutting and engraving was all done using my laser cutter having first drawn the walls in AutoCAD. In fact, all of the repetitive plasterwork details where engraved in mountboard. 

Upper floor windows where made using laser-cut kraft paper layers and acrylic glazing. The first-floor windows all originally had signwriting painted on them in a fetching gold lettering on a black background. I thought long and hard as to how best to do this. Eventually deciding on drawing each window in AuotCAD and printing onto gold paper. This was then stuck to the back of the glazing with clear lacquer.

The ground floor shop windows are the most striking feature of the model and consequently involved the most work. They were made as two ‘boxes’, separated by the central black column. That way they could be worked on the bench away from the main building model, only being fixed in place when complete. Hours of fun were had making tiny hats, shirts, ties, braces, belts, packing cases, rolls of material, posters, bunting, jackets, trousers, hat boxes, a mirror, price tags, umbrellas, and walking sticks-all to exact scale. The glazing is again laser-cut kraft window frames – coloured to look like polished hardwood by first colouring the paper with brown felt pens, then walnut wood stain, then gloss varnish. The acrylic was bent to the curve by wrapping around a steel tube and filling it with boiling water and allowing to cool. 

The ground levels were built up using foam board, covered with mountboard and with sieved soil representing the tarmac finish. 

The whole diorama is mounted on an MDF display stand with a pale sky background to set off the characteristic two-tone brickwork and black and gold signage. At the time of writing, yet to be added are a clear acrylic dust cover, as well as populating the scene with some Edwardian figures, lampposts, tram power cable pole, a horse-drawn GWR dray loaded with baskets and goods, amongst them some Huntley & Palmers biscuit crates; and eventually a Reading Corporation Tram. Once complete it will portray quite a colourful display and really bring it all to life. Thomas and I both can’t wait to see it complete and on show for all to see!

Constructing something of this intricacy demands constant communication with the customer to ensure his requirements are met; there’s always an element of educated guesswork with a prototype no longer in existence, but countless emails back and forth and photos being unearthed are all worth the effort. There were times where some details had to be changed or re-thought out as clearer information came to light. But getting it right is important and well worth it in the end. I have to say I have thoroughly enjoyed working with Thomas whose enthusiasm for his subject is infectious! I definitely count this as a joint project!

Bespoke Trackwork

I can take your design, be it a sketch or Templot, and turn it into a reality. It can be just the pointwork, or the whole layout (including baseboards should you need them).

Or if you’re not sure, then I can help you design the layout. Really, whatever stage you’re at, I can assist.

I mostly use C&L components with the addition of my own ply sleepers if extra-long ones are needed, or 14” wide ones around crossings. If a turnout is being made for you to fit to your baseboard, then I make it on 6mm MDF, with tie bars and wiring droppers added for your convenience.

Part of a larger trackwork configuration, laid onto foam underlay (optional).

Part of a larger trackwork configuration, laid onto foam underlay (optional).

A double-slip with cosmetic and functional tie-bars fitted.

A double-slip with cosmetic and functional tie-bars fitted.

Beautiful flowing curves. Both roads on this double-slip are subtly curved.

Beautiful flowing curves. Both roads on this double-slip are subtly curved.

Norfolk Cottages

I built this model of a delightful row of cottages as a reminder of a wonderful holiday in north Norfolk in September 2019. I love the combination of brick and flint frequently found in the area. The level of detail I’ve managed to incorporate really captures the atmosphere of this evocative example of vernacular arechitecture.

The model is one of my ‘Houses in Miniature’ projects and is mounted in a box frame that I made specially for it and is hung on the wall with brass picture plates. The whole box frame measures 590mm wide x 390mm high x 90mm deep.

If you have a period property that you would like to re-create in miniature then contact me below. The cost for a completed model similar to this would be about £1200.

IMG-8698.JPG
IMG-8701.JPG
IMG-8700.JPG
Bespoke Signwriting

This was an interesting task - and will be part of a much larger project. The original sign once stood on the Metropolitan Railway’s goods depot in Vine Street, East London. The sizes and lettering where firstly guessed from a photo of the original, counting bricks as an indicator of overall sizes. Then it was sketched out onto a piece of card. For the G, D O’s and the S, I cheated slightly in that I drew these out using AutoCAD and then laser-cut a stencil in thin card which I used to draw around. Final tweaking of the white lettering and black shading took a while but it was worth it in the end. The overall sign was weatherd quite heavily to dull down the severity of the red, white and black, and also to represent the effect of the smog-laden Edwardina atmosphere of the time.

IMG_7098.JPG
IMG-1374.jpg